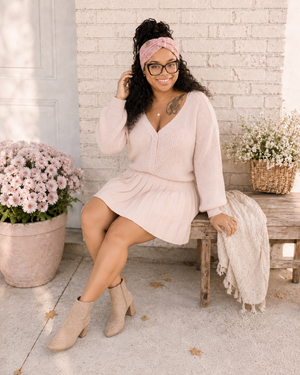
Ruffle Shell Bucket Hat Crochet Pattern
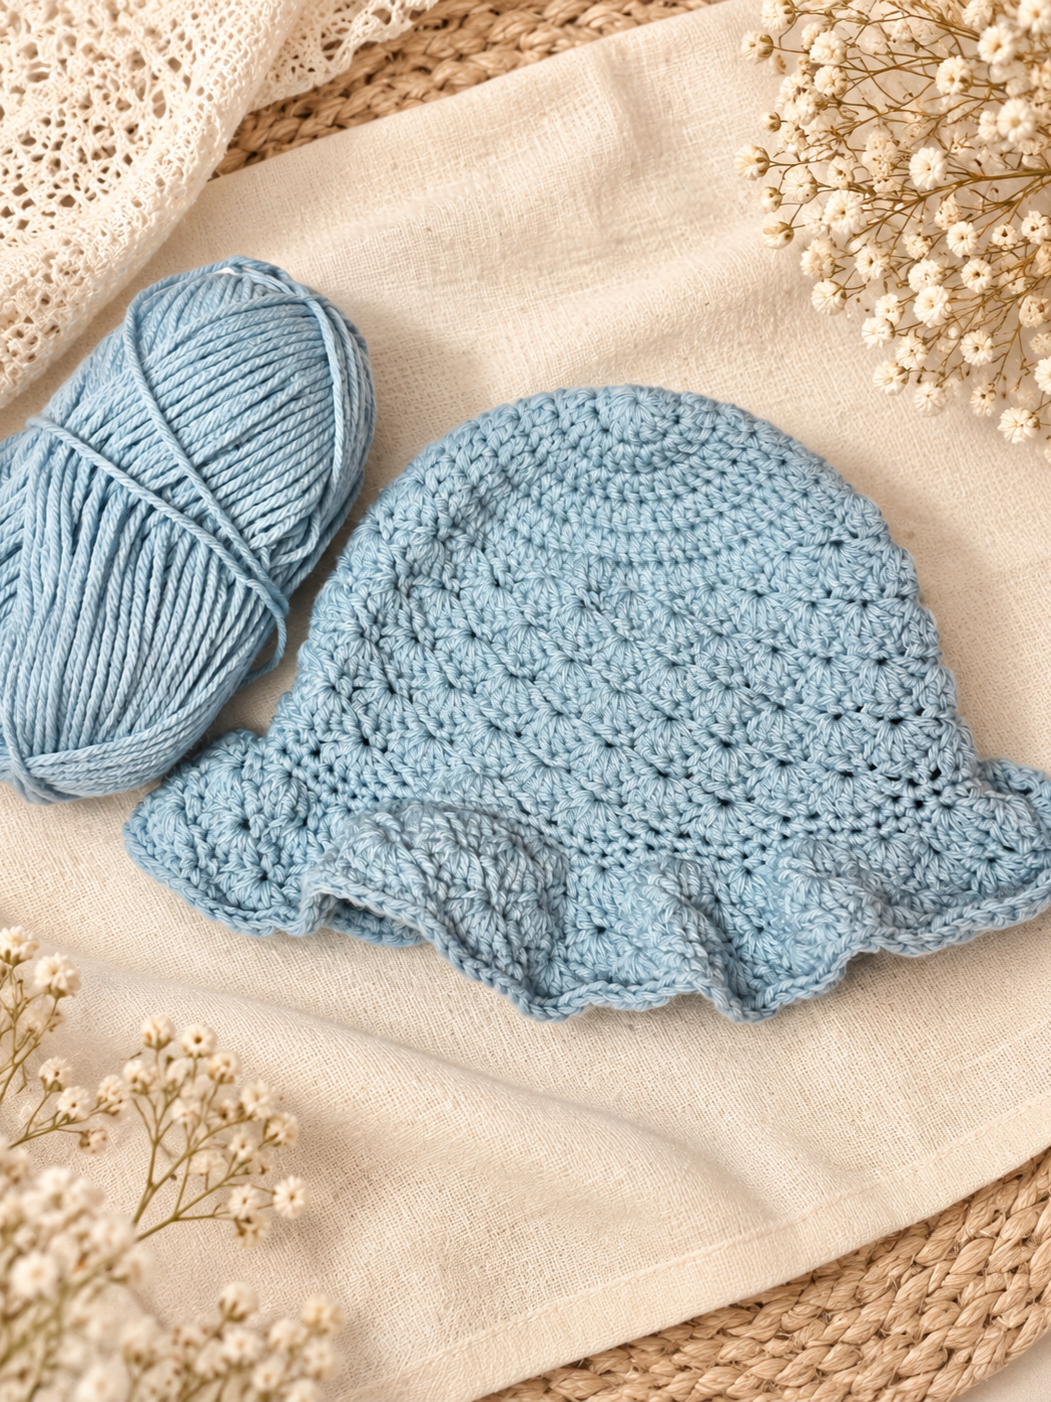
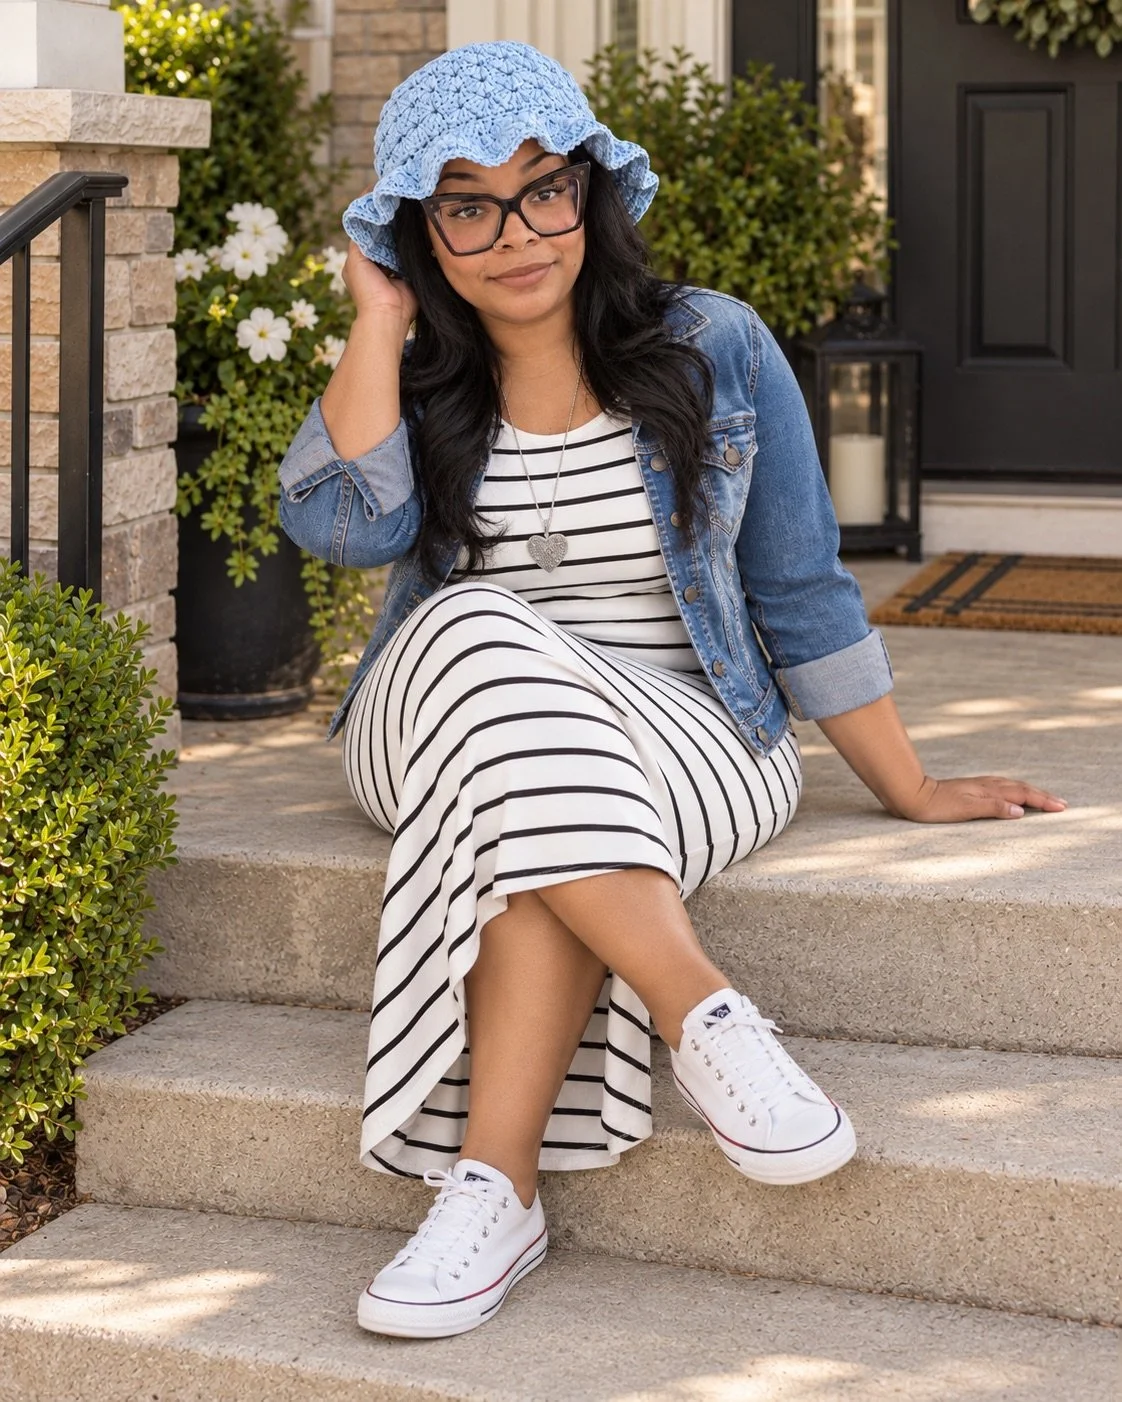
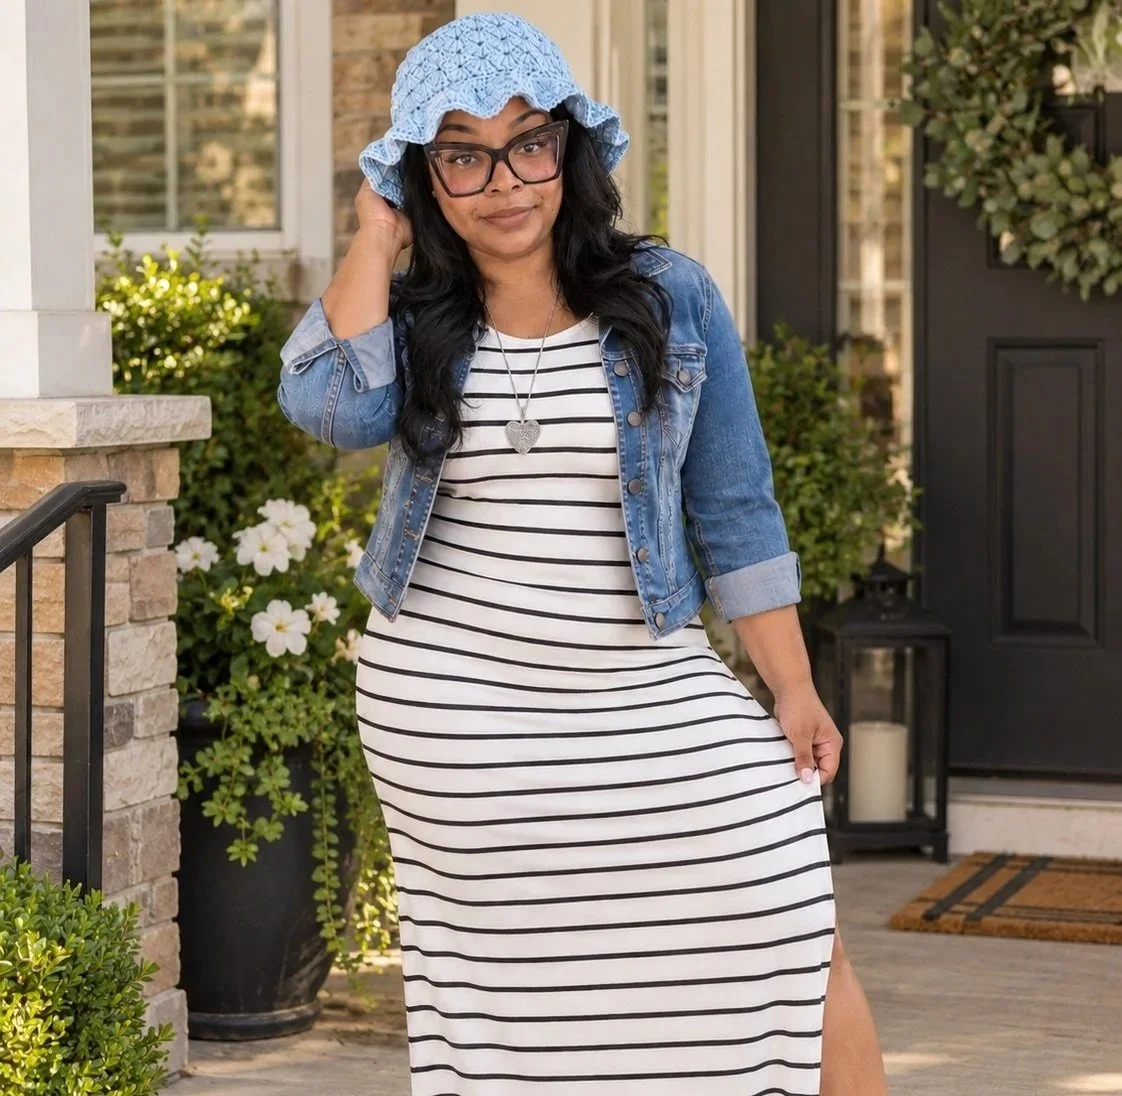
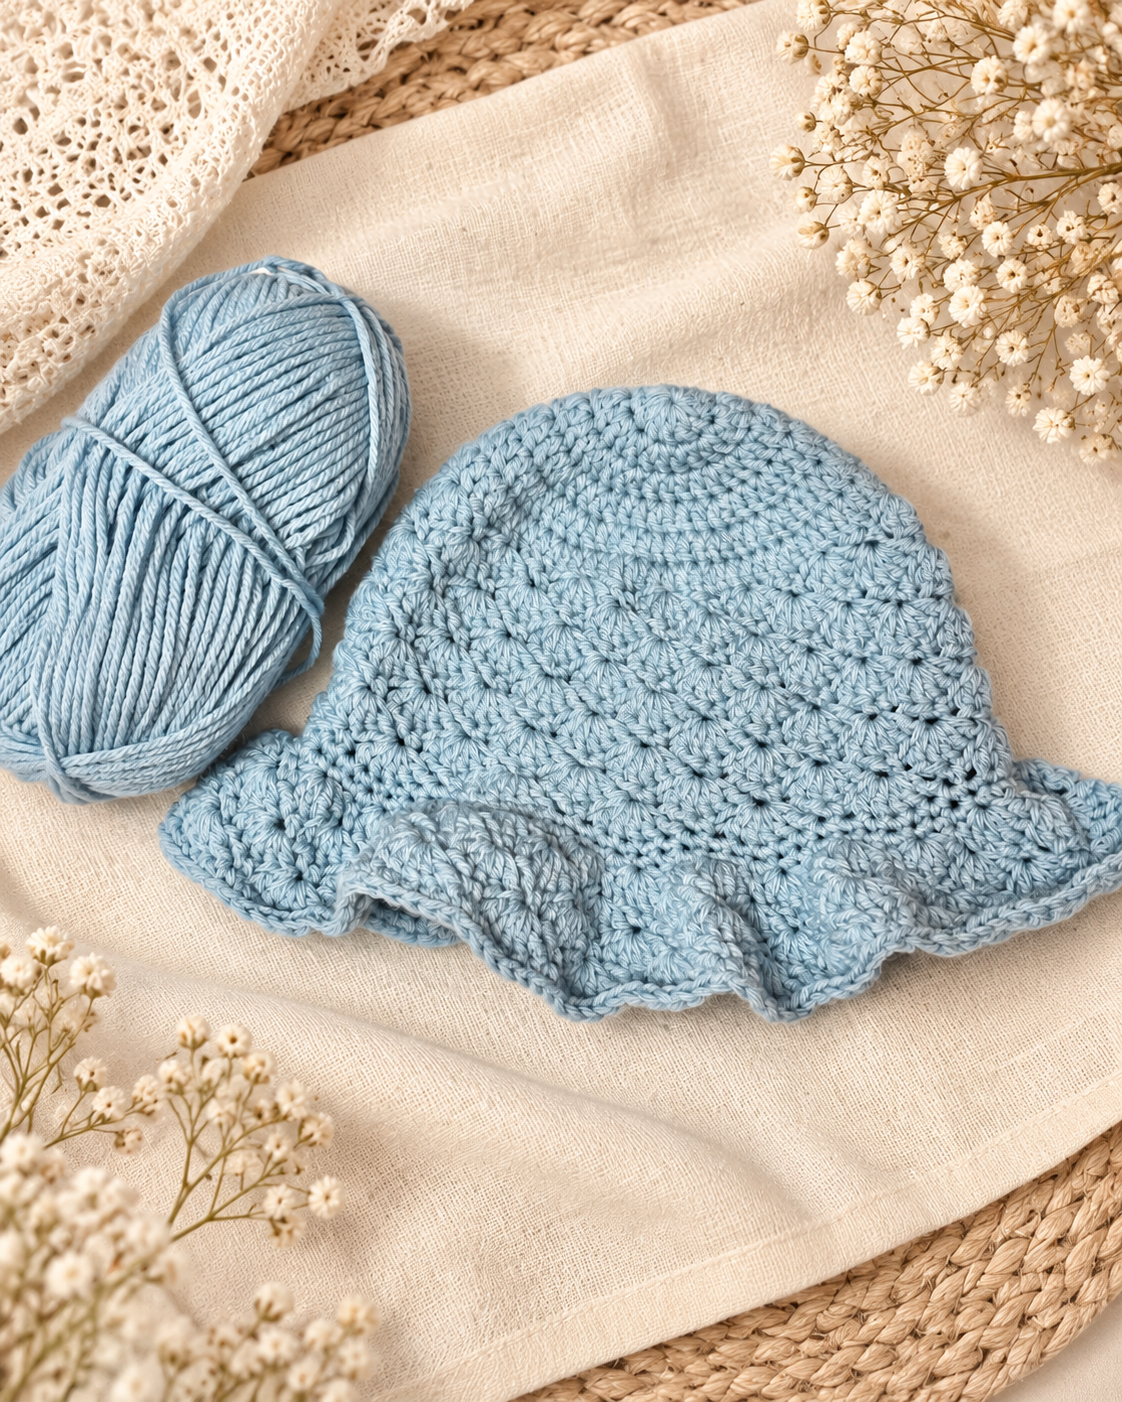
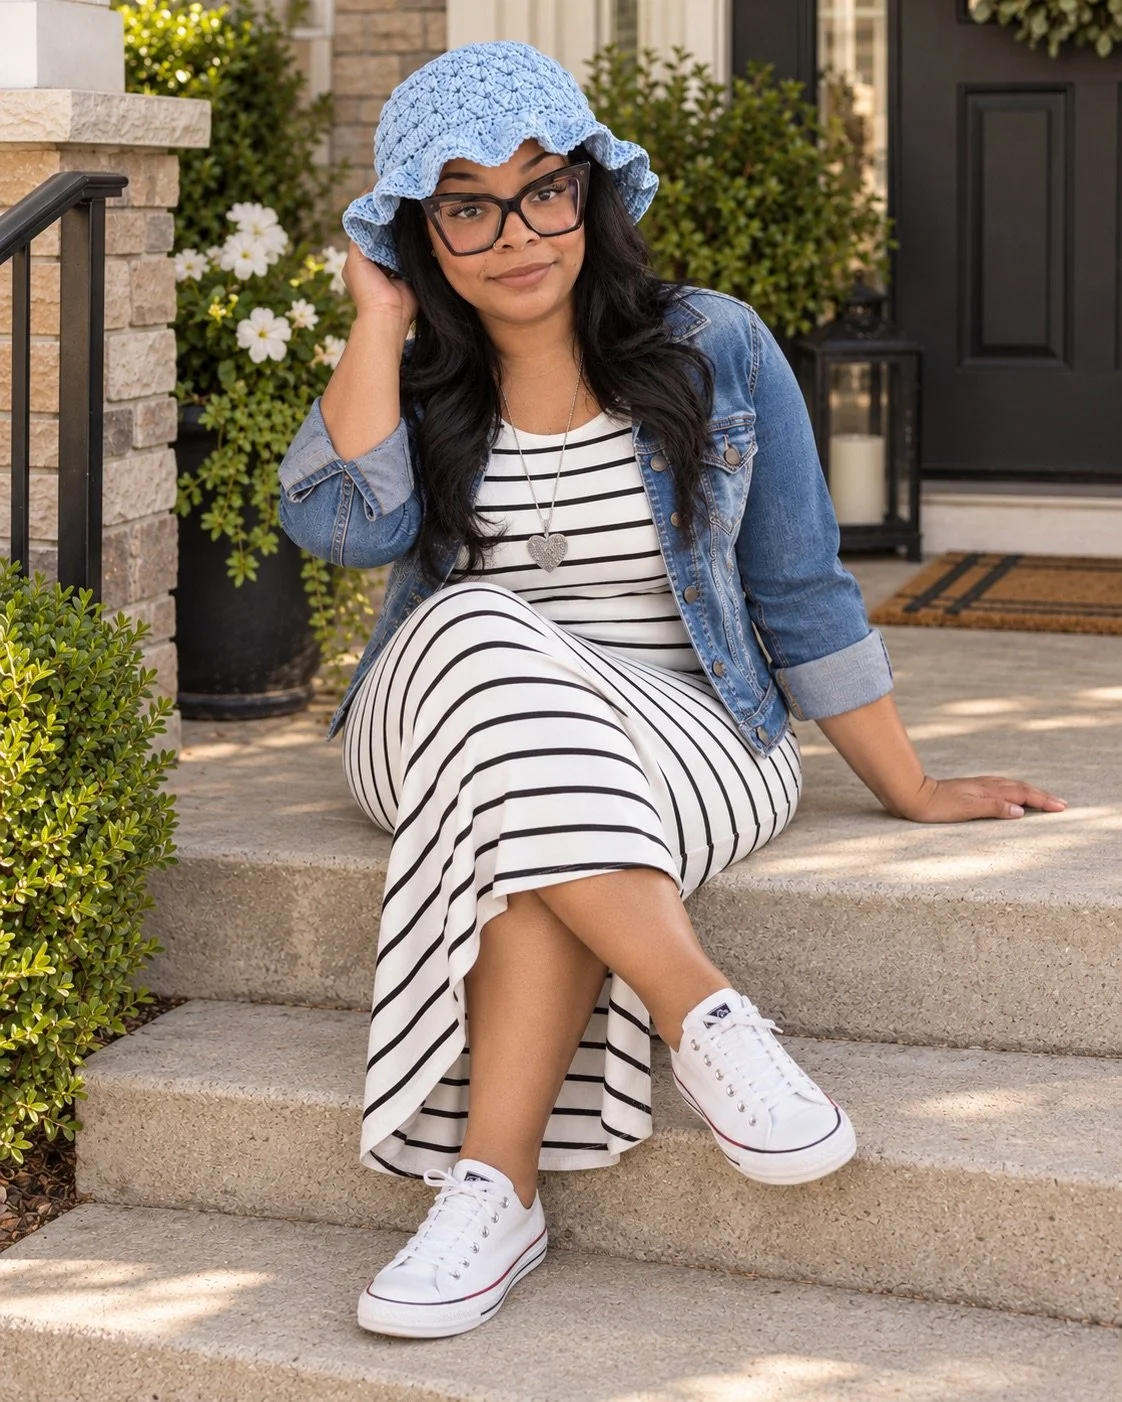
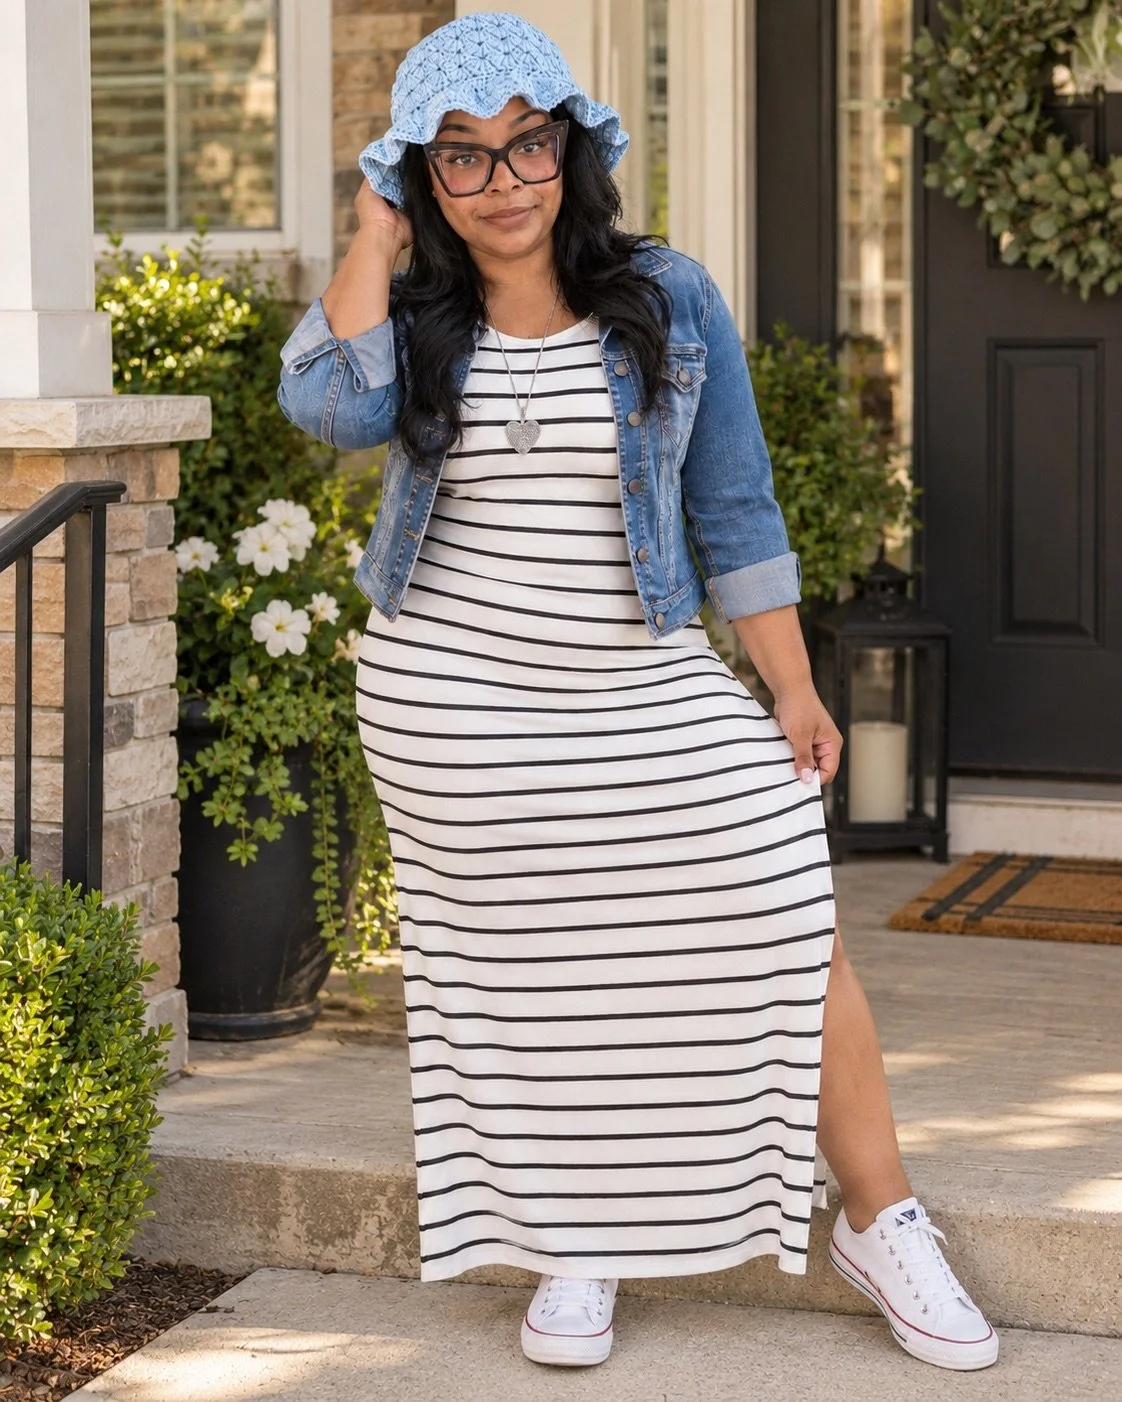
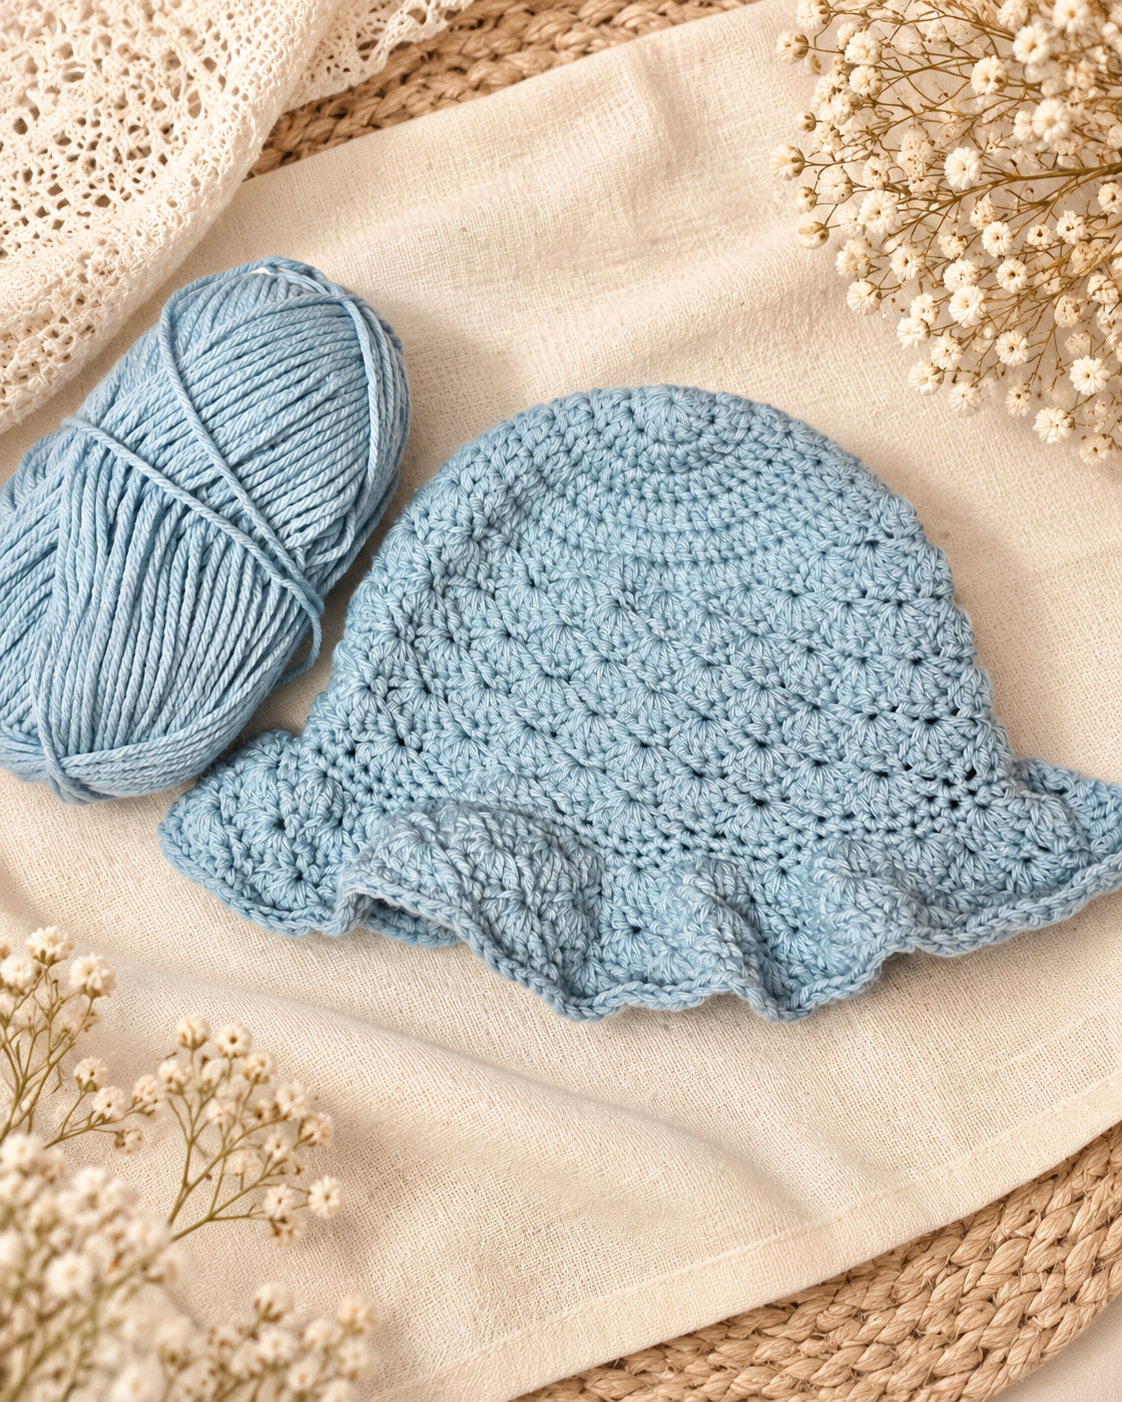
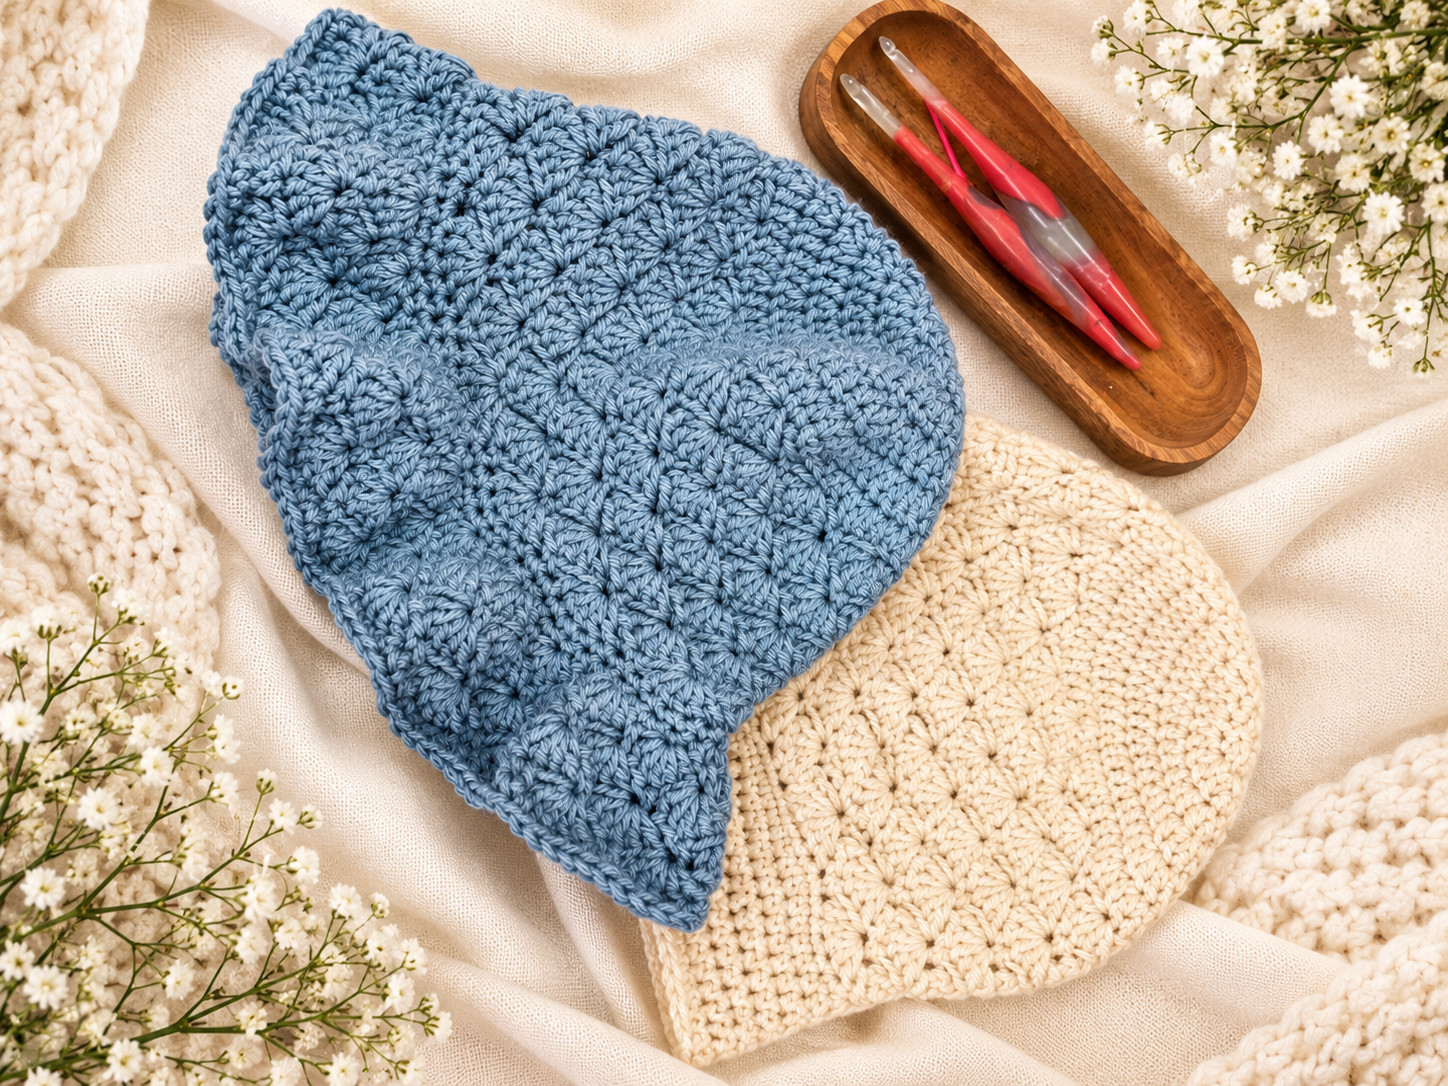
There’s something about a handmade bucket hat that makes an outfit feel instantly more fun. The Ruffle Shell Bucket Hat combines the classic shape of a crochet bucket hat with feminine shell stitches and soft, flouncy ruffle around the brim. This pattern is worked from the top down using worsted-weight yarn and includes 6 sizes from Baby through Adult Large. And because everyone may not want a ruffled brim, I included a second option only available in the pdf pattern.
*Disclaimer*
This pattern is for professional use only. No part of this pattern maybe copied, reproduced, translated, distributed, sold, or shared in any form without written permission from JusBeeCreations Crochet Designs. You are welcome to sell finished handmade items created from this pattern in small quantities. Please credit JusBeeCreations Crochet Designs as the pattern designer.
Behind the Design
This pattern is a pattern update to my original Ruffle Shell Bucket Hat. I wanted to create a bucket hat that felt a little different from the traditional crochet bucket hat. I love the simplicity of a classic bucket-hat shape, but I wanted to add more texture and personality without making the pattern overly complicated. That’s where the shell stitch came in.
The hat begins with a simple top-down crochet crown, giving you a smooth and comfortable fit around the top of the head. Once the crown is established, the design transitions into a textured shell-stitch-section. The shells completely change the look of the hat. The shells add that soft, feminine texture that makes the design feel special while still keeping the overall construction easy to follow.
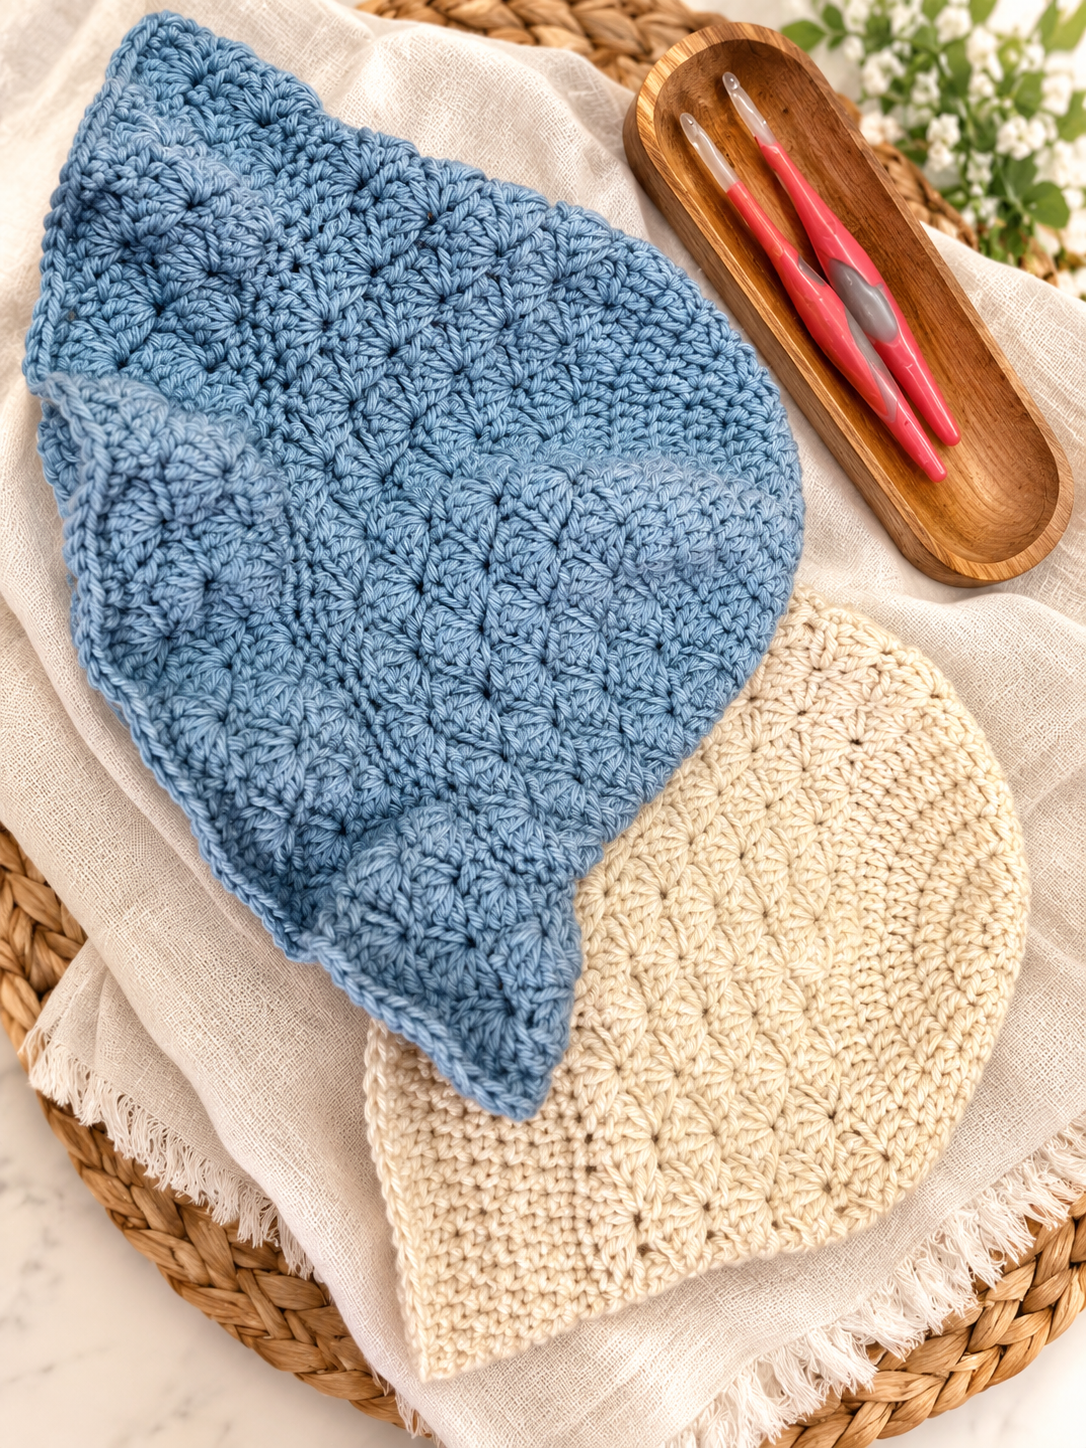
My favorite part is definitely the brim. In the original design the brim was designed using hdc and sc stitches. I wanted to elevate the design and include more of the shell stitch. So this pattern update includes the shells stitch pattern in the brim as well. I love how the ruffle frames the face and continues the texture from the body of the hat. I considered the fact that not everyone may like such a dramatic ruffle look so I included a second option.
The regular brim is worked with gradual increases to create a longer traditional bucket-hat shape. You can keep working the brim until you get the amount of coverage and length you want. That means you can make the same hat pattern look completely different simply by changing the brim.
Pattern at a Glance
Why You’ll Love this Pattern
The Ruffle Shell Bucket Hat is a great project if you enjoy patterns that are easy to personalize. You can change the color, adjust the depth, make the brim shorter or longer, or choose between the two completely different brim styles.
It’s also available in 6 sizes, making it perfect for:
Mommy and me sets
Children’s summer hats
Gifts
Craft Markets
Coordinating family hats
Handmade photo props
This design uses US terms. Pattern is worked from the top down and worked in joined rounds. Pattern uses beginner-friendly stitches. Pattern includes sizes from Baby, Toolder, Child, Teen/Adult XS, Adult Medium, Adult Large.
Yarn & Materials
For this project, I choose Mary Maxim Starlette, a worsted-weight #4 acrylic yarn. Starlette works beautifully for this design because it provides enough structure for the bucket-hat shape while still allowing the shell stitches and ruffles to have softness and movement. Bc it is acrylic, it is also a practical choice for hats that will actually be worn regularly.
Mary Maxim Starlette
Worsted Weight #4 Yarn
100% Acrylic
180 yards/ 100 g per ball
HOOK
Furls Crochet’s Streamline Metal Matte Gold
5.5mm
NOTIONS
Stitch Markers
Yarn Needle
Scissors
Measuring Tape
GAUGE
Approximately
12 dc = 4 in
Gauge matters for hats, so I recommend checking both your stitch gauge and crown measurement before continuing into the body.
Head Circumference
Finished Measurements
Use the finished measurements below to select the size that best fits your project. Measurements are approximate and may vary slightly depending on yarn, gauge, and individual crochet tension.
| Size | Head Circumference | Hat Height Without Brim |
Regular Brim Depth |
Ruffle Brim Depth |
|---|---|---|---|---|
| Baby 0–6 mo |
14–16" | 5" | 2" | 2.5" |
| Toddler 1–3 yr |
16–18" | 5.5" | 2" | 2.5" |
| Child 4–10 yr |
18–20" | 6" | 2.5" | 3" |
| Teen / Adult XS | 20–22" | 6.5" | 2.5" | 3" |
| Adult Medium | 22–23" | 7" | 3" | 3.5" |
| Adult Large | 23–24" | 7.5" | 3" | 3.5" |
Note: Measure the recipient's head whenever possible. The finished hat should fit comfortably while allowing a small amount of negative ease.
Pattern Notes
The hat is worked in joined rounds from the top down. Do not turn your rounds unless specifically instructed. Beginning chains do not count as stitches. The crown is worked first, followed by the shell stitch body. After completing the body, choose either the Ruffle Shell Brim or the Regular Brim. Do not work both brim options on the same hat. Because crochet tension varies, use the finished measurements as a guide and adjust the number of rounds as needed.

MORE CROCHET • MORE INSPIRATION
Join the JBC Crochet Circle
Become part of the JBC Crochet Circle and enjoy a cozy space created for crocheters who love patterns, helpful resources, creative inspiration, and a few special extras along the way.
Already a member? Sign in to visit your Crochet Circle member area.
JOIN THE JBC CROCHET CIRCLE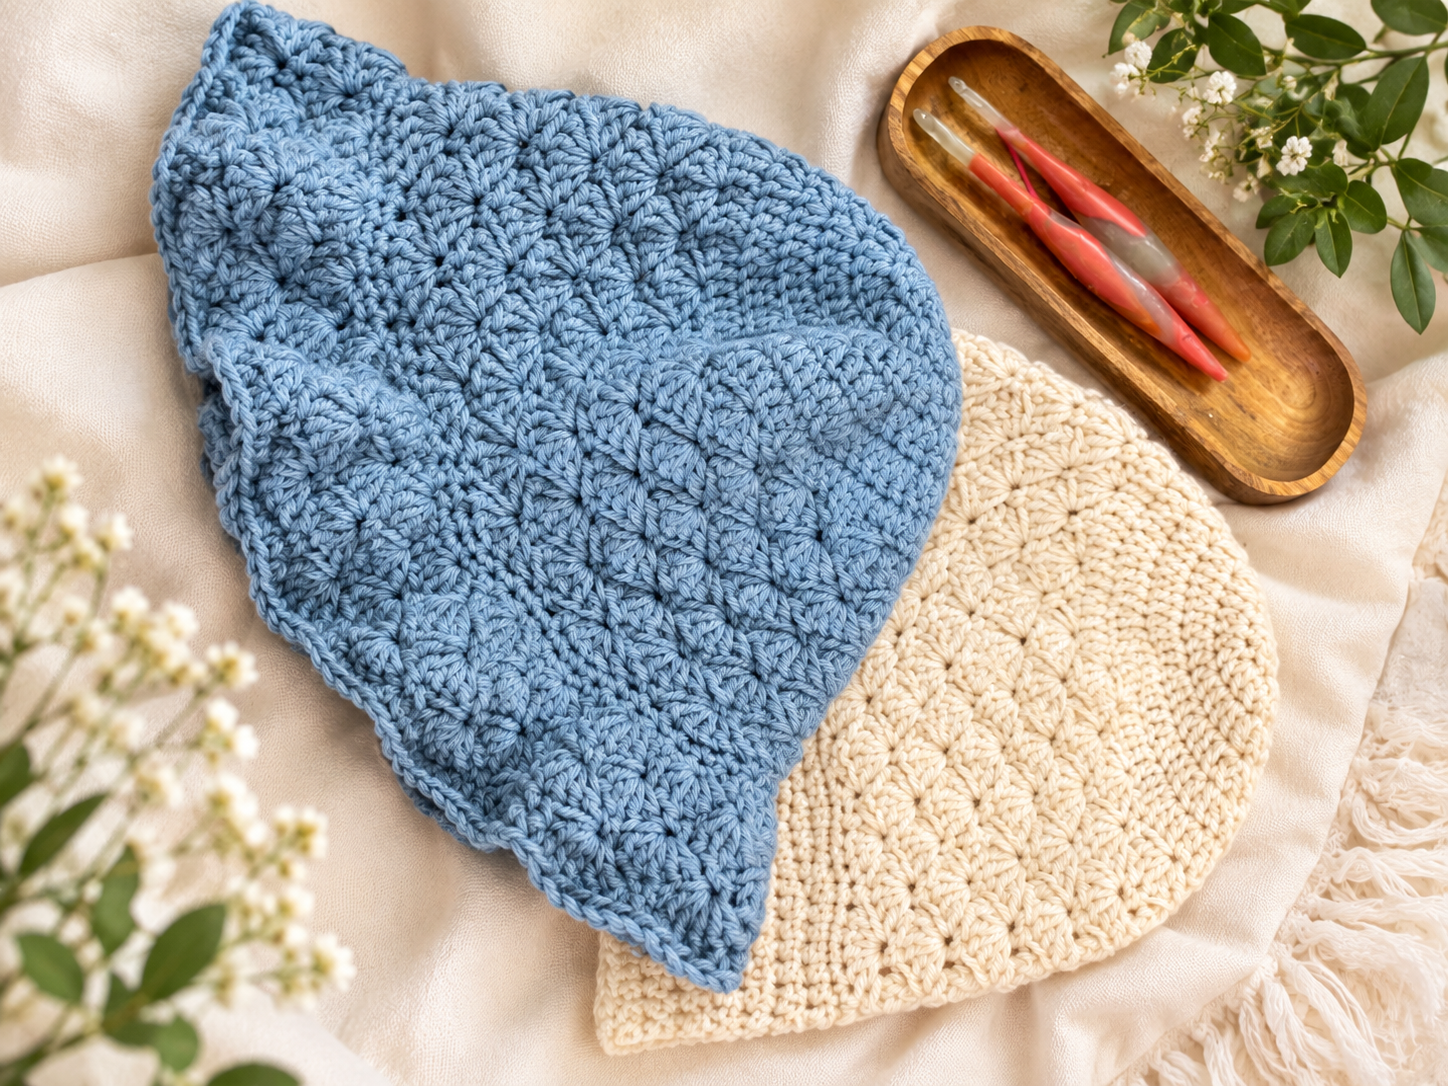
Construction
Pattern is worked entirely from the top down. You'll begin by creating a flat double crochet circle crown. Once appropriate crown size is reached, increases stop and the hat begins transitioning downward. The shell stitch pattern is worked around the body of the hat. After completing the shell section, you'll choose between the two brim options. The Ruffle Shell Brim is increased before additional shells are worked.
Abbreviations
Abbreviations
This pattern is written using standard US crochet terminology.
Note: Any special stitches used in the pattern are explained separately in the Special Stitches section.
Special Stitches
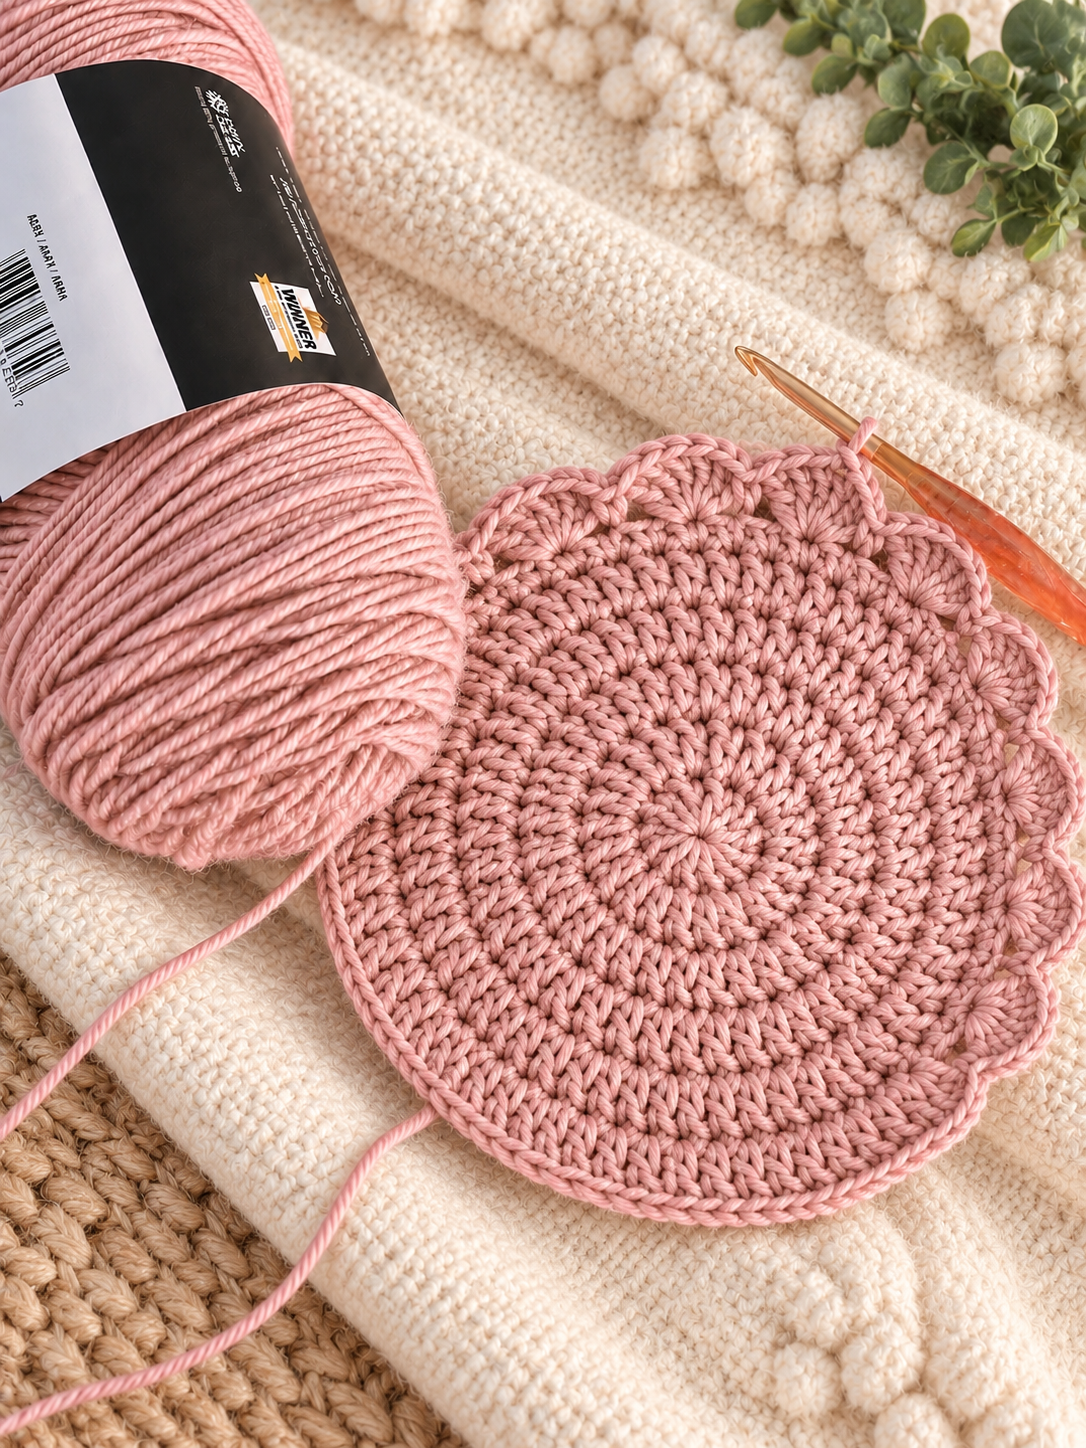
This pattern uses the shell stitch. When the pattern states shell stitch work that section as follows:
5 Dc into one stitch/ or stitch indicated in the pattern.

DIGITAL DOWNLOAD • NO ADS!
Upgrade to the Printable PDF Pattern
The printable PDF includes the complete pattern in one beautiful, easy-to-follow download.
The Crown
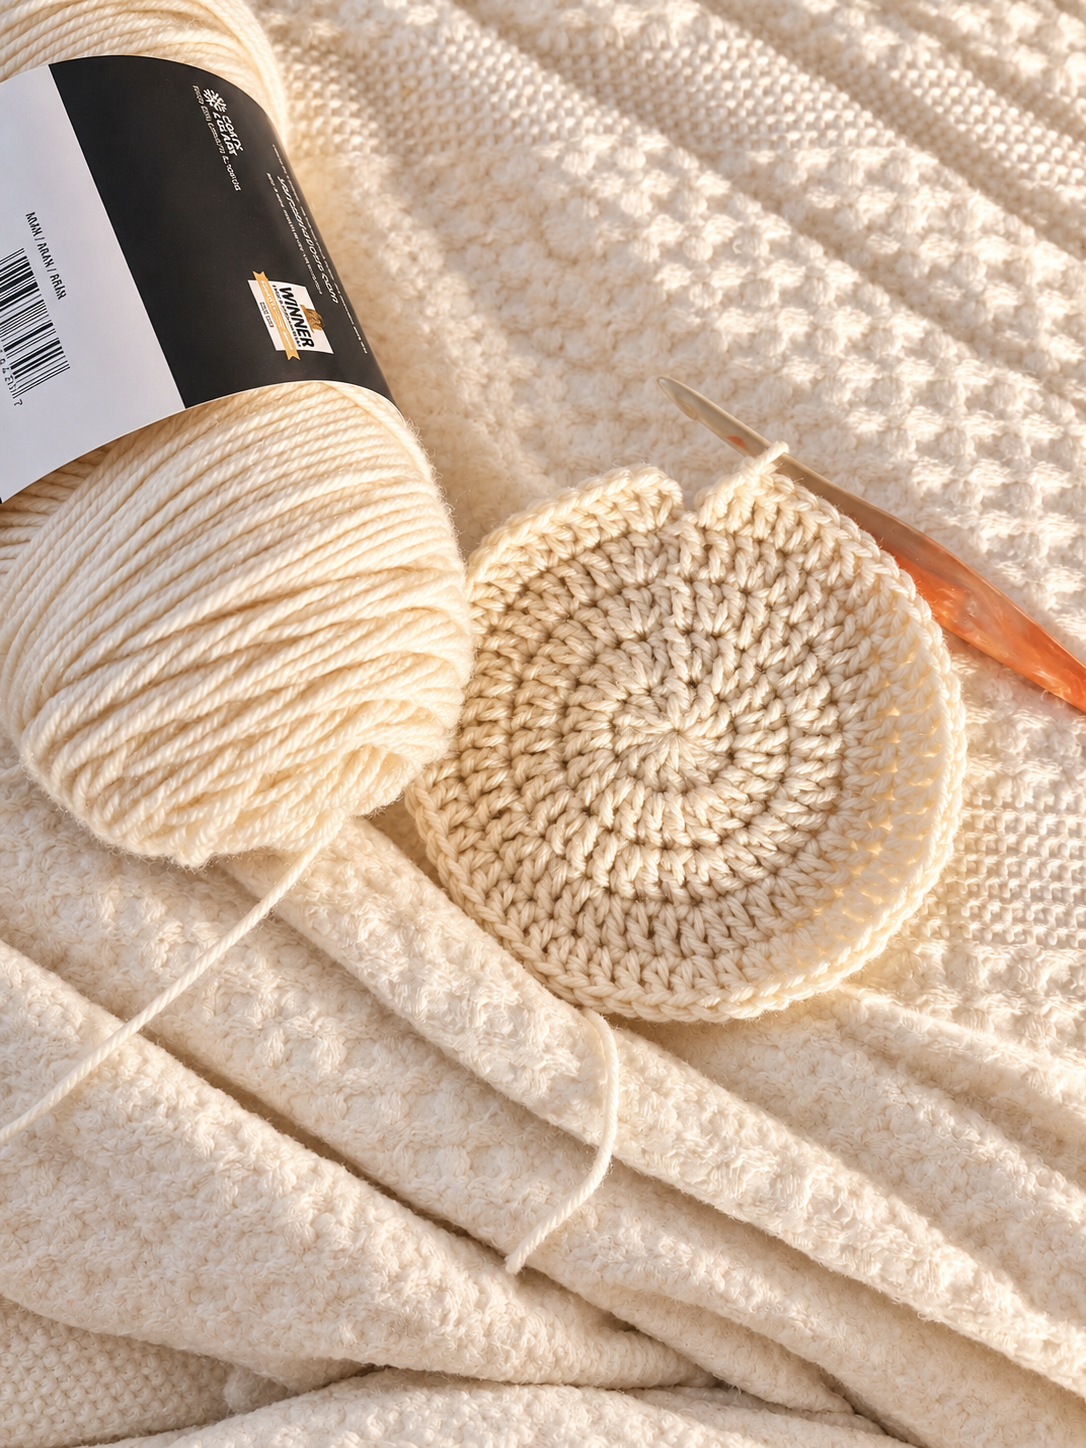
Begin with a magic circle.
Rnd 1- (Ch 2 is not included as a stitch here and throughout the pattern unless indicated.) Ch 2, Work 12 dc into the circle, pull your circle close and join with a sl st to the first dc.
Rnd 2- Ch 2, work 2 dc into each st around. Sl st to the first dc to join. 24 sts
Rnd 3- Ch 2, work 2 dc in the first dc of the previous rnd, work 1 dc into the next st. [Rep 2 dc in the next st, 1 dc into the next st] sl st to the first dc to join. 36sts
Baby (Work this rnd 4 if you are working the baby size only, other sizes proceed to round 4 )
Rnd 4- Ch 2, work 1 dc into the next 5 sts, work 2 dc into the next st. Rep this around 6 times. Sl st to the first dc to join. 42 sts.
Stop Inc. Proceed to Hat Body
Toddler (Work this rnd 4 if you are working the toddler size only, other sizes proceed to rnd 4)
Rnd 4- Ch 2, work 2 dc into the first st, work 1 dc into the next 2 sts. Rep this around. Sl st to the first dc to join. 48 sts
Stop Inc. Proceed to Hat Body
Child (Complete the 48 st rnd 4 above.)
Rnd 5- Ch 2, work 1 dc into the next 7 sts, work 2 dc in the next st. Rep this around 6 times. Sl st to the first dc to join. 54 sts.
Stop Inc Proceed to Hat Body
Teen/Adult XS (Complete rnd 1-4 for 48 sts.)
Rnd 5- Ch 2, work 2 dc into the first st, work 1 dc into the next 3 sts. Rep this around. Sl st to the first dc to join. 60 sts
Stop Inc Proceed to Hat Body
Adult Medium (Complete rnd 1-5 for 60 sts.)
Rnd 6- Ch 2, work 1 dc into the next 9 sts, work 2 dc into the next st. Rep this around 6 times. Sl st to the first dc to join. 66 sts.
Stop Inc Proceed to Hat Body
Adult Large (Complete rnd 1-5 for 60 sts.)
Rnd 6- Ch 2, work 2 dc into the first st, 1 dc into the next 4 sts. Rep this around. Sl st to the first dc to join. 72 sts.
Shell Stitch Body
Your st counts should now be:
Baby: 42 sts
Toddler: 48 sts
Child: 54 sts
Teen/Adult XS: 60 sts
Adult Medium: 66 sts
Adult Large: 72 sts
Shell Stitch begins here.
Rnd 1 - (Ch 1 does not count as a stitch here and throughout the body section of the hat.) Ch 1, *work 1 sc into the first st, sk the next 2 sts, work 5 dc in the next st, sk next 2 sts.* Rep from * to * around sl st to the first sc to join.
You should have:
Baby: 7 shells
Toddler: 8 shells
Child: 9 shells
Teen/Adult XS: 10 shells
Adult Medium: 11 shells
Adult Large: 12 shells
Rnd 2- Ch 1, work 5 dc into the first sc. *Sk the next 2 dc work 1 sc in the next st. (You are working into the third st of the shell from the previous rnd.) Work 5 dc into the next sc st worked in the previous rnd.* Rep * to * around sl st to the first dc to join.
Rnd 3- Ch 1, work 1 sc in the center dc of the first shell (third st), * sk next 2 sts, work 5 dc into the sc of the previous rnd, sk 2 sts sc into center dc of the next shell.* Rep from * to * around sl st in the first st to join.
Continue alternating shell rnds 2 & 3.
Baby: 4 shell rounds
Toddler: 5 shell rounds
Child: 6 shell rounds
Teen/Adult XS: 7 shell rounds
Adult Medium: 8 shell rounds
Adult Large: 9 shell rounds
Try your hat on as you work and adjust the depth if necessary.
Brim Foundation
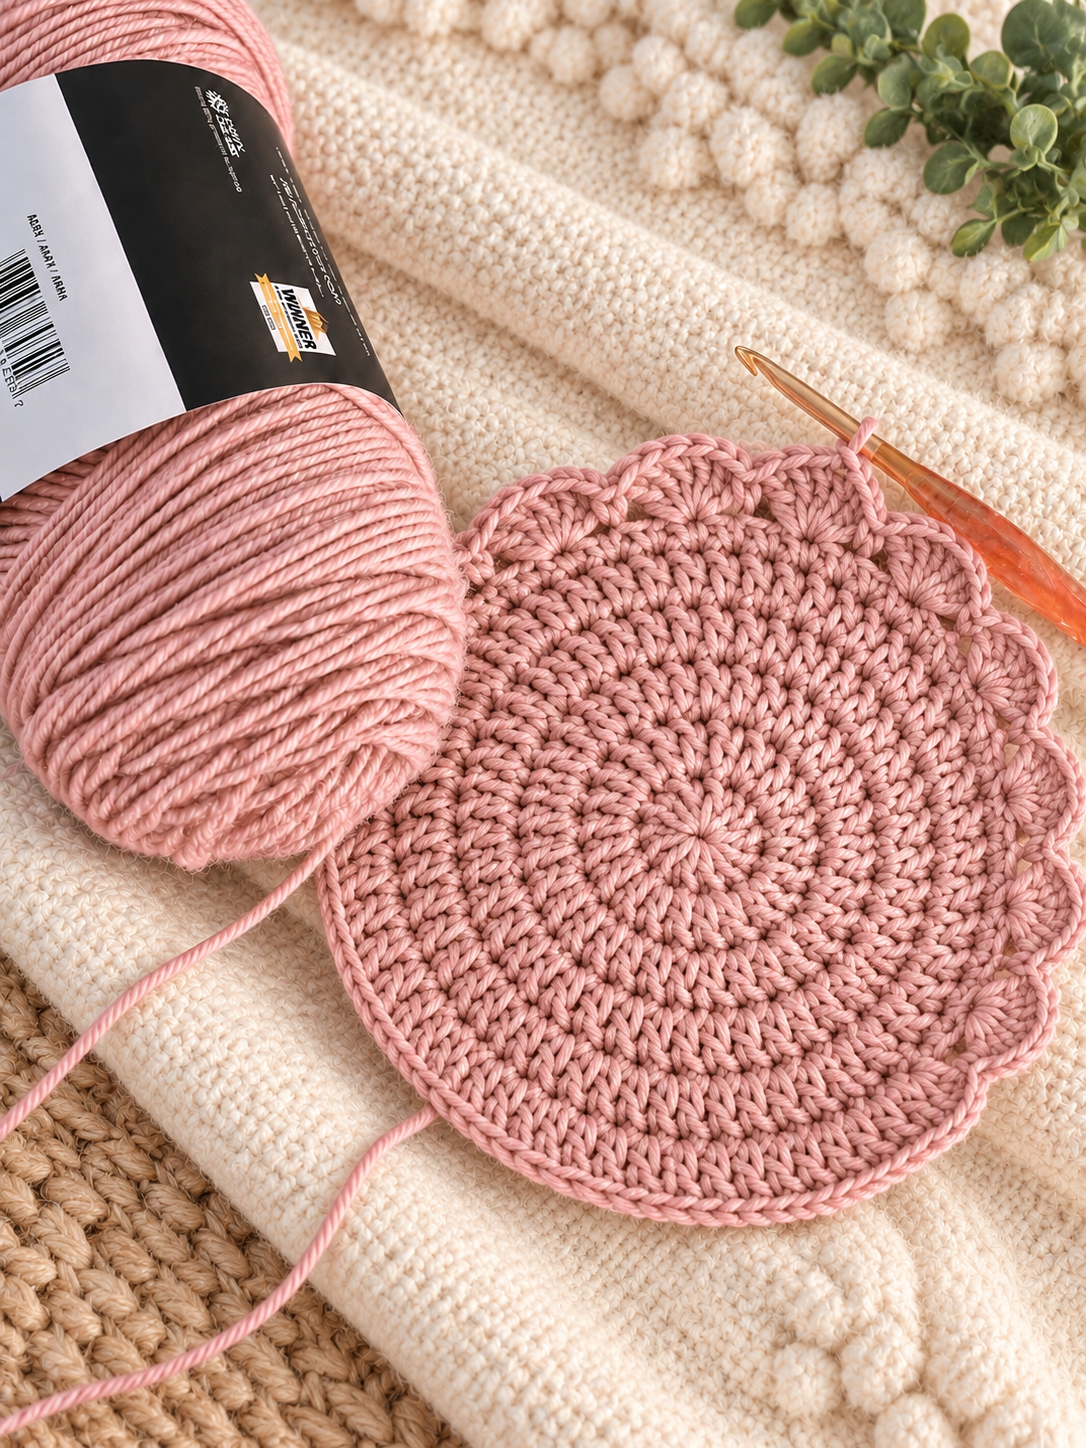
Before you begin either of the 2 brim options, work 1 rnd of sc into each st around. Sl st to the first sc st to join.
Your st count should be as follows:
42 (48, 54, 60, 66, 72) sts for Baby through Adult Large.
Ruffle Shell Brim
INCREASE ROUND FOR ALL SIZES
Ch 1, work 2 sc into the first st, work 1 sc in the next 2 sts. Rep around.
Your st count should be as follows: 56 (64, 72, 80, 88, 96) sts
Shell Brim Begins
Rnd 1- Ch 1, *1 sc into the first st, sk the next st, work 5 dc into the next st, sk the next st.* Rep from * to * around. Sl st to the first sc to join.
Rnd 2- Ch 2, work 5 dc into the first sc. *Sk next 2 dc sts, work 1 sc into the next st, sk 2 sts, work 5 dc into the next sc st. *
Rep from *to * around. Sl st to the first dc to join,
Rnd 3- Ch 1, *sk the first 2 sts, work 1 sc into the next st. (center st/third st), sk the next 2 sts, work 5 dc into the next sc.* Rep from * to * around. Sl st to the first sc to join.
Ruffle Length
Baby: 2 rounds
Toddler: 2 rounds
Child: 3 rounds
Teen/Adult XS: 3 rounds
Adult Medium: 4 rounds
Adult Large: 4 rounds
Continue Alternating shell rounds if you want a more dramatic ruffle.
Finishing
Once you’ve reached your desired brim length, work one final round of sc evenly around. Fasten off. Weave in all ends securely. Gently shape your hat. If necessary, lightly steam the brim to help it settle into shape. Because Mary Maxims Starlette is acrylic, avoid applying direct high heat. Finish your hat by adding a personalized garment tag.
Make it your own
One of my favorite things about this pattern is how easily you can make it your own.
Try:
A contrasting brim color
Two-toned shells
A solid neutral color
Spring pastels
Bright summer colors
Mommy-and-me matching hats
An extra-long brim
An exaggerated ruffle
A contrasting final edging
You can even make the one version with the ruffle brim and another with the regular brim using the exact same main pattern.
Final Thoughts
I love how this pattern update came out! This design combines a simple bucket-hat construction with just enough texture to make it stand out. The shell stitches give the body a beautiful handmade look, while the two brim options allow you to completely change the personality of the finished hat. Whether you make yours with a big feminine ruffle or a long classic bucket brim, I hope my Ruffle Shell Bucket Hat becomes one of those patterns you want to make again and again n different colors.
If you make one, I would love to see how you customize yours.
Happy crocheting !
we’ve got a community!
friends! Join our group to post
pictures and ask all your pattern
support questions.
You may also like….

Hi, I'm Brittany!
Designer behind
JusBeeCreations Crochet Designs
Welcome to JusBeeCreations Crochet Designs, where modern crochet, creativity, and handmade style come together.
I create crochet patterns designed to be beautiful, practical, and enjoyable to make — with clear instructions to help crocheters feel confident from the first stitch to the last.