Neapolitan Bulky Shell Crochet Blanket Pattern
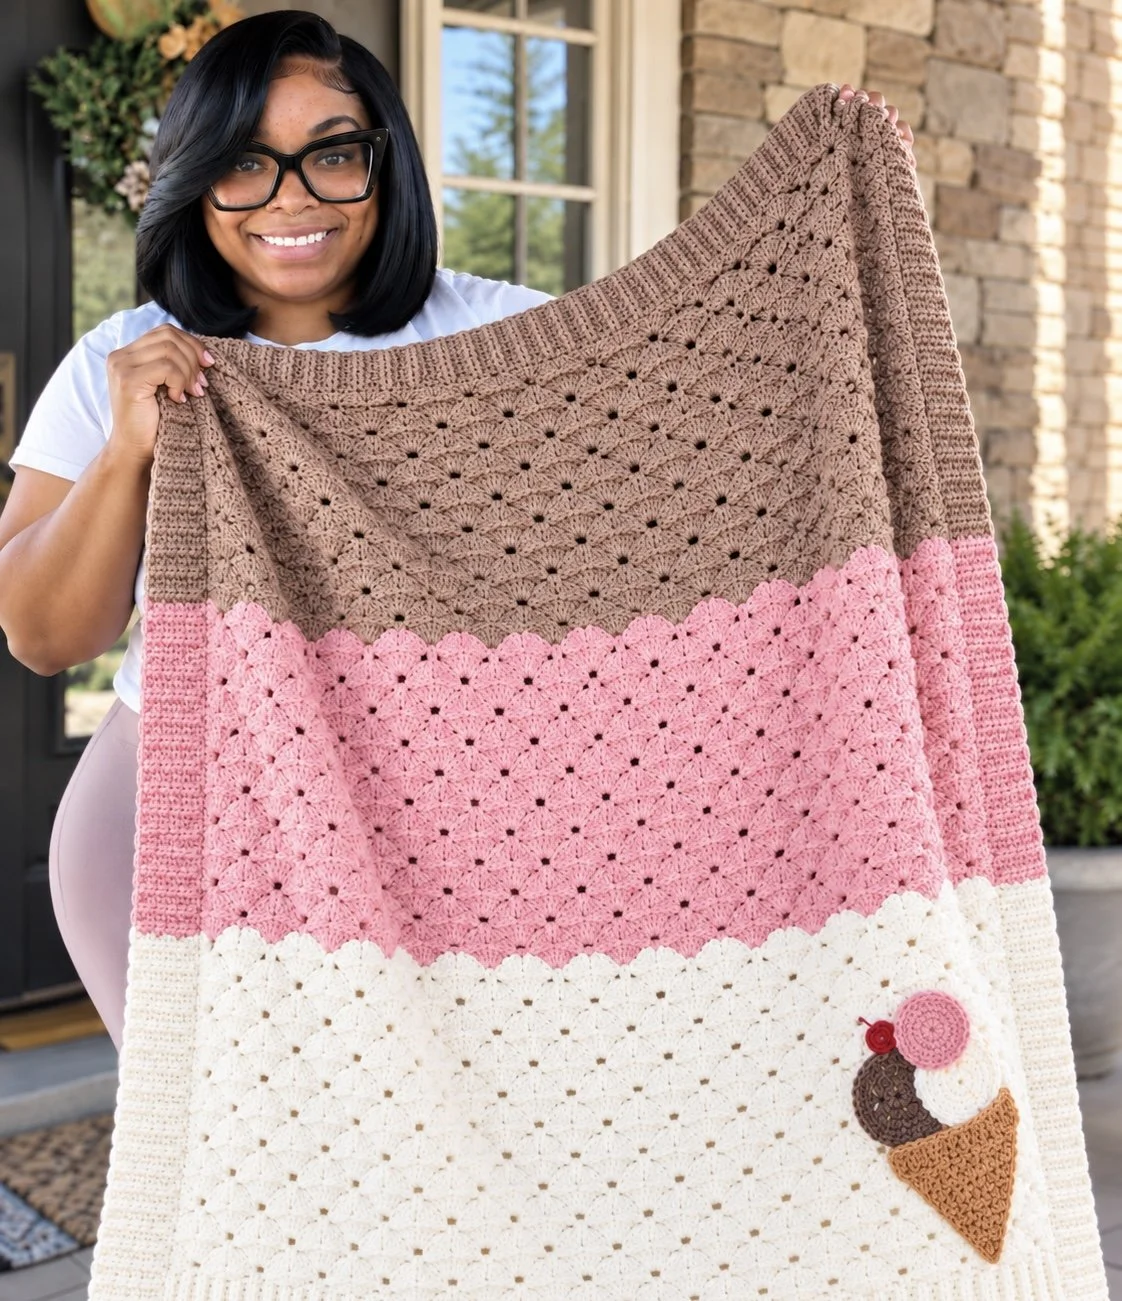
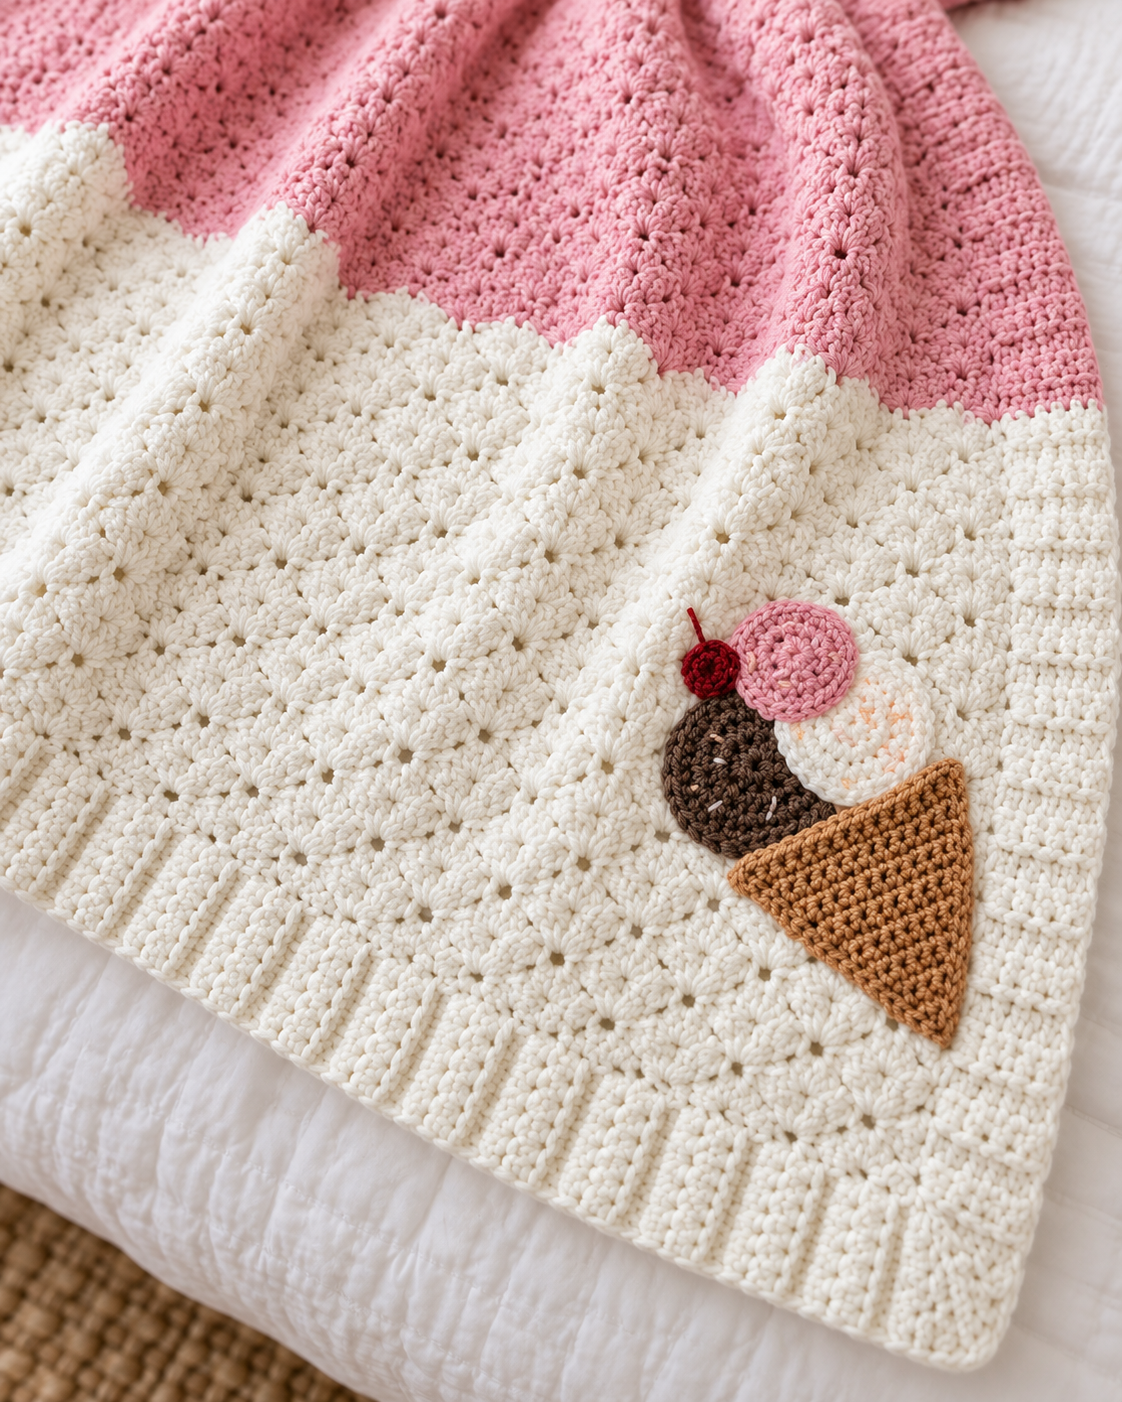
There’s just something extra sweet about a cozy crochet blanket inspired by ice-cream!
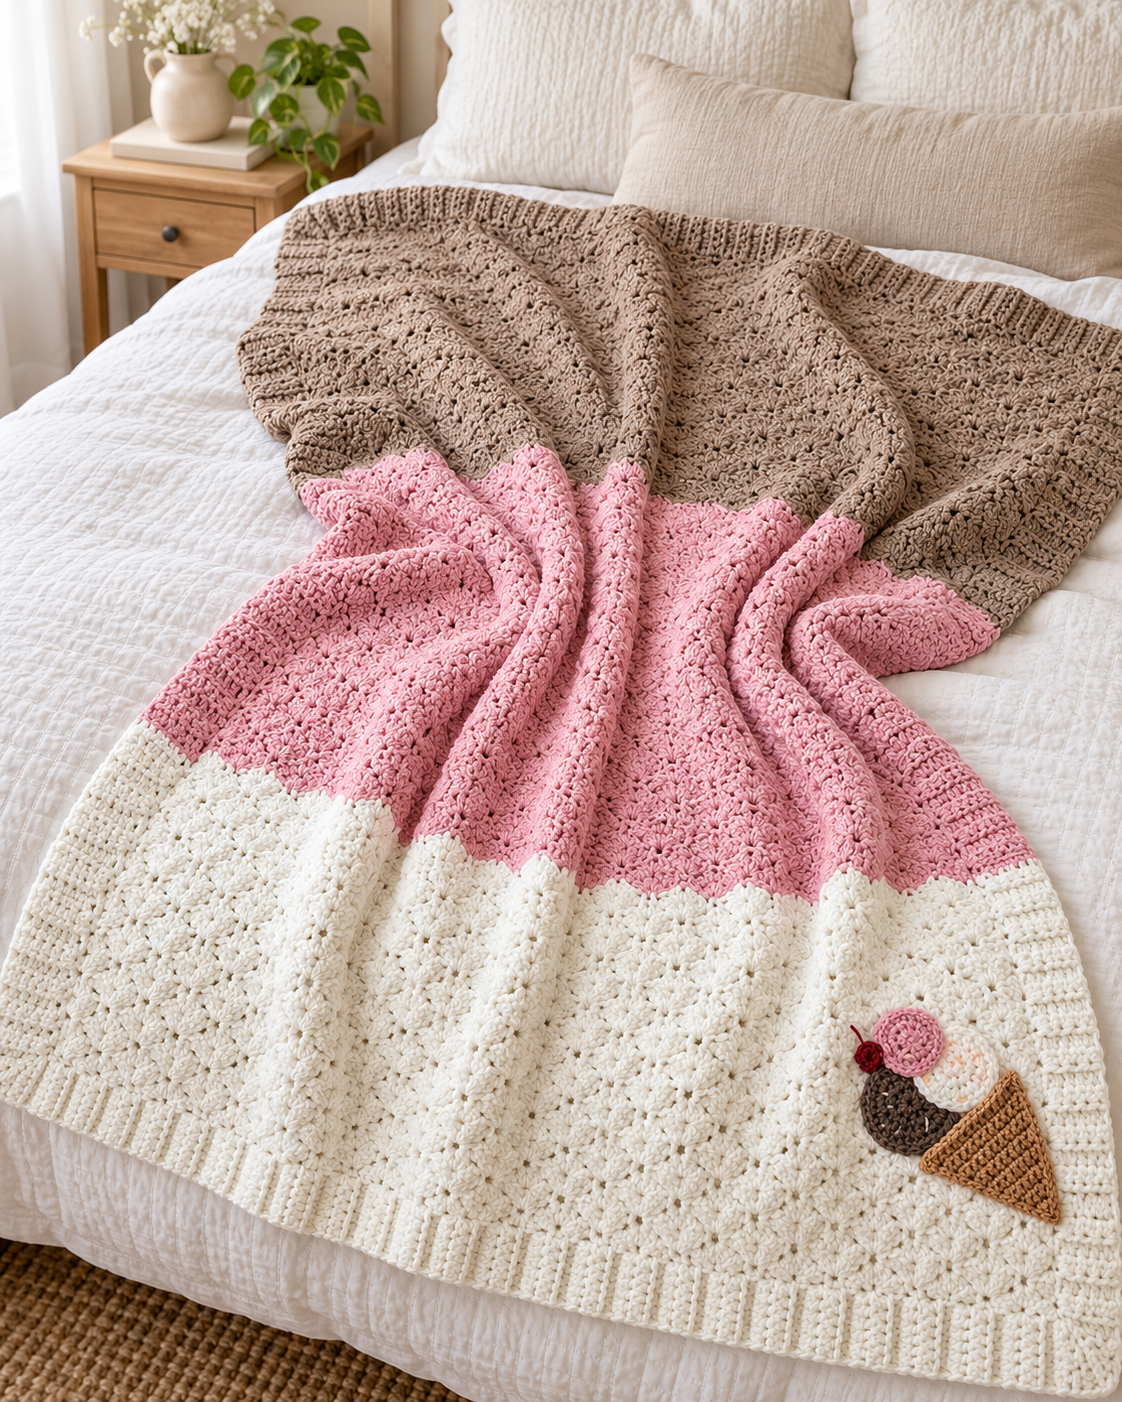
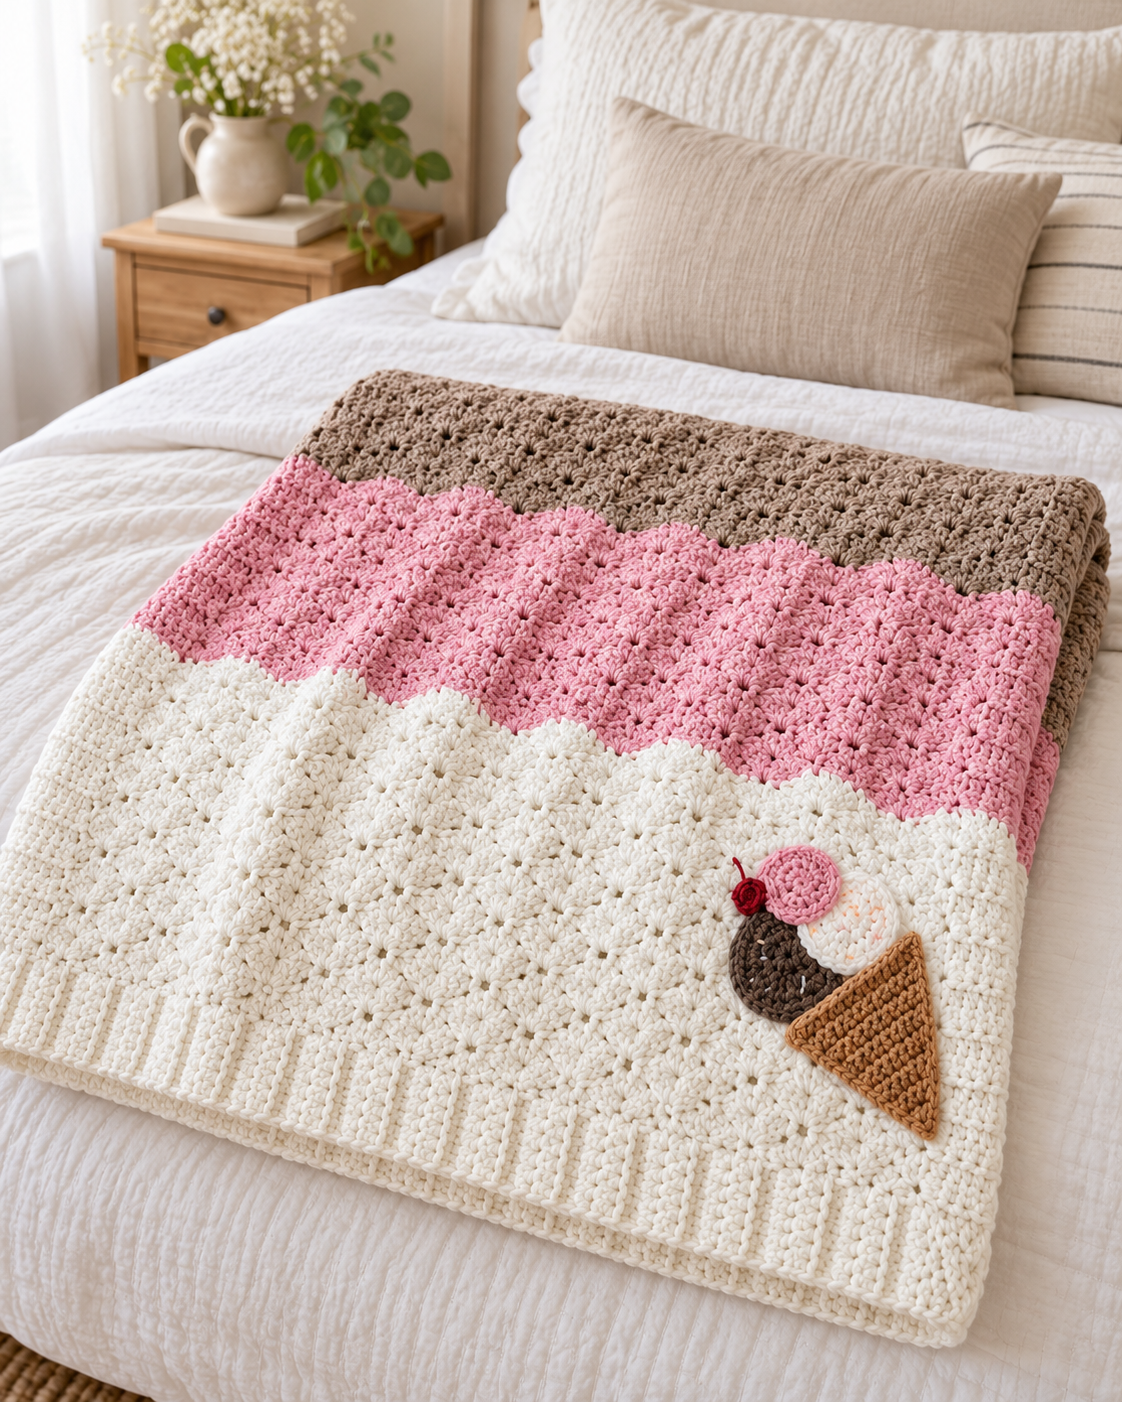
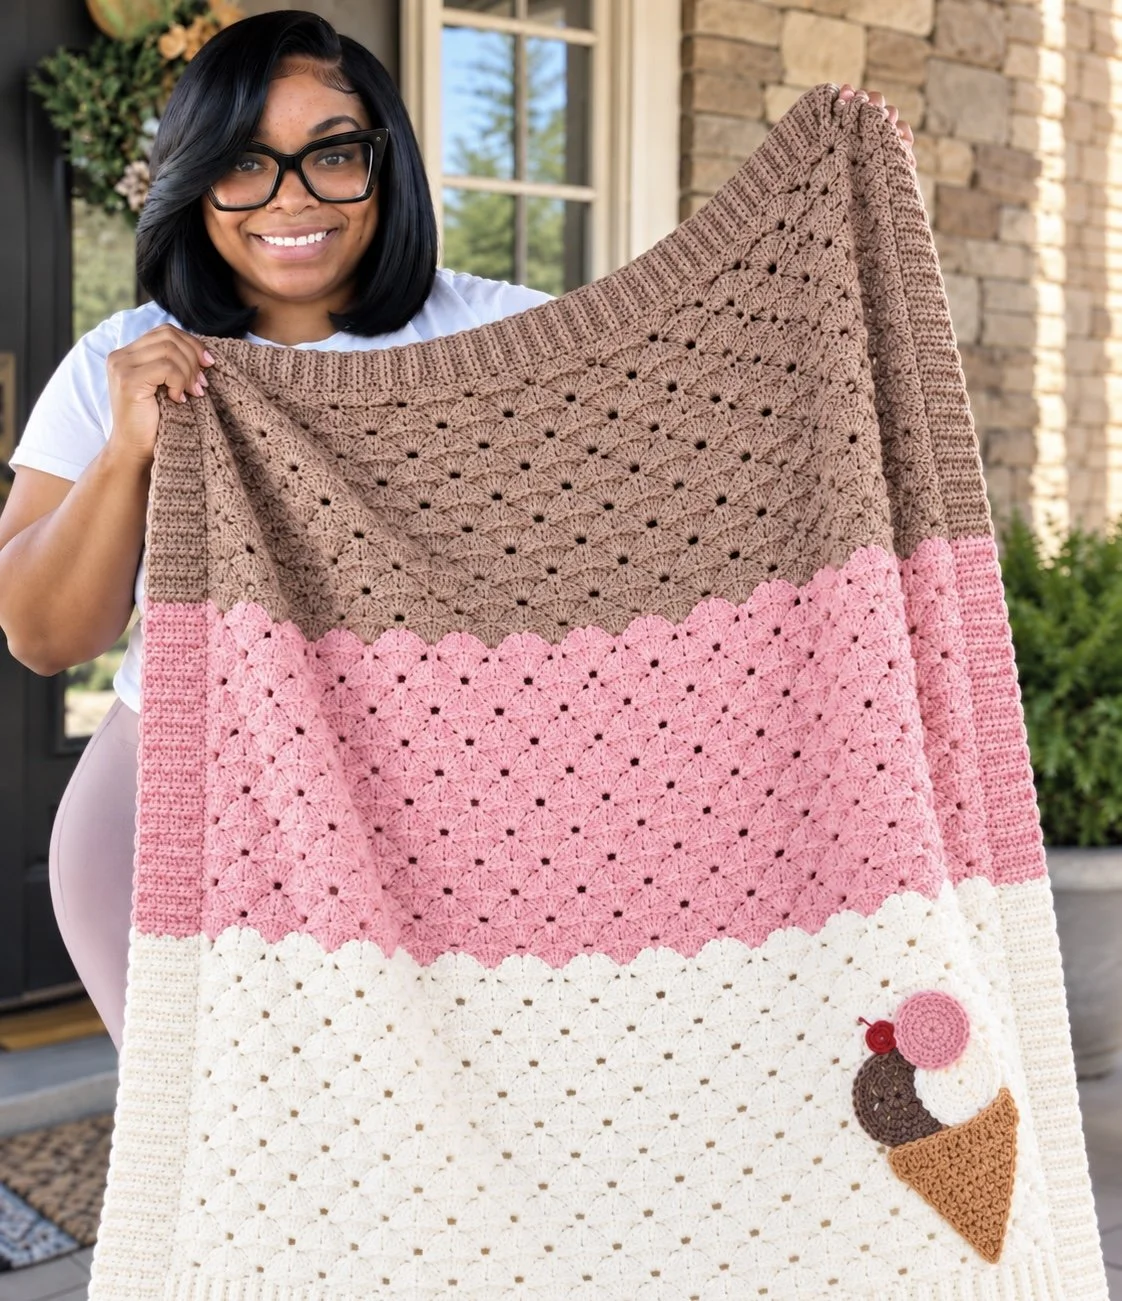
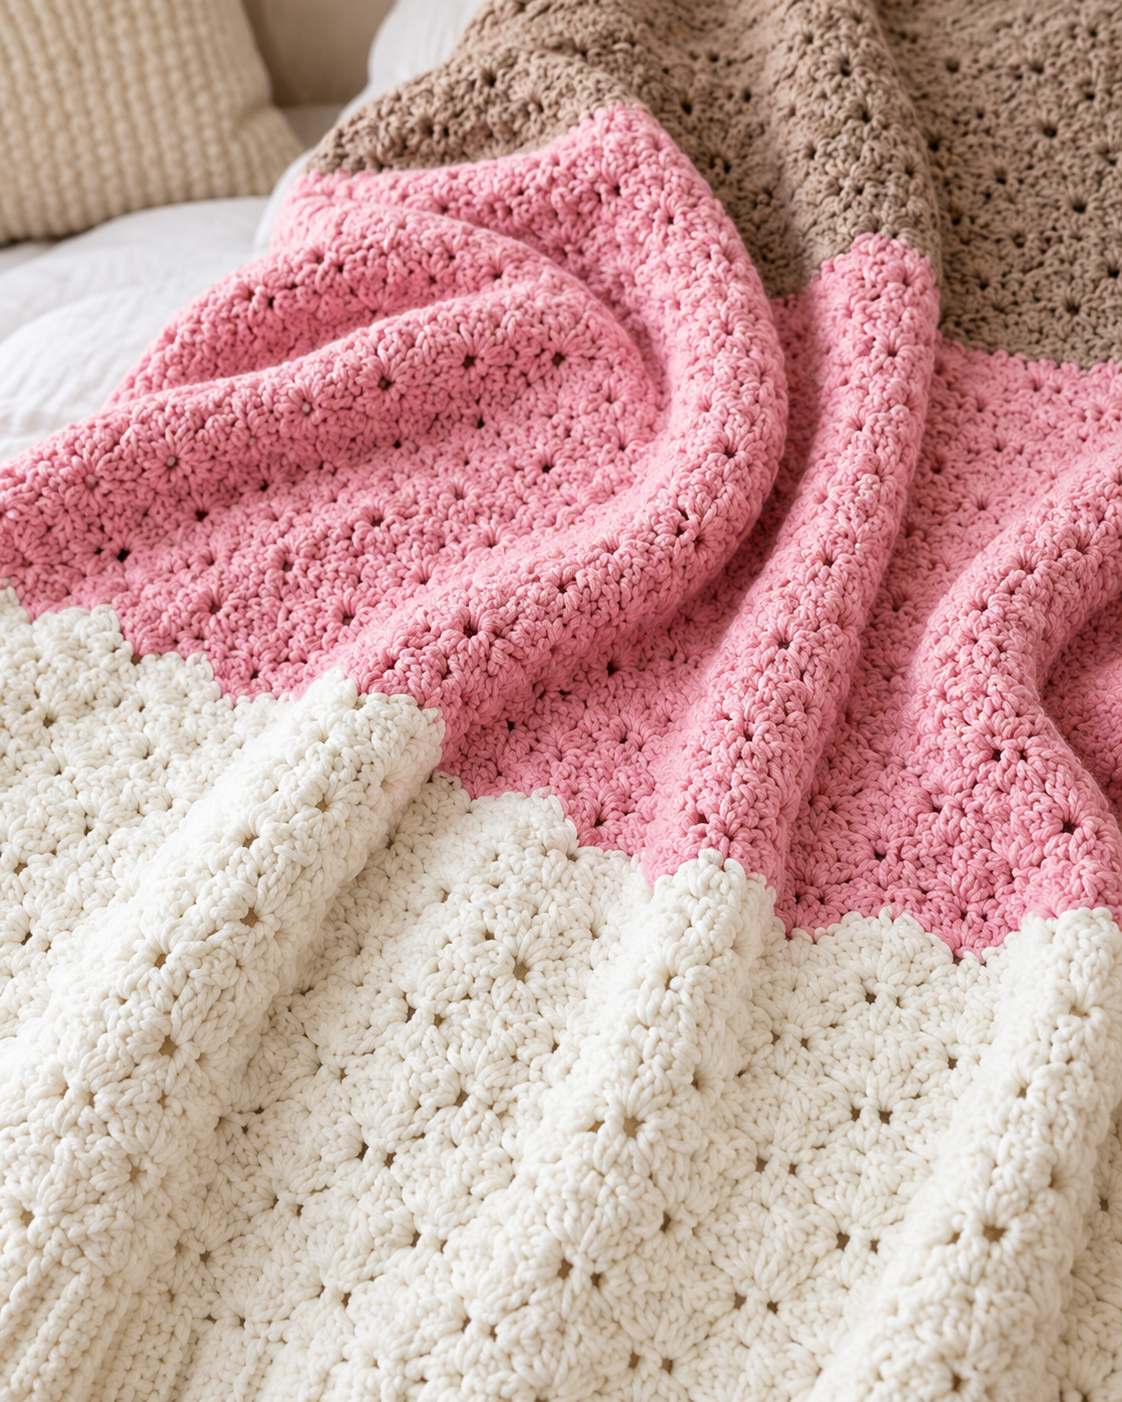
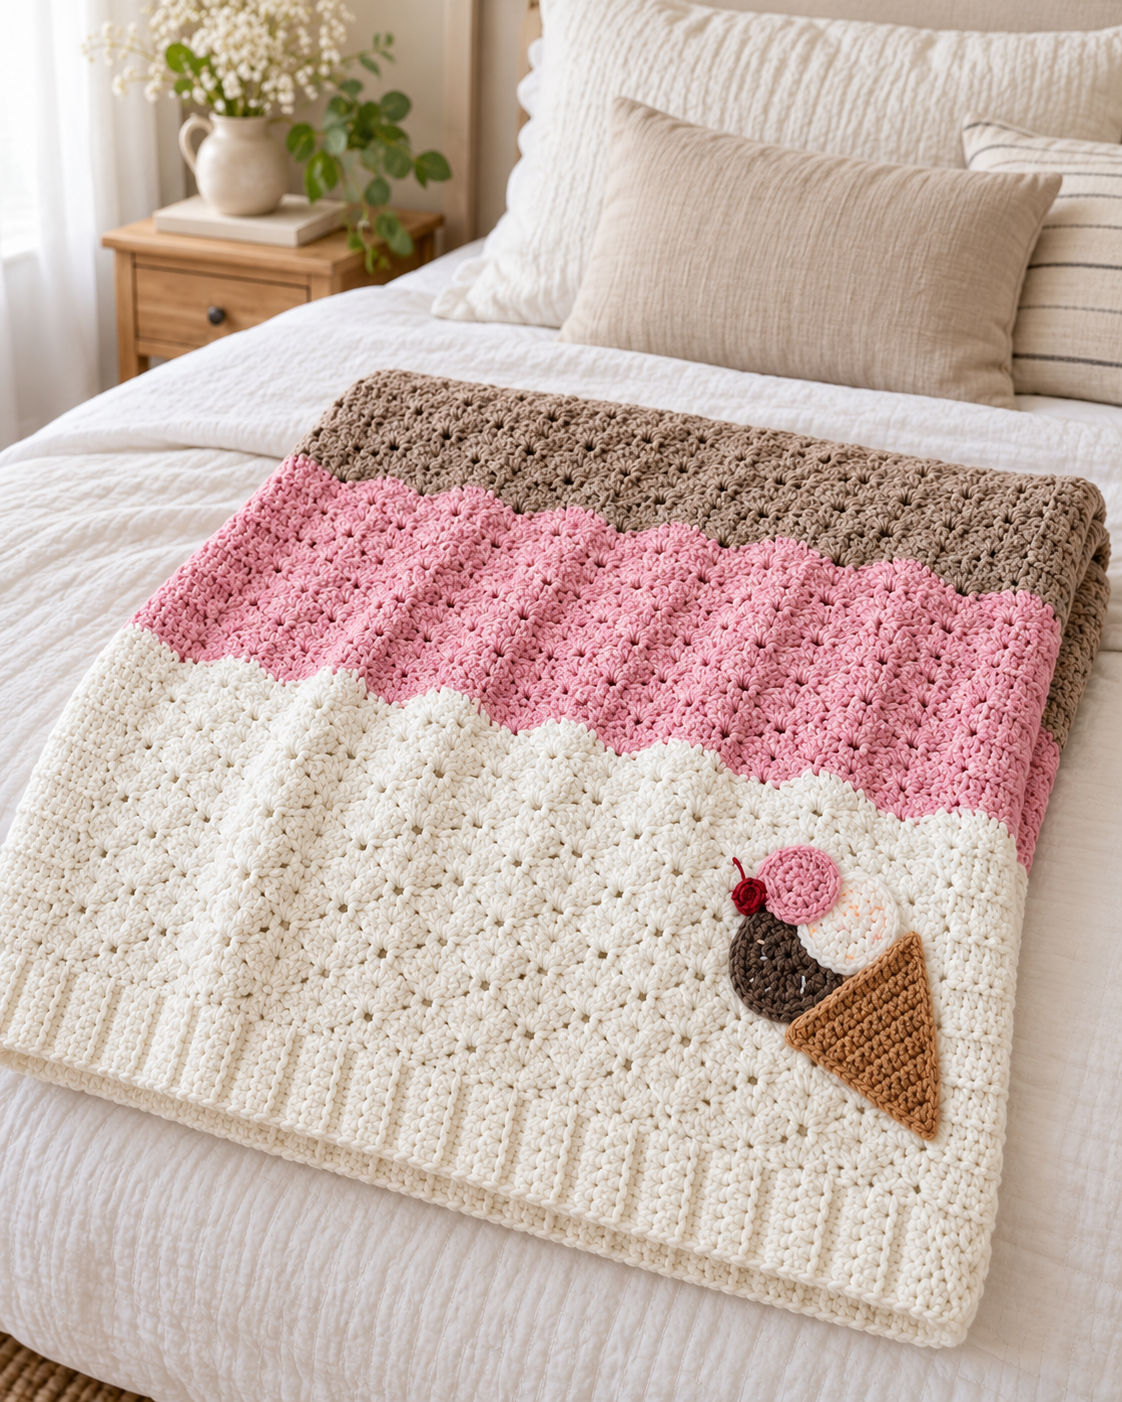
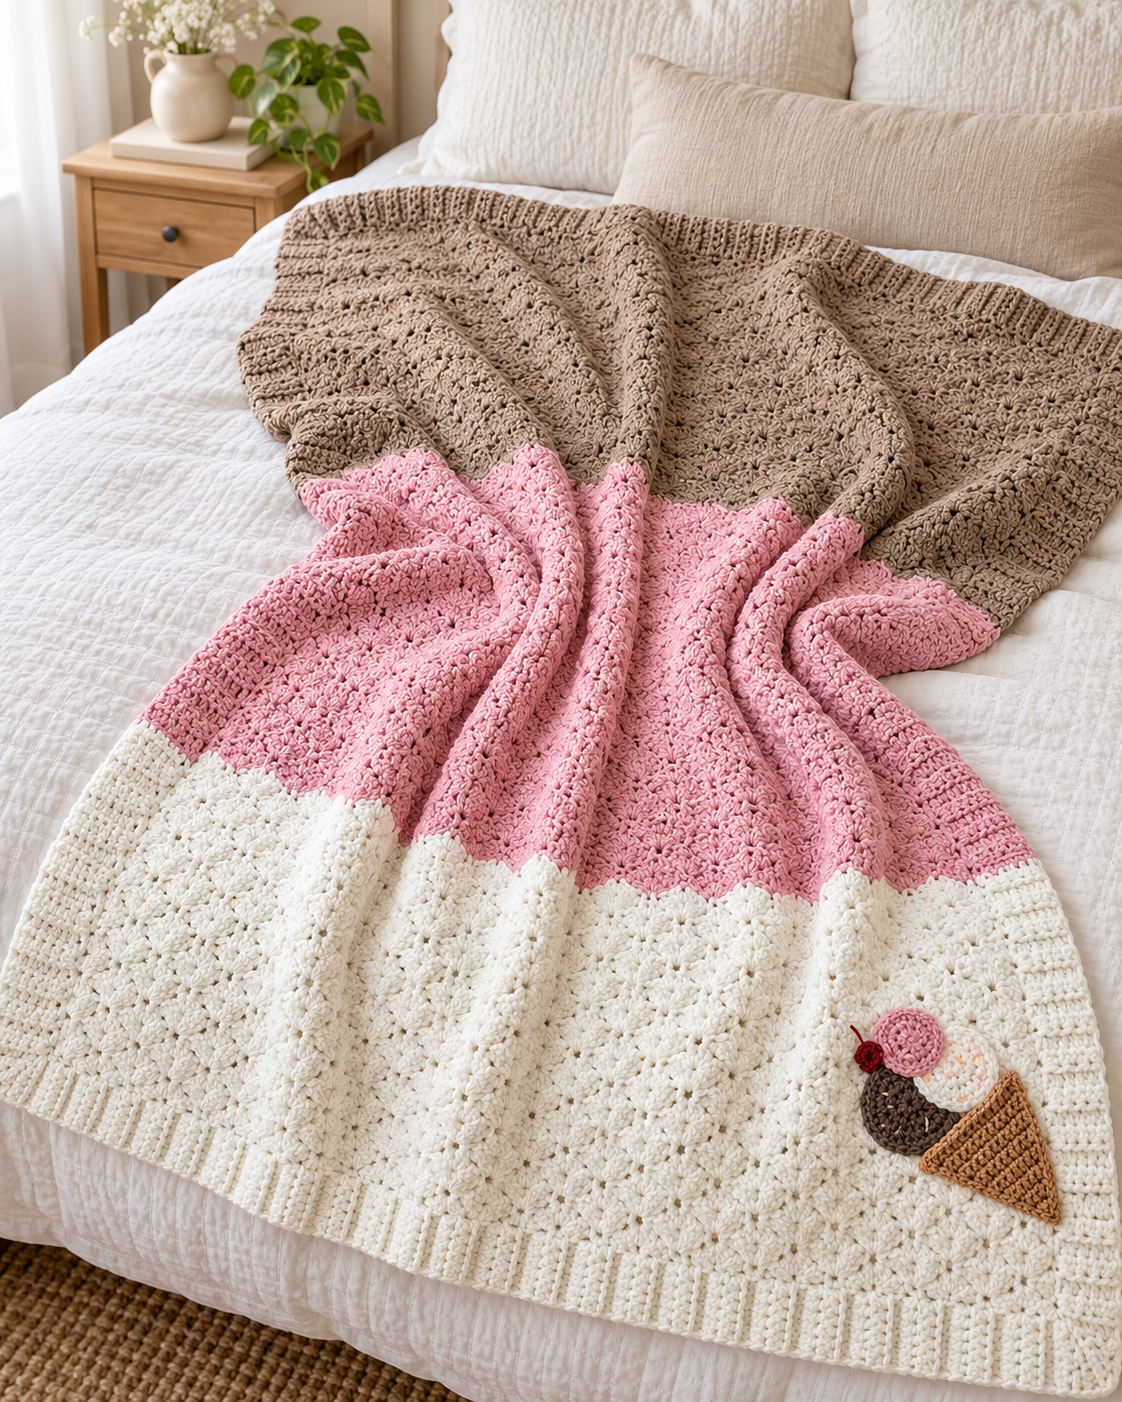
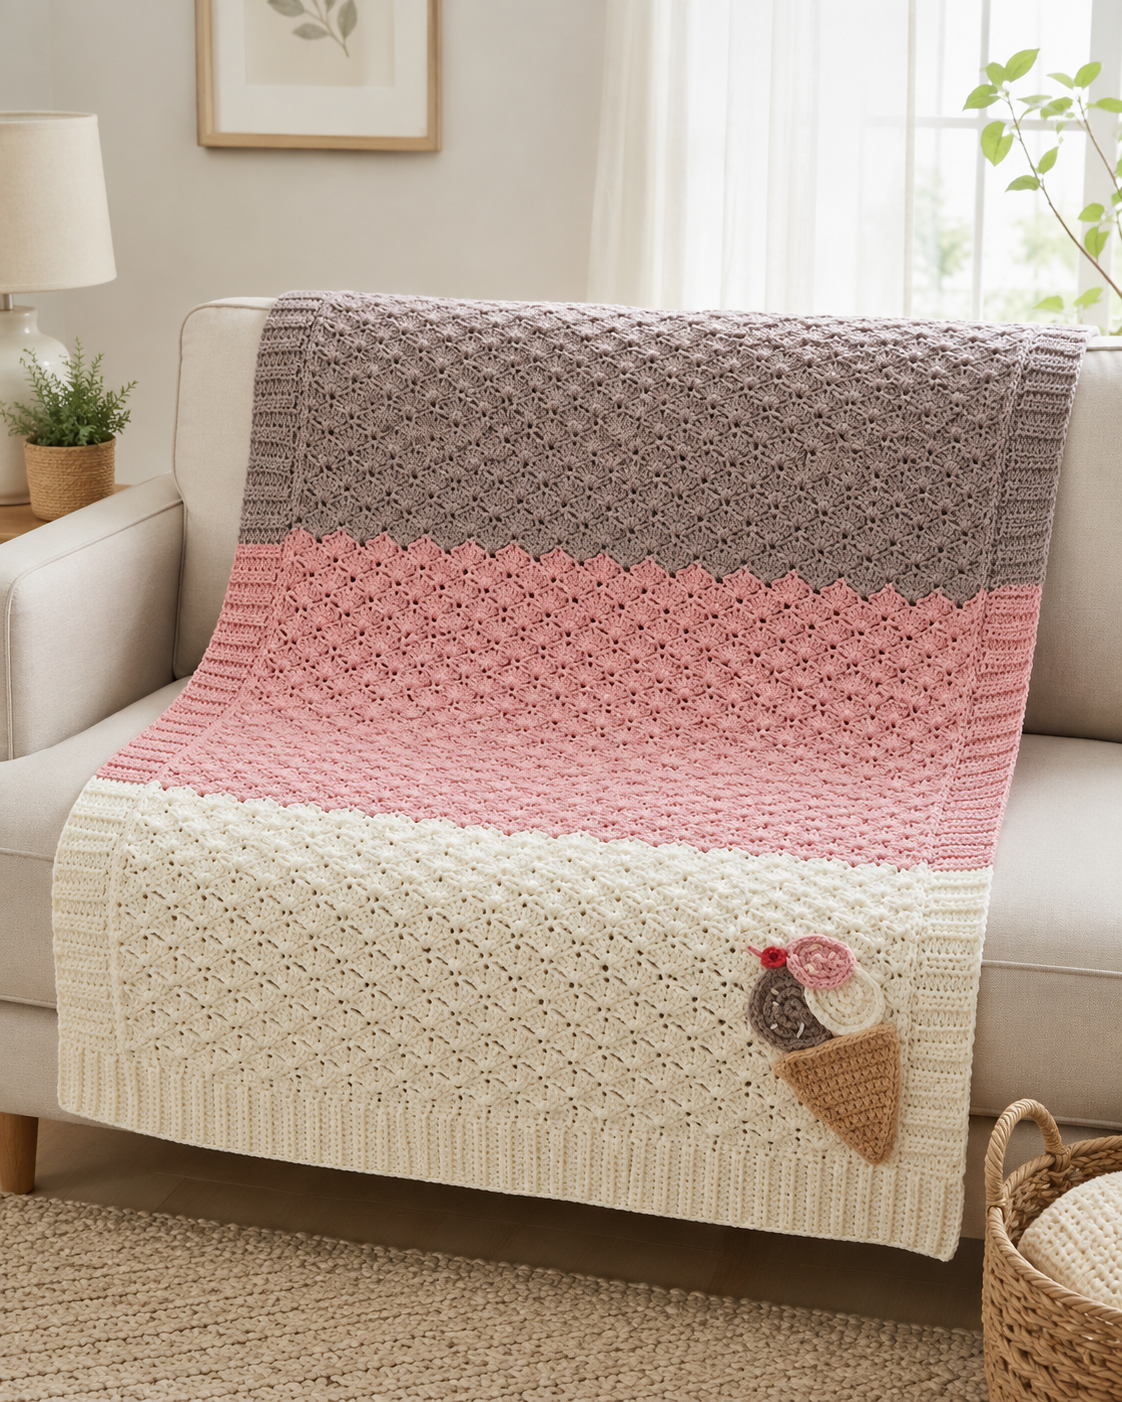
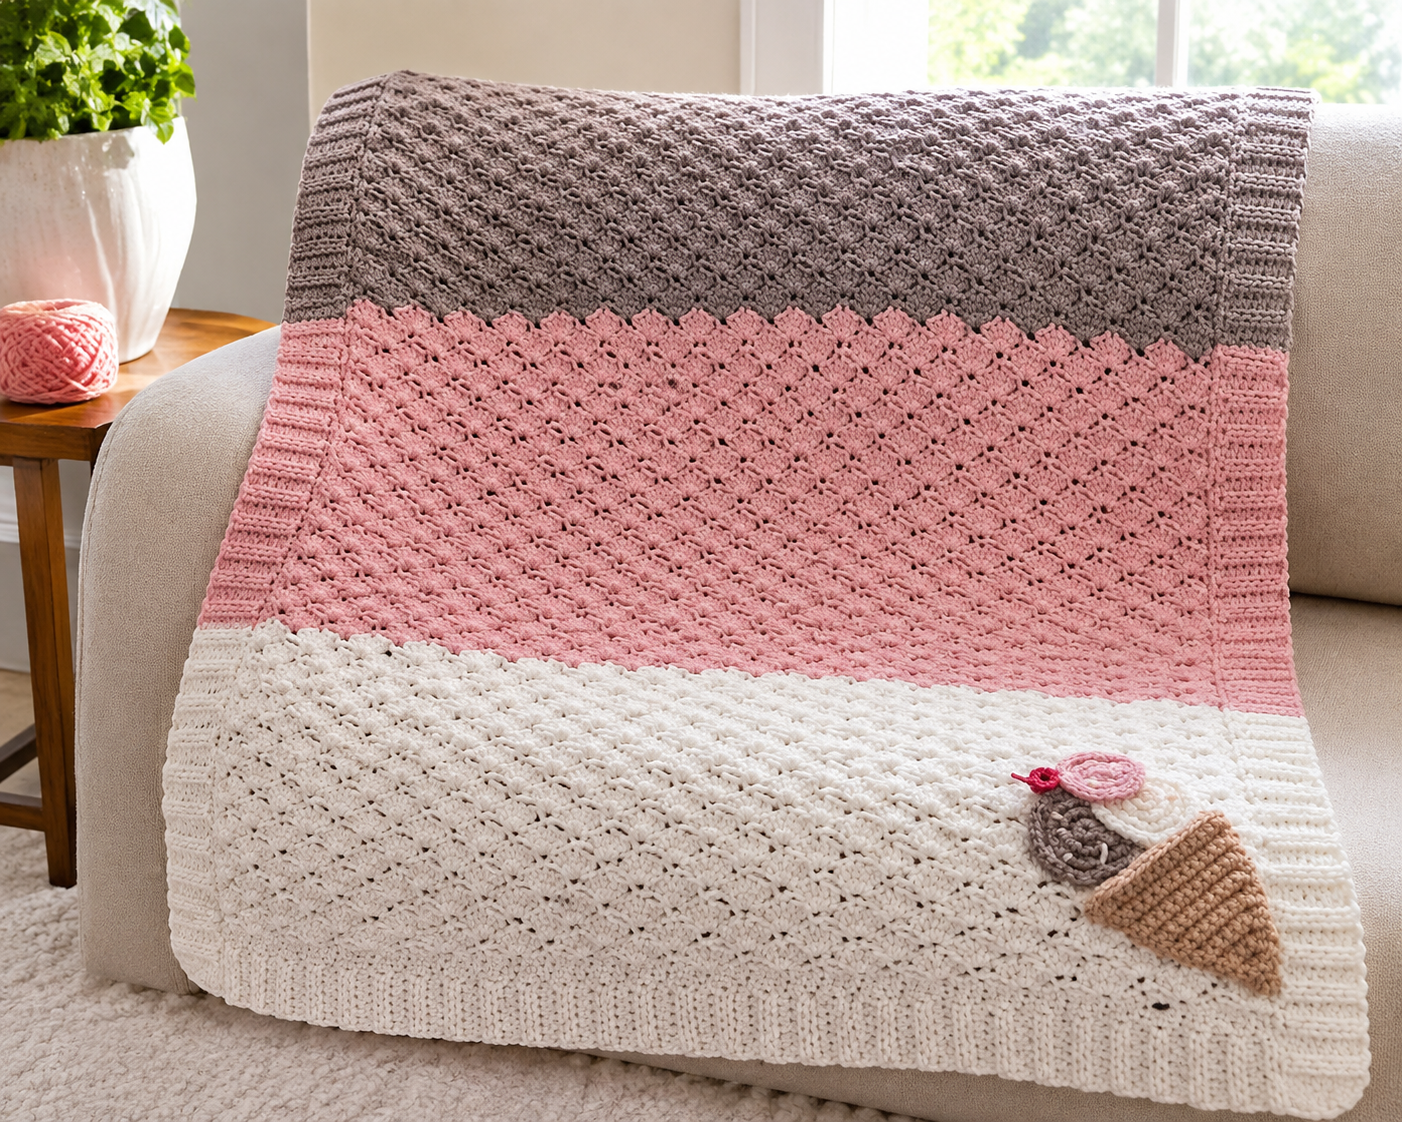
The Neapolitan Bulky Shell Blanket combines soft cream. dusty pink, and warm brown into a textured three-color blanket inspired by the classic Neapolitan ice cream. A repeating shell stitch creates the beautiful texture throughout the body, while a matching ribbed boreder gives the blanket a polished finish.
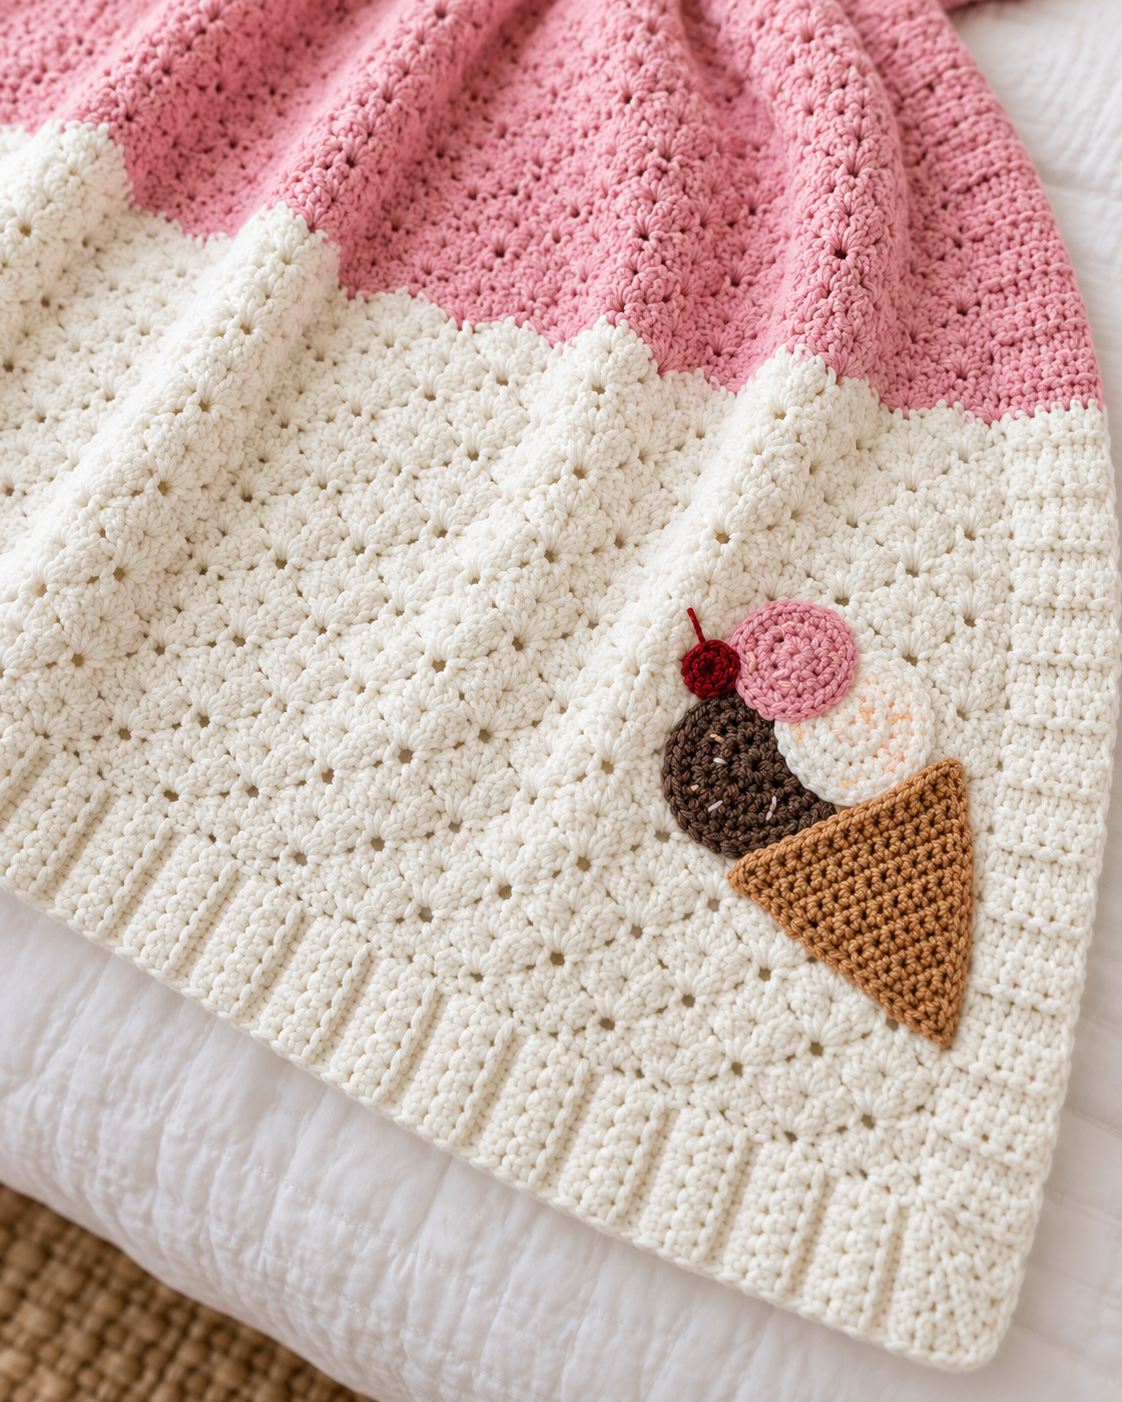
And, of course, I couldn’t stop there. A handmade ice-cream applique finishes the design in one corner for the cutest little detail. This experienced-beginner crochet pattern includes both a Baby Blanket and a Throw Blanket size and is written using Standard US Crochet Terms.
Disclaimer
This pattern is for professional use only. No part of this pattern maybe copied, reproduced, translated, distributed, sold, or shared in any form without written permission from JusBeeCreations Crochet Designs. You are welcome to sell finished handmade items created from this pattern in small quantities. Please credit JusBeeCreations Crochet Designs as the pattern designer.
Affiliate Disclosure
This post may contain affiliate links. If you make a purchase through one of my affiliate links, I may receive a small compensation at no additional cost to you. Thank you for supporting JusBeeCreations Crochet Designs and allowing me to continue sharing crochet patterns and tutorials.
Behind the Design
When I designed the Neapolitan Bulky Shell Blanket. I wanted something that felt cozy and classic but still had a playful personality. The combination of white, petal pink, and warm brown immediately reminded me of Neapolitan ice cream. Once I saw the colors worked together in the shell stitch the ice cream theme came together naturally.
The shell stitch adds enough texture to make the blanket interesting without requiring complicated techniques. Because the blanket is worked with a larger hook, it also grows quite quickly. The final touch was the little ice-cream cone.
It is completely optional, but I think it gives the blanket so much personality- especially if you’re making the baby size as a gift.
Pattern at a Glance
Why you’ll Love this Pattern
Beautiful texture without complicated stitches
Two useful sizes included
A fun Neapolitan-inspired design
Matching ribbed border
Adorable optional applique
Easy to personalize
Great for Gifts
The blanket is worked from the bottom up with the larger hook. Once the blanket body is complete, the smaller hook is used to create the ribbed border. The ice-cream pieces are crocheted separately and sewn onto the finished blanket.
Yarn & Materials
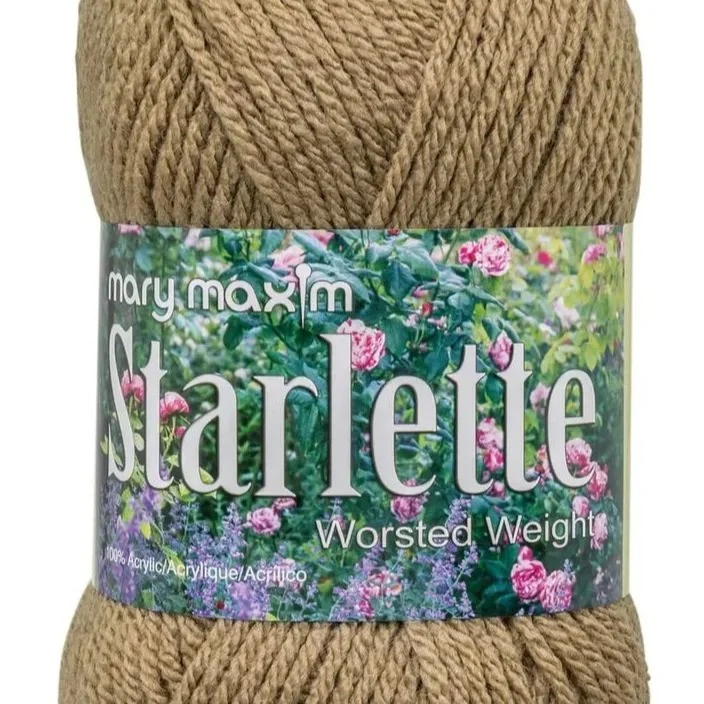
The original blanket was made using Mary Maxim Starlette, worsted weight #4 yarn. The softness of the yarn makes this design especially nice for baby blankets, couch throws, and handmade gifts. The yarn relaxes quite nicely after blocking.
YARN
Mary Maxim Starllete Yarn
Worsted Weight #4
100 % Ultra Soft Acrylic
180 yards / 100 g ball
Yarn Requirements
| Color | Baby | Throw |
|---|---|---|
| Color A – White | 2 balls | 3 balls |
| Color B – Petal Pink | 3 balls | 4 balls |
| Color C – Warm Brown | 3 balls | 4 balls |
Mary Maxims Starlette Yarn
Ice- Cream Applique Yarn
Chocolate- Approx. 35 yds
Cardinal- Approx. 35 yds
White, Pink,& Tan- small amounts/ scrap yarn would be fine.
HOOK
Raspberry Streamline Metal Crochet Hook
7mm (L) - Blanket Body
6 mm (J)- Blanket Border
SUPPLIES
Stitch Markers
Yarn Needle
Scissors
Measuring Tape
Blocking Mats
Blocking Pins
GAUGE
Blanket Body
12 sts and 3 rows = 4” using the 7 mm hook.
Ribbed Border
6 sts and 4 rows = 2” using 6 mm hook.
Gauge is especially helpful if you want your finished blanket to closely match the measurements listed above.

MORE CROCHET • MORE INSPIRATION
Join the JBC Crochet Circle
Become part of the JBC Crochet Circle and enjoy a cozy space created for crocheters who love patterns, helpful resources, creative inspiration, and a few special extras along the way.
Already a member? Sign in to visit your Crochet Circle member area.
JOIN THE JBC CROCHET CIRCLESizing
Baby - Approx. Width 36” / Approx. Length 48”
Throw- Approx. Width 50”/ Approx. Length 62”
SIZE FORMATTING INSTRUCTIONS ARE WRITTEN AS:
Baby (Throw)
For ex: 103 (115) sts means:
Baby= 103 sts
Throw= 115 sts
Finished Size Schematic
Measurements are approximate and may vary slightly depending on your tension and yarn.
Pattern Notes
The Blanket body uses a shell stitch count that is a multiple of 6+1. If you would like to make your blanket wide or narrower, adjust your finished foundation stitch count so that it remains a multiple of 6+1.
Construction
The blanket is worked from the bottom up with the larger hook. Once the blanket body is complete, the smaller hook is used to create the ribbed border. The ice-cream cone pieces are crochet separately and sewn onto the finished blanket.
Abbreviations
This pattern is written using standard US crochet terminology.
Note: Any special stitches used in the pattern are explained separately in the Special Stitches section.
Get the Pattern
Not a fan of ads? You can grab the ad-free pdf pattern an crochet without distractions. Click the link below and be on your way to crocheting something beautiful and cozy for yourself, or a loved one.

DIGITAL DOWNLOAD • NO ADS!
Neapolitan Bulky Shell Blanket Crochet PDF Pattern
The printable PDF includes the complete pattern in one beautiful, easy-to-follow download.
Special Stitch
When the pattern states working the shell stitch you will work the st as follows:
YO (Yarn Over) and insert your hook into the designated stitch. YO, and pull up a loop. You should have 3 loops on your hook. YO, pull through the remaining 2 loops. One DC completed. Work 4 more into the same stitch. Skip the next 2 stitches after you worked the first shell. Work 1 sc into the next stitch, skip the next 2 stitches, work 5 dc to create the next shell.
Color Pattern
Color Pattern
Follow this color sequence for the Baby and Throw sizes.
| Color | Baby | Throw |
|---|---|---|
| Color A – White | 20 rows | 22 rows |
| Color B – Petal Pink | 28 rows | 30 rows |
| Color C – Warm Brown | 22 rows | 24 rows |
Total Rows: Baby – 70 rows | Throw – 76 rows
Blanket Body
Using Color A- (White) and your 7 mm crochet hook:
Ch 104 (116). Sc in the second ch from the hook working in the bb of the ch, in each ch across.
Row 1 WS- Ch 1 turn. Work 1 sc in the first st. sk 2 sts, work 5 dc in the next st, sk 2 sts, sc in the next st*. Rep from *to* across. Your final st should be a sc.
Row 2 RS- Ch 3, turn. (Ch 3 counts as the first dc) Work 2 dc in the first st. You now have 3-dc half shell at the beginning of the row. *Sc in the third dc, or center dc, of the next 5-dc shell. Work 5 dc in the next sc .* Rep from * to * across until you reach the final shell. Work 3 dc in the final sc st.
Rows 3-70 (76) Continue rep rows 1 & 2.
Work:
Baby: 70 total rows
Throw: 76 total rows
Once you have completed the number of rows for the size you are working on end on the WS of your work.
Color Sequence
Baby
Color A- White 20 rows
Color B- Petal Pink 28 rows
Color C- Warm Brown 22 rows
total: 70 rows
Throw
Color A- White 22 rows
Color B- Petal Pink 30 rows
Color C- Warm Brown 24 rows
total: 76 rows
Ribbed Border
Switch to your 6 mm crochet hook. The ribbed border changes color to match each section of the blanket.
The border should therefore look like this:
White blanket section- White border
Pink blanket section- Pink border
Brown blanket section- Brown border
White Border Section
Using Color A- White
With the RS facing, join yarn at the upper edge of the white section on the right side of the blanket.
Ch 1, work 1 sc evenly down the white section.
You should have approx. 20 (22) sc sts
At the bottom corner work:
(sc, ch 1, sc)
Continue working sc sts across the entire bottom edge 103 (115) sts
At the opposite bottom corner work:
(sc, ch 1, sc)
Work sc sts evenly up the white section on the opposite side:
20 (22) sc sts
Do not fasten off.
White Ribbing
Row 1- Ch 8, work 1 hdc into the third ch from the hook. Work 1 hdc into each ch across. 6 hdc
At the blanket edge:
sk the first sc, sl st into each of the next 2 sts.
Row 2- Turn. Sk the 2 sl sts, work 1 hdc in blo of each of the 6 sts. Ch 1 turn. 6 hdc
Row 3- Work 1 hdc into the blo in each st across. Sl st in each of the next 2 sts along the blanket edge. Rep rows 2 and 3 until the entire white border section is complete. Fasten off, leaving a tail long enough for joining the next ribbed section.
Petal Pink Border
Using Color B- Petal Pink
Join yarn at the beginning of the pink section along the right side of the blanket.
Ch 1. Work approx. one sc into each row along the pink section.
You should have approx. 28 (30) sc sts
Work the same ribbing pattern established for the white section. Continue until you reach the brown section. Fasten off leaving a tail for joining. Rep the same process along the left side of the pink section.
Warm Brown Border
Using Color C- Warm Brown
Join the yarn at the beginning of the brown section along the right side.
Ch 1. Work approx. one sc into each row along brown section.
You should have approx. 22 (24) sts along the right edge
At the upper corner work:
(sc, ch 1, sc)
Continue working sc sts across the top edge of the blanket:
103 (115) sc sts
Continue down the brown portion of the opposite side:
22 (24) sc sts
Work the same 6 st hdc blo ribbing established previously. Continue until the complete brown section is bordered. Fasten off.
Joining the Border Sections
Once all three colors of ribbing are complete, use the long yarn tails to neatly seam the adjoining ribbing sections together. Your finished border should transition: White-Pink-Brown at the same locations where the blanket body changes color.
Blocking your Blanket
Blocking helps to relax the sts, straighten the edges, and allow the shell stitch texture to open beautifully. So blocking is essential in making the blanket look nice and clean ready for gifting.
Submerge the finished blanket in lukewarm water with a small amount of wool wash or dish soap, whichever you prefer. Allow the blanket to soak for approx. 25-30 min.
Gently squeeze out the excess water. Do not wring. Lay the blanket inside a clean towel and press to remove additional moisture. Arrange the blanket on the blocking mats. Gently shape it to the finished measurements and secure with the blocking pins as needed.
Allow the blanket to fully dry before removing the pins.
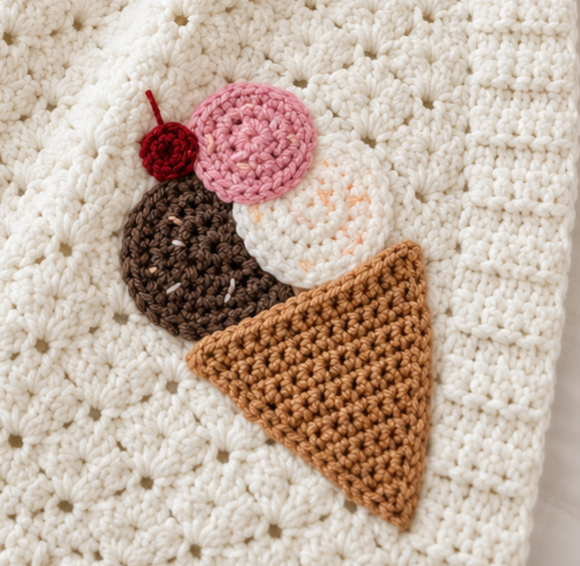
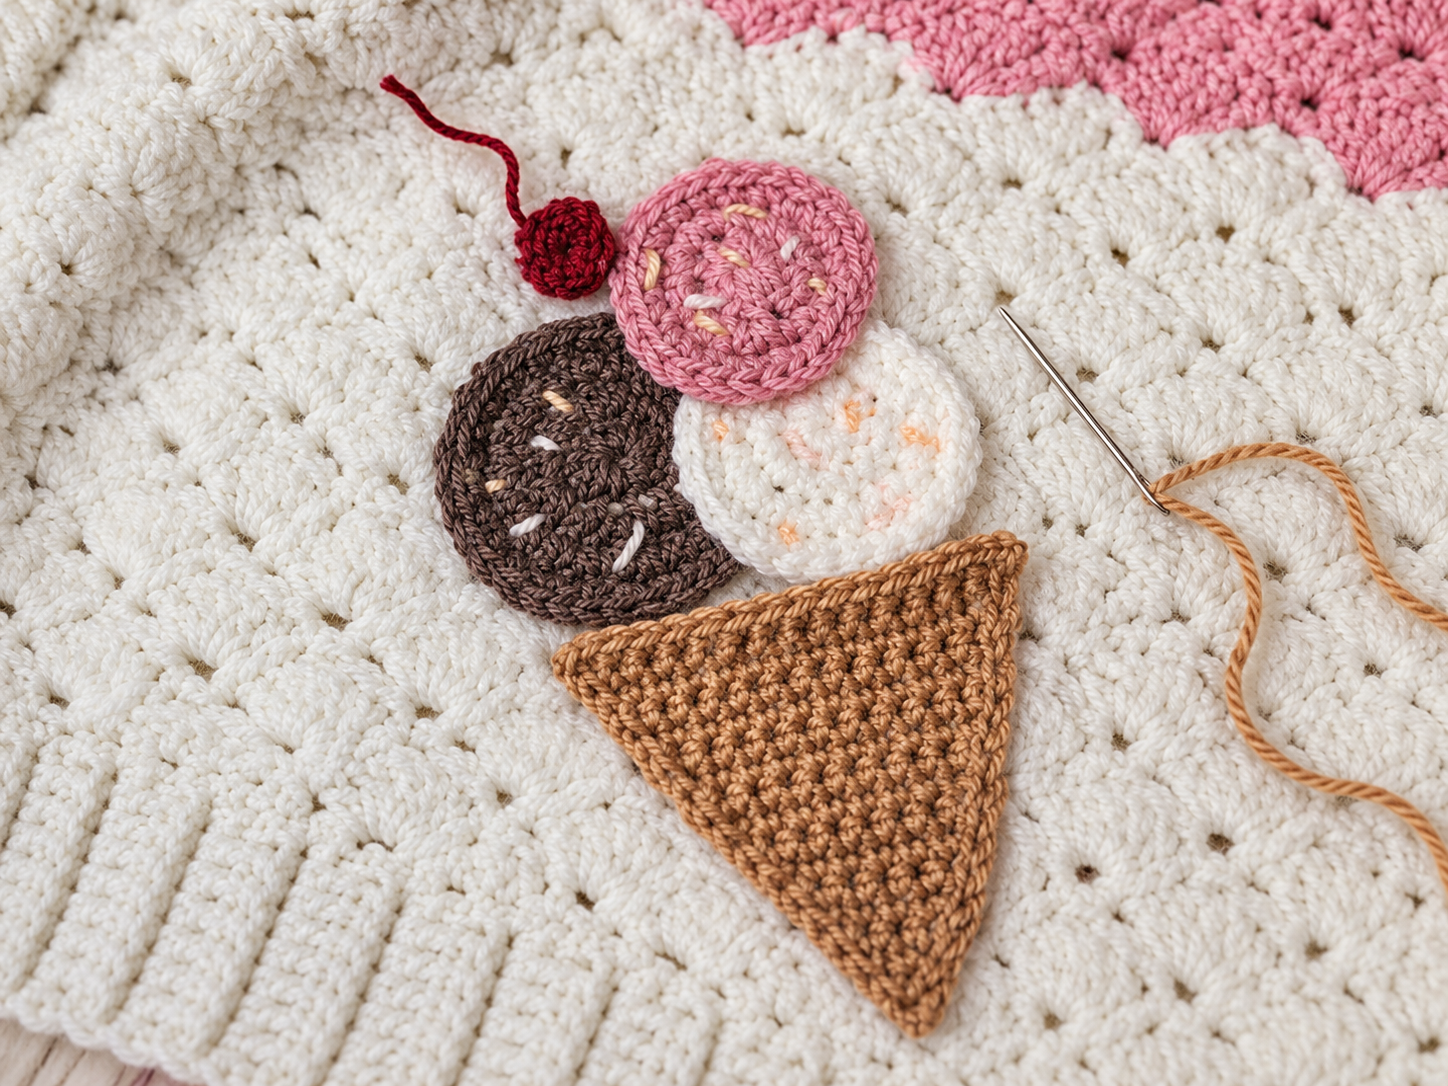
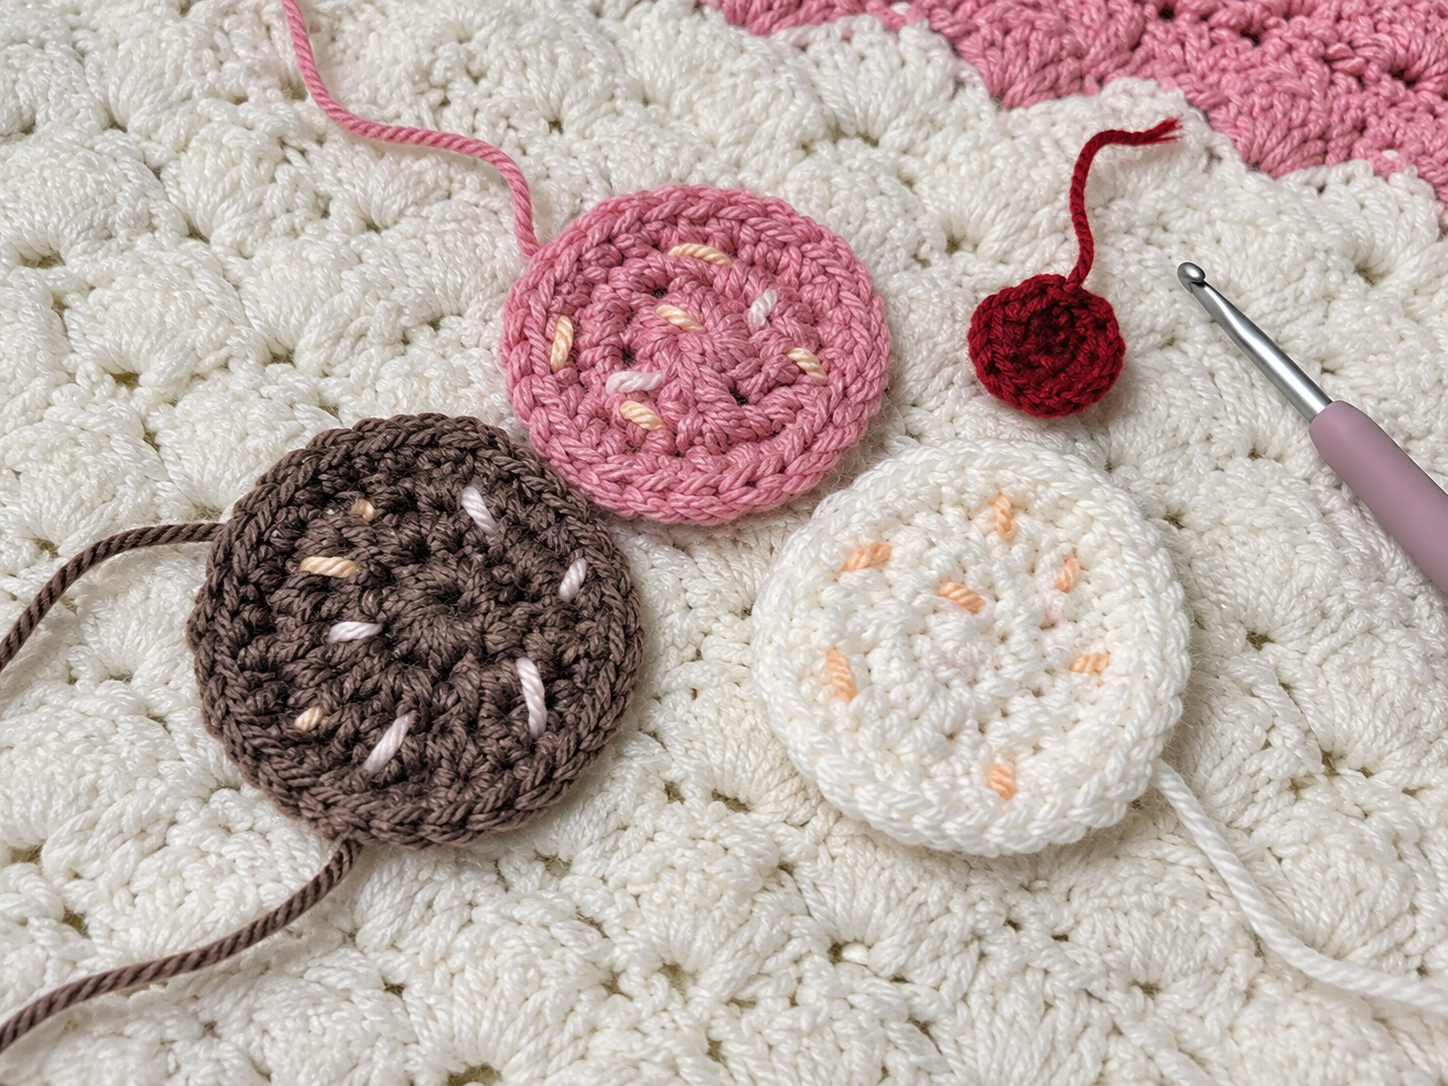
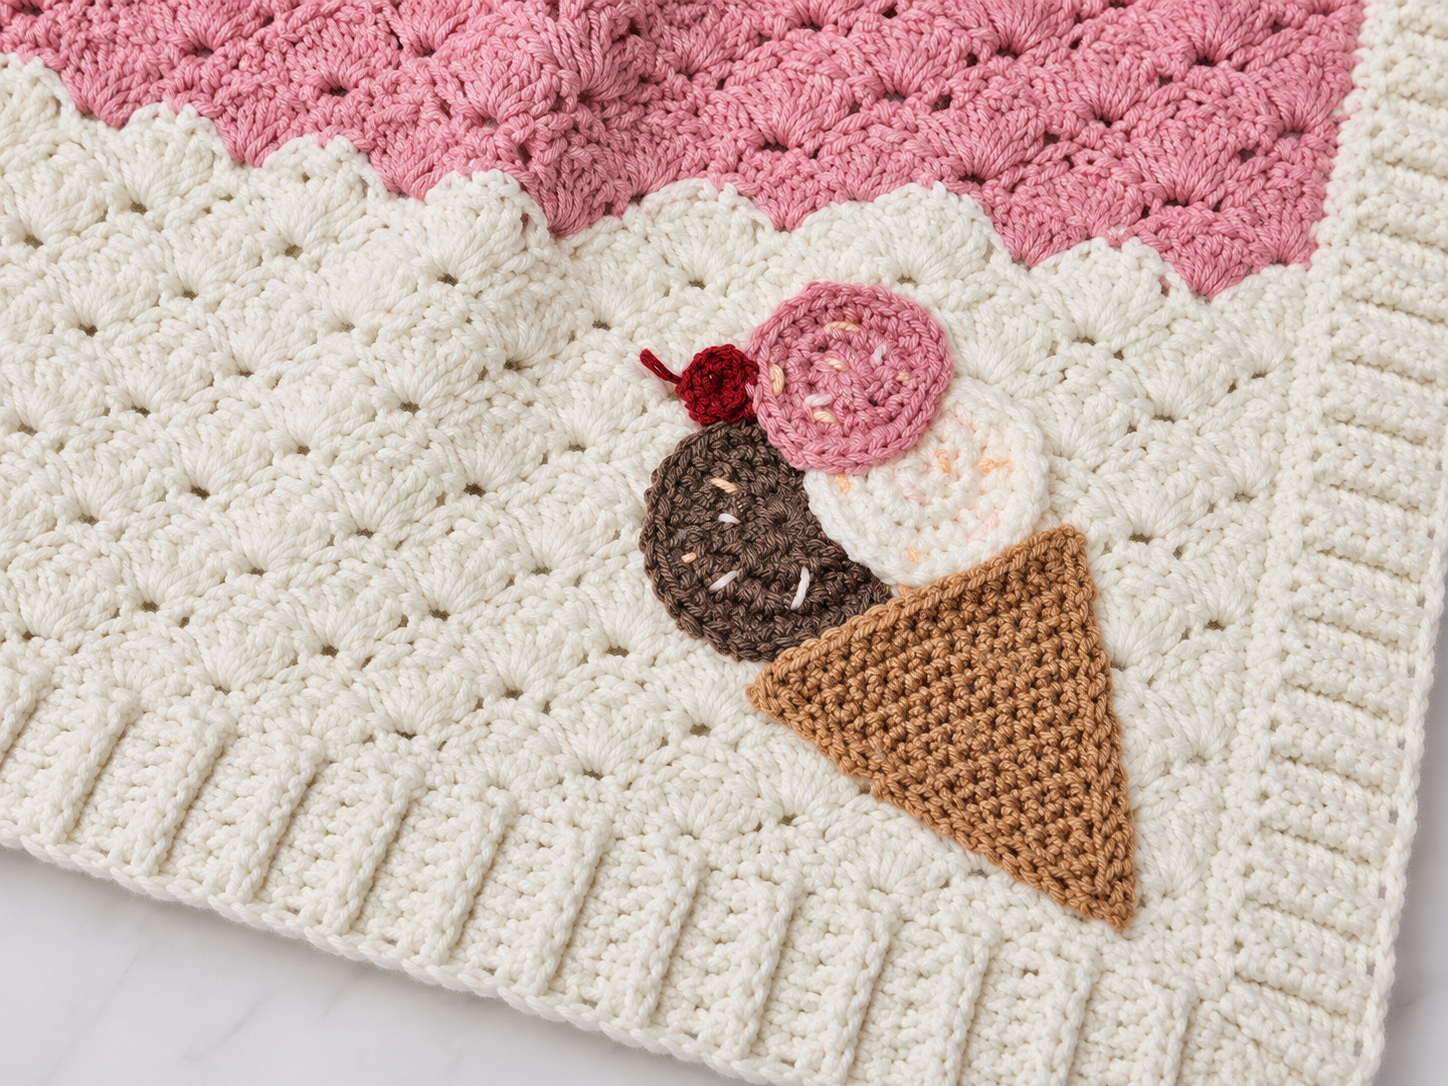
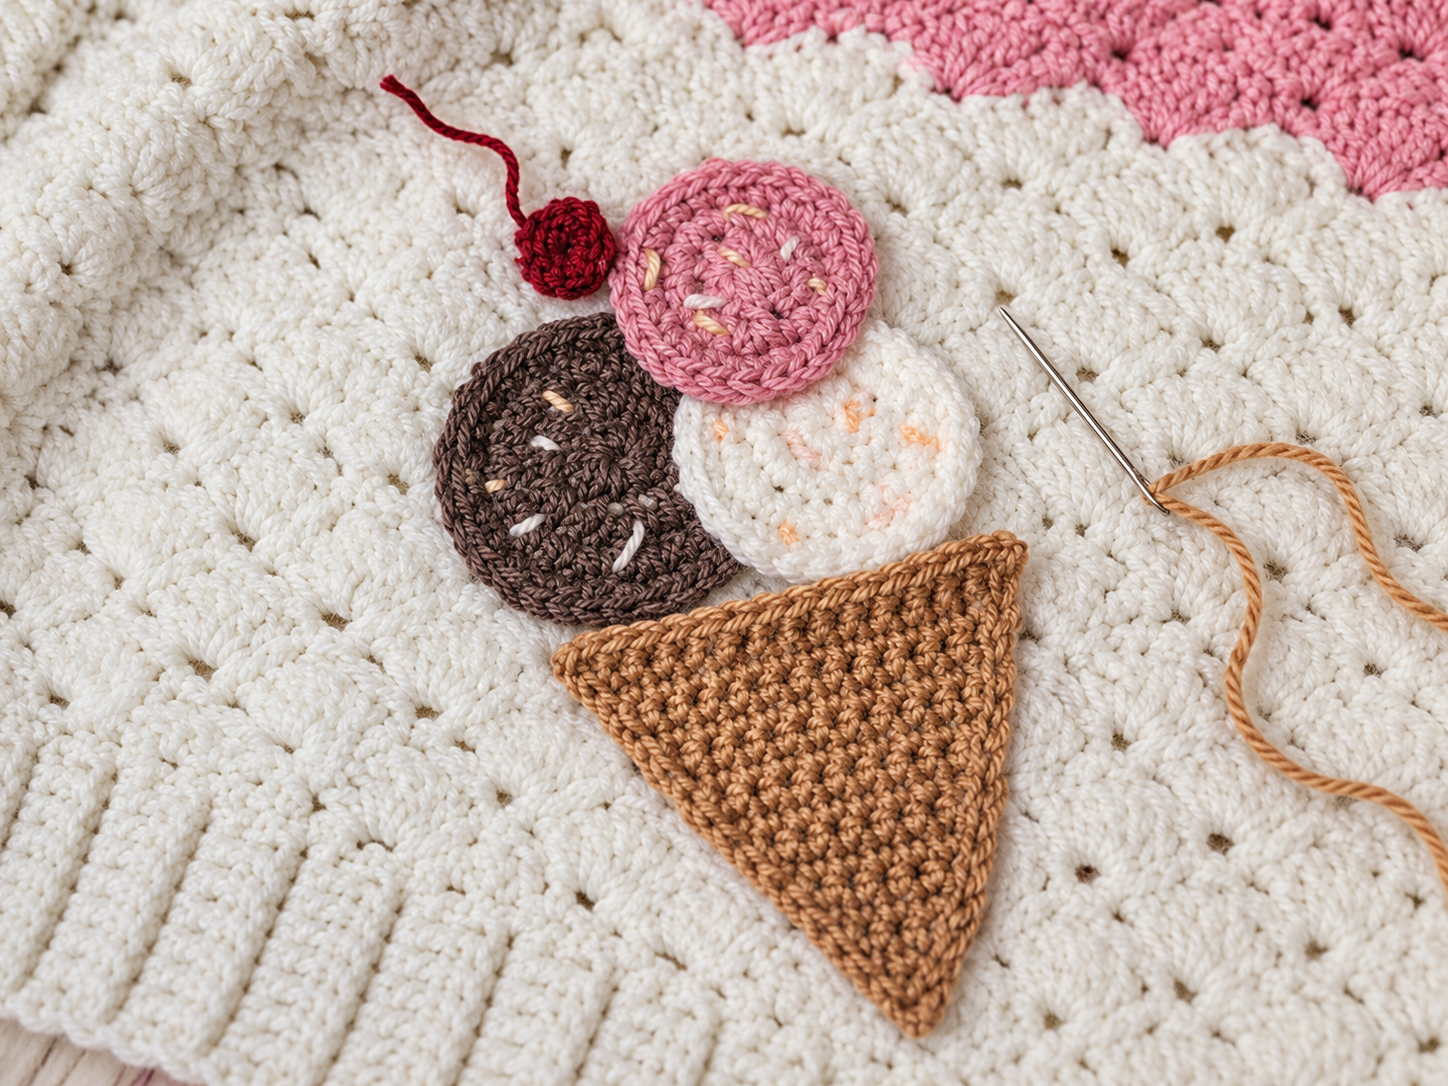
Optional Neapolitan Ice-Cream Applique
The little ice-cream cone is completely optional, but it makes the design unmistakably Neapolitan.
The applique consists of:
One cone
Three ice-cream scoops
One cherry
Crochet Ice-Cream Cone
Using your 6 mm crochet hook and tan or cone colored yarn:
Increase Used in this Section
When the pattern says inc, work:
2 sc in the first st and 2 sc into the last st. This increases the row by 2 sts.
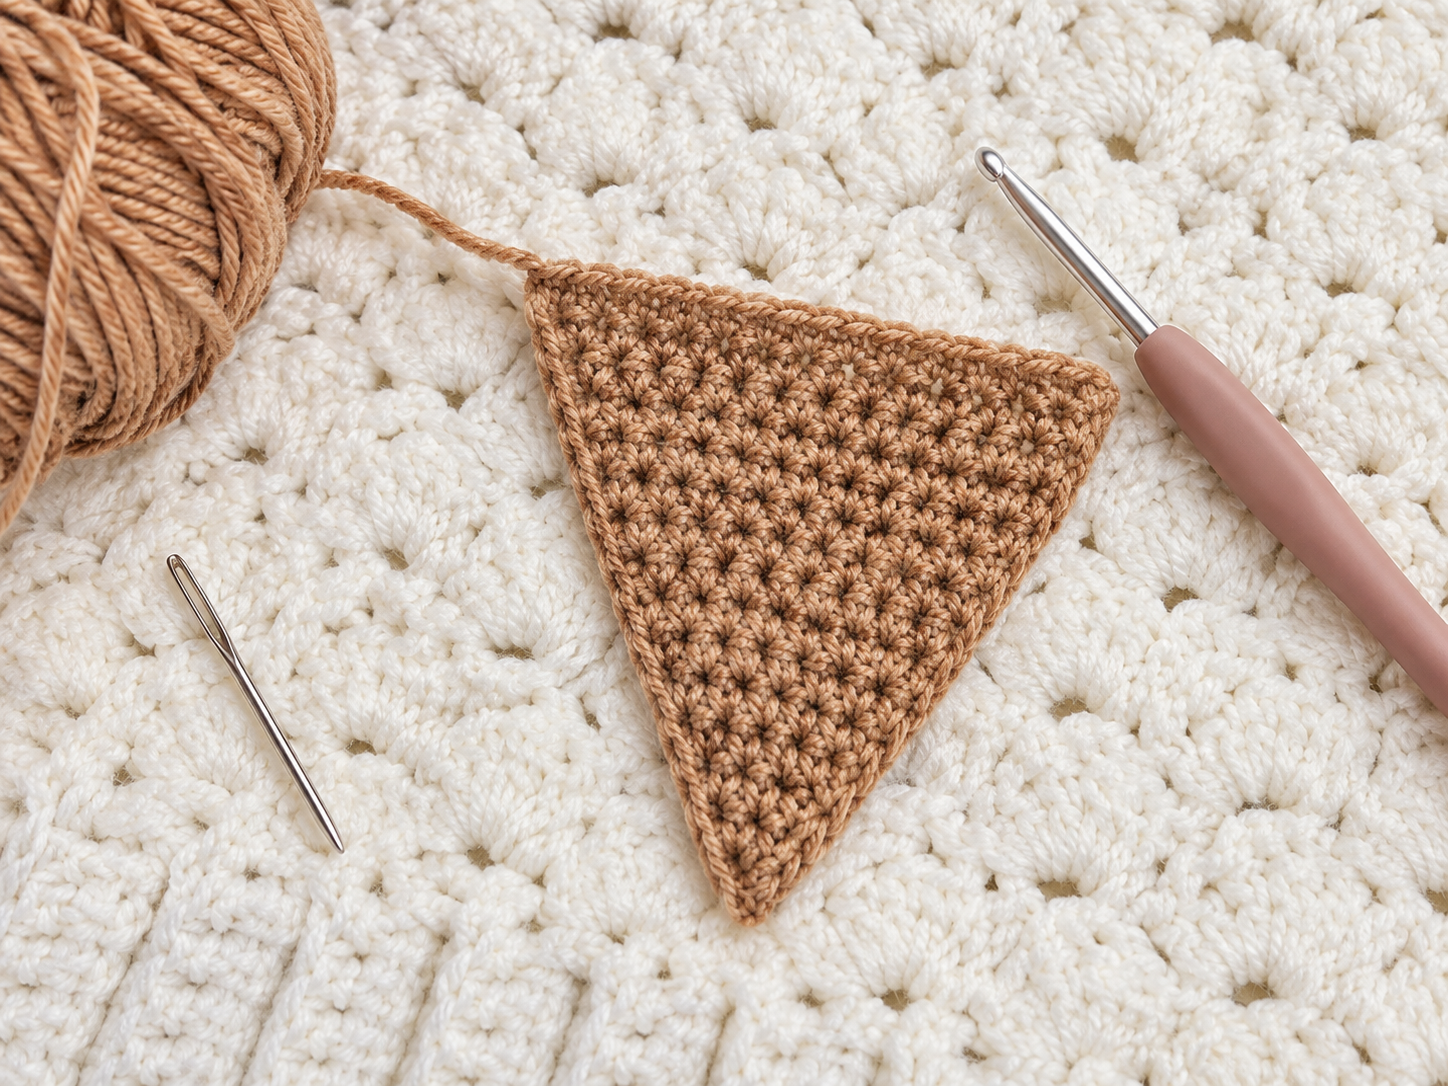
Row 1 - Ch 3, sc in the second ch from the hook. Work 1 sc into the next ch, ch 1 turn. 2 sts
Row 2- Inc. Ch 1, turn. 4 sts
Row 3- 1 sc in each st across. Ch 1 turn.
Row 4- Inc. Ch 1, turn. 6 sts
Row 5- 1 sc i each st across. Ch 1 turn.
Row 6- Inc. Ch 1, turn. 8 sts
Row 7- 1 sc in each st across. Ch 1 turn.
Row 8- Inc. Ch 1, turn. 10 sts
Row 9- 1 sc in each st across. Ch 1, turn.
Row 10- Inc. Ch 1, turn. 12 sts
Row 11- 1 sc in each st across. Ch 1 turn.
Row 12- Inc. Ch 1, turn. 14 sts
Row 13- 1 sc in each st across. Ch 1 turn.
Row 14- Inc. Ch 1, turn. 16 sts
Row 15- 1 sc in each st across.
Do not fasten off. Work sc sts evenly around both angled sides of the cone. Sl st to the first sc to join. Fasten off and leave a tail for seaming.
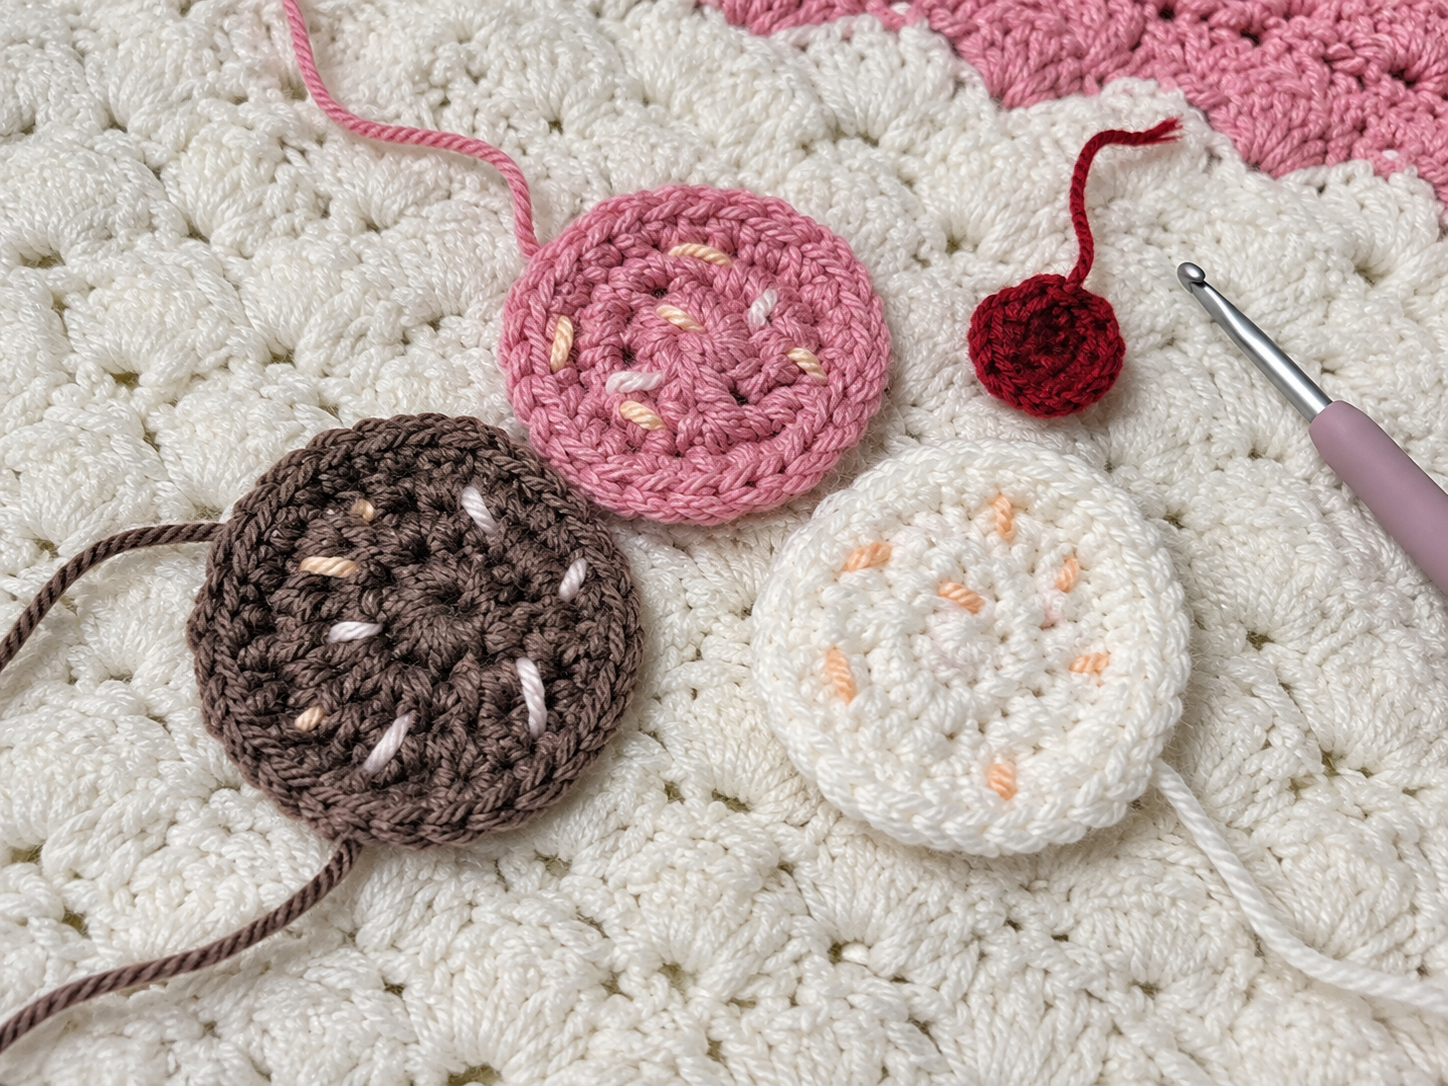
Ice-Cream Scoops
Make 3.
Use your preferred Neapolitan colors- cream, pink, and brown. Work in a continuous round unless other wise stated. Place a st marker in the first st of each round.
Rnd 1— Make a magic circle. Work 6 sc into the circle. 6 sts.
Rnd 2- Work 2 sc into each st around. 12 sts.
Rnd 3- *Sc in the next st, 2 sc in the next st. * Rep around. 18 sts.
(You can stop here for a smaller scoop.)
Rnd 4- Optional Larger Scoop
*Sc in the next 2 sts, 2 sc in the next st* Rep around. 24 sts.
Fasten off, leave a tail for sewing.
Cherry
Using your cherry colored yarn and your 6 mm hook:
Make a magic circle. Ch 1. Pull the circle closed. Sl st to the first sc to join. Fasten off leave a tail for seaming.
Assembling the Ice-Cream Applique
Lay the finished blanket flat before sewing anything into place. Arrange the pieces in this order: Cone, Scoops, Cherry. Position your cone first. Arrange the three scoops above the cone until you are happy with their placement. Place the cherry at the top. Thread each yarn tail onto the tapestry needle and carefully sew the pieces to the blanket. Work through portions of the applique and the surface of the blanket so your stitches remain as invisible as possible. Fasten securely and weave in all remaining ends.
Make it your Own!
Although I love the classic Neapolitan combination, this design can easily take on a completely different personality with another color palette. Try three shades from the same color family for and Ombre effect, nursery colors for a baby gift, seasonal colors, or neutral tones for home décor. You can also leave off the ice- cream applique for a simpler textured blanket.
Copyright and Pattern Use
The Neapolitan Bulky Shell Blanket crochet pattern is the property of JusBeeCreations Crochet Designs . You may sell finished handmade items created from this pattern. Please credit JusBeeCreations Crochet Designs as the pattern designer when selling or sharing finished projects.
The written pattern and accompanying photographs may not be copied, redistributed, reproduced, or used to sell your own finished items. The original PDF contains the same restrictions while permitting the sale of finished handmade pieces.
Final Thoughts
The Neapolitan Bulky Shell Blanket is one of those projects that bring together texture, color, and a little bit of fun. The shell stitch gives the blanket a beautiful cozy finish, while the cream, petal pink, and warm brown sections create that classic Neapolitan-inspired look. The matching ribbed border ties each color section together, and the optional ice-cream applique adds such a sweet finishing touch.
Whether you make the Baby size or Throw size, this blanket is easy to personalize with your own color choices or by leaving off the applique for a simpler look.
I hope you enjoy making your Neapolitan Bulky Shell Crochet Blanket just as much as I enjoyed designing it. If you make one I’d love to see your finished project- be sure to tag JusBeeCreations Crochet Designs so I can see how you make your own.
Happy Crocheting!

we’ve got a community!
friends! Join our group to post
pictures and ask all your pattern
support questions.
You may also like…

Hi, I'm Brittany!
Designer behind
JusBeeCreations Crochet Designs
Welcome to JusBeeCreations Crochet Designs, where modern crochet, creativity, and handmade style come together.
I create crochet patterns designed to be beautiful, practical, and enjoyable to make — with clear instructions to help crocheters feel confident from the first stitch to the last.