Mix & Match Pumpkin Patch Crochet Pattern
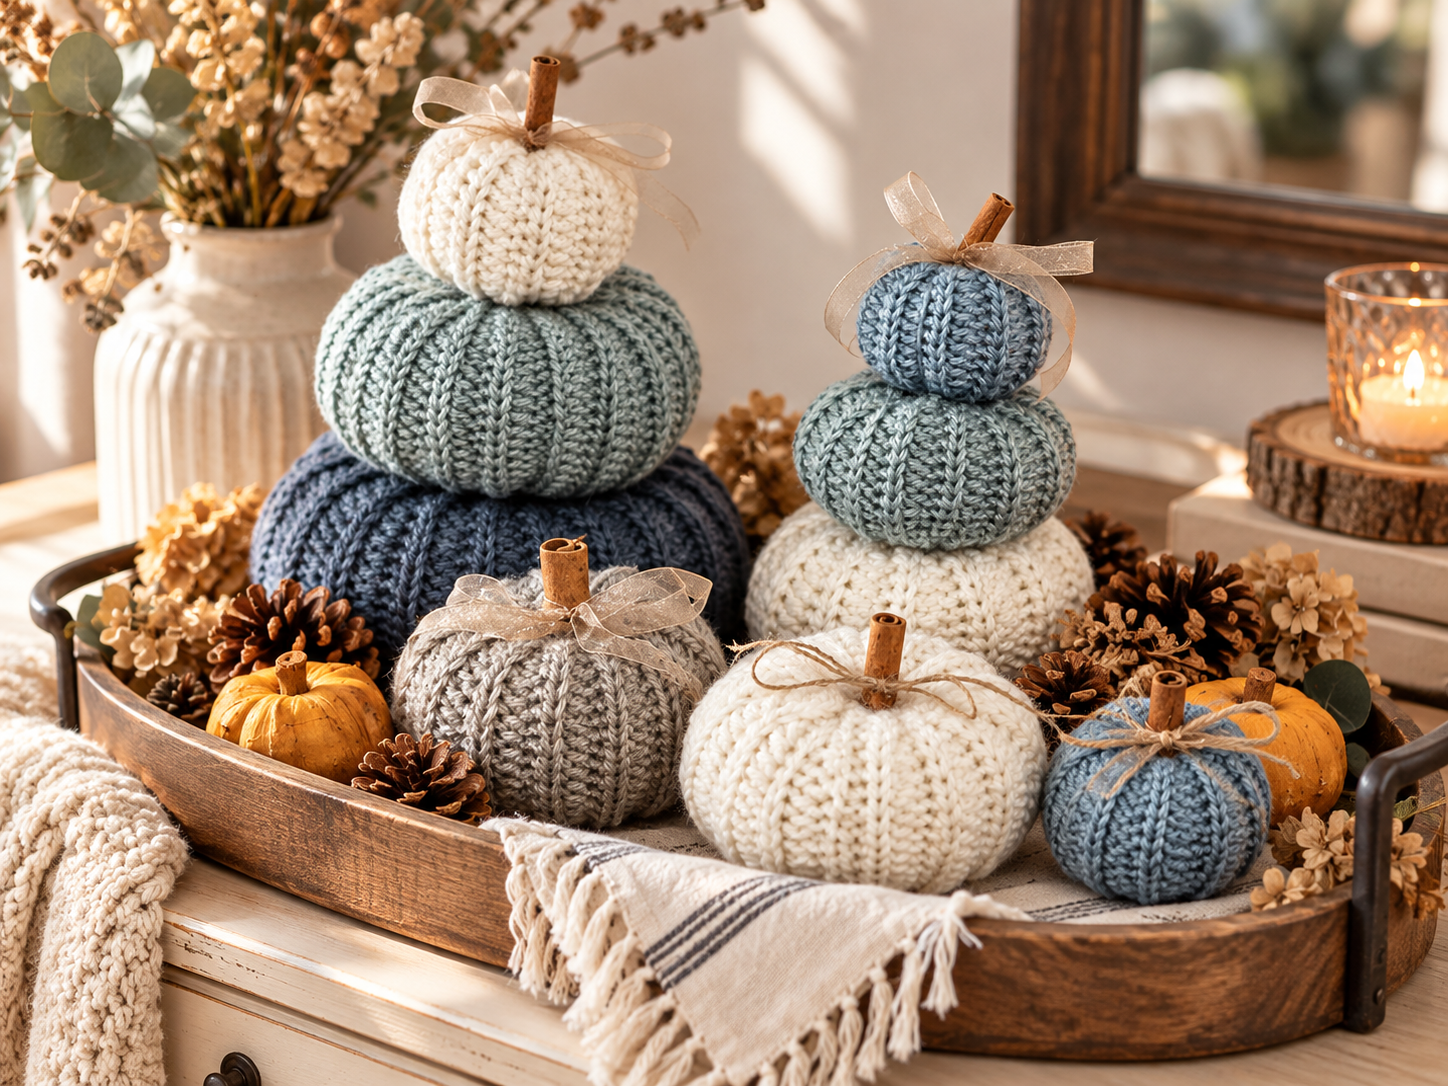
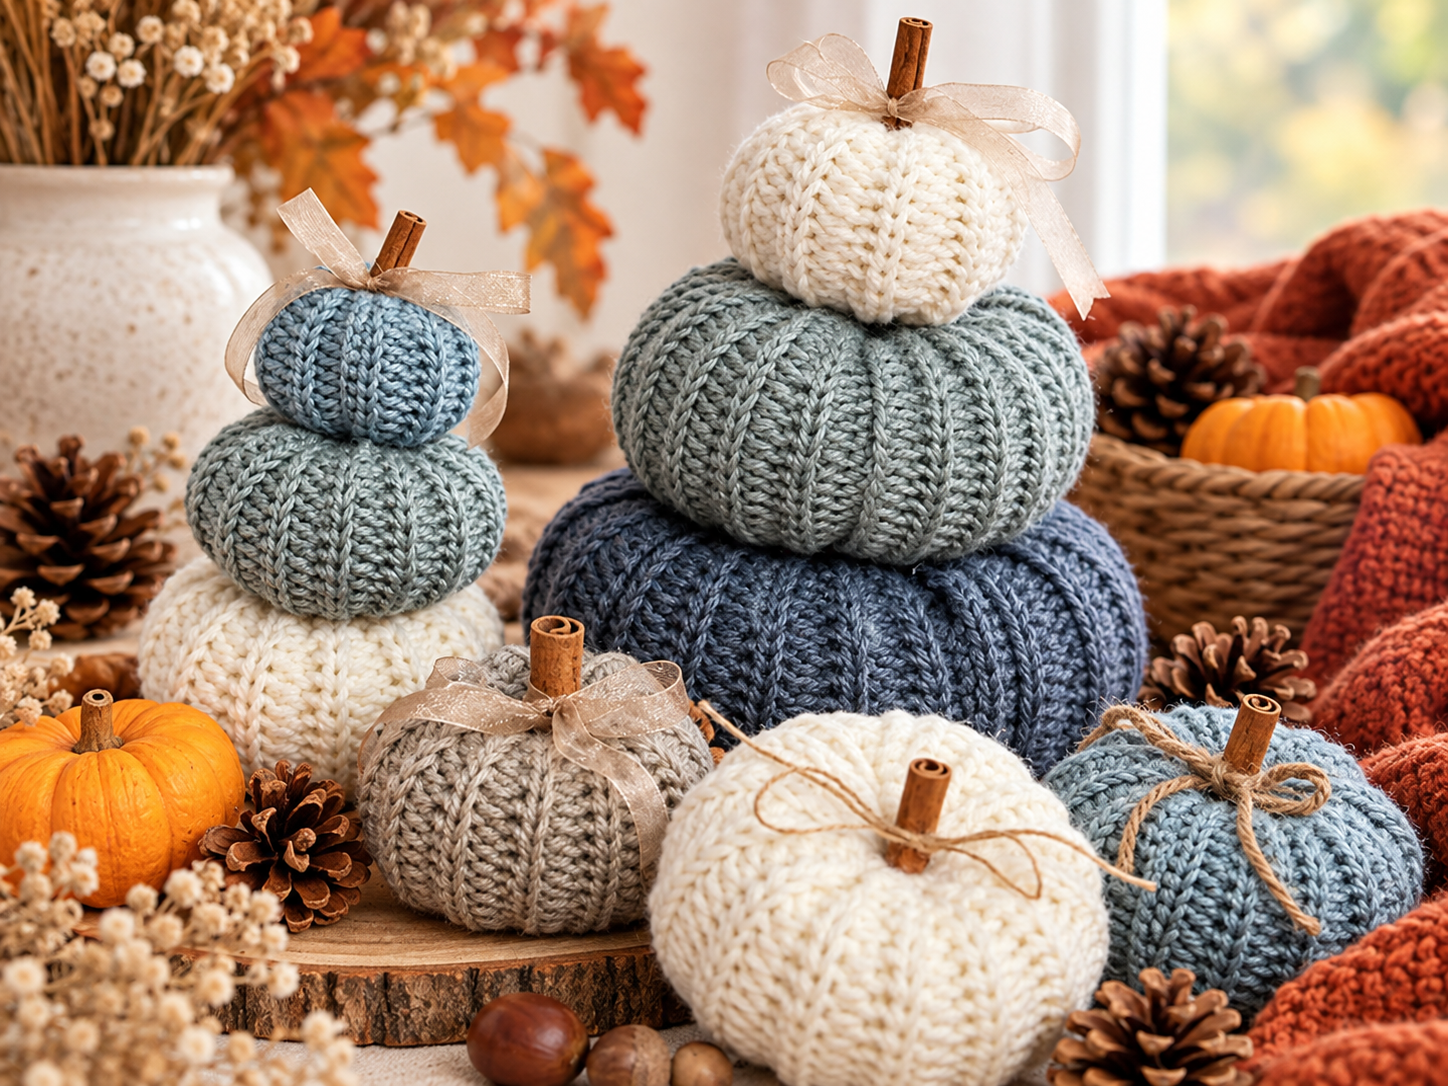
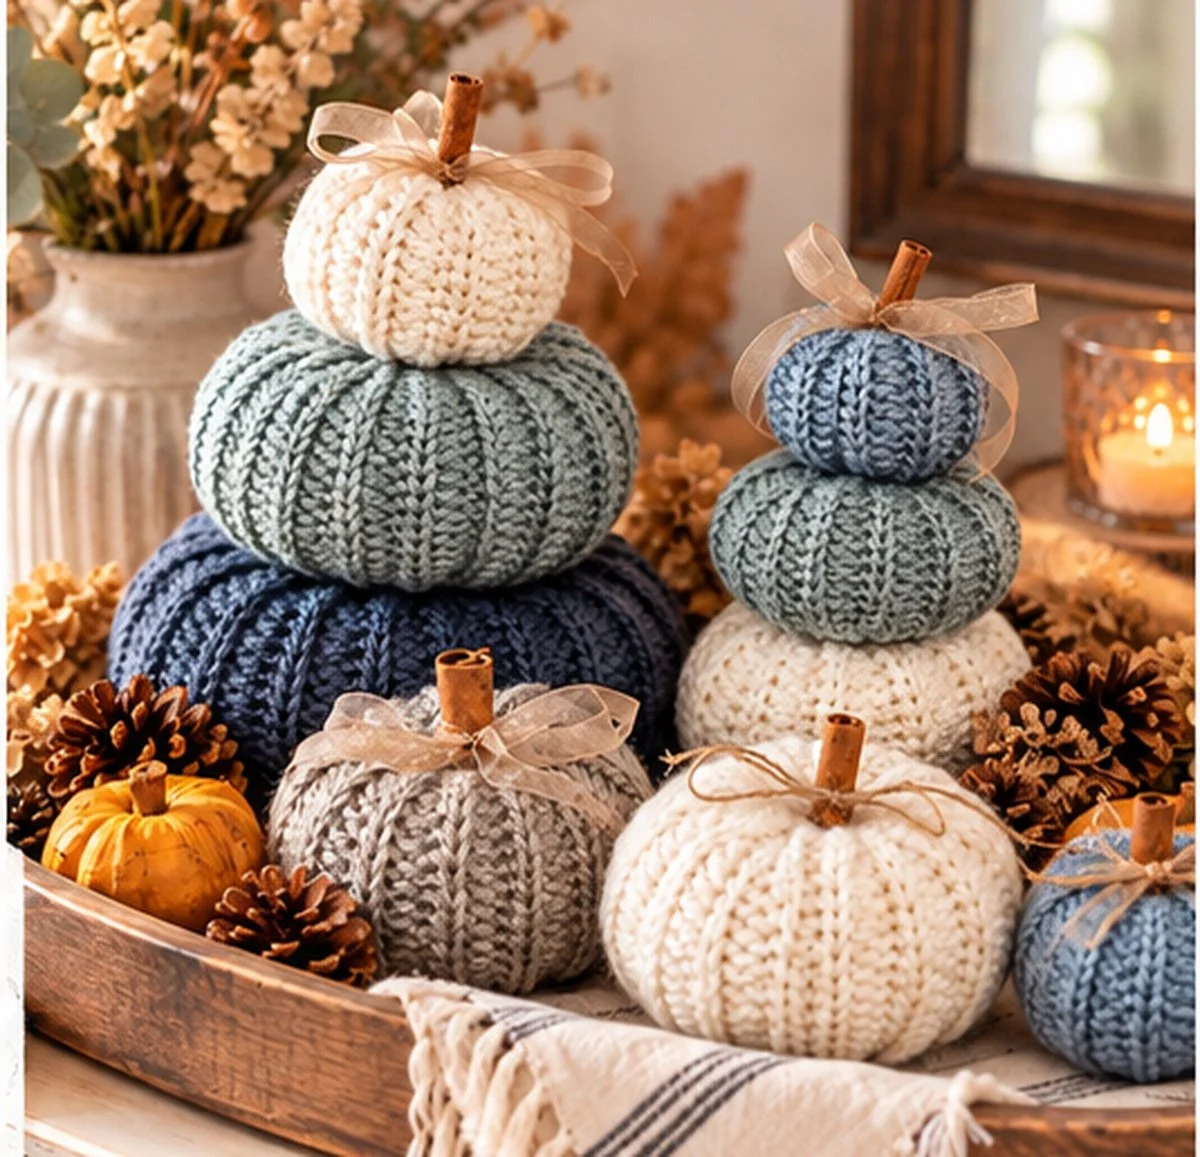
Nothing brings cozy autumn charm into a home quite like handmade pumpkins! Whether you love traditional fall colors or prefer soft neutrals, earthy greens, and muted blues, the Mix and Match Pumpkin Patch Crochet Pattern makes it easy to create seasonal decorations that complement your style.
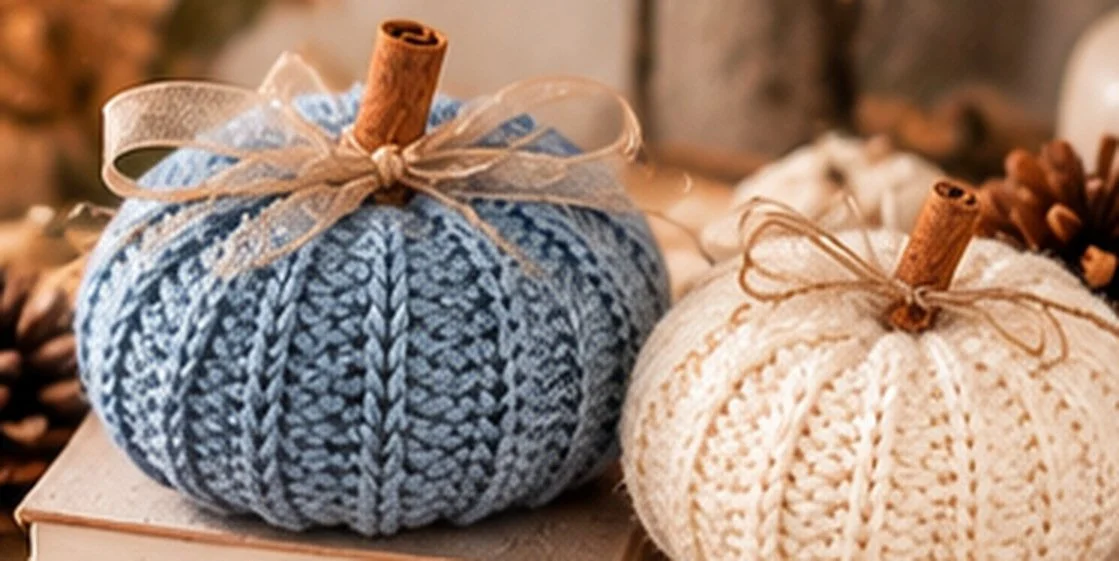
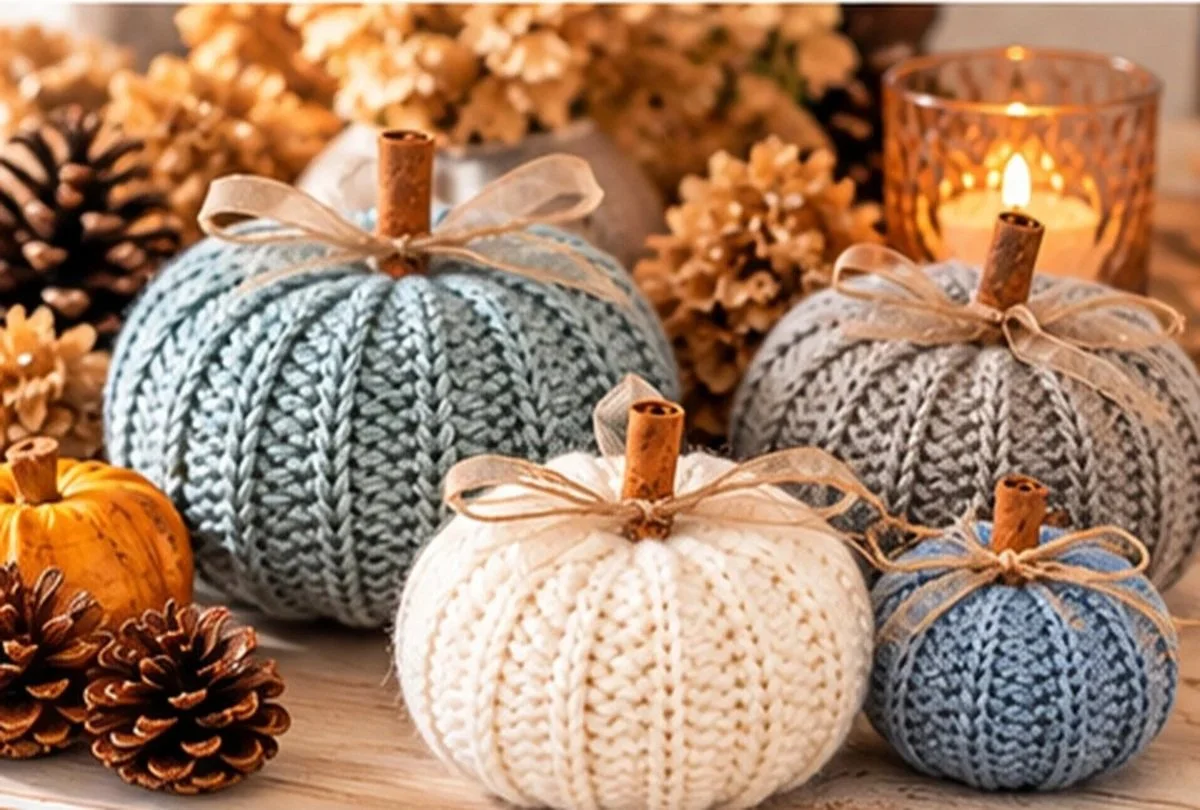
This pattern features a beautiful ribbed texture created by alternating half double crochet stitches and half double crochet slip stitches worked in the back loops. Once the crocheted rectangle is assembled, the raised stitches create the signature ridges that make each pumpkin unique.
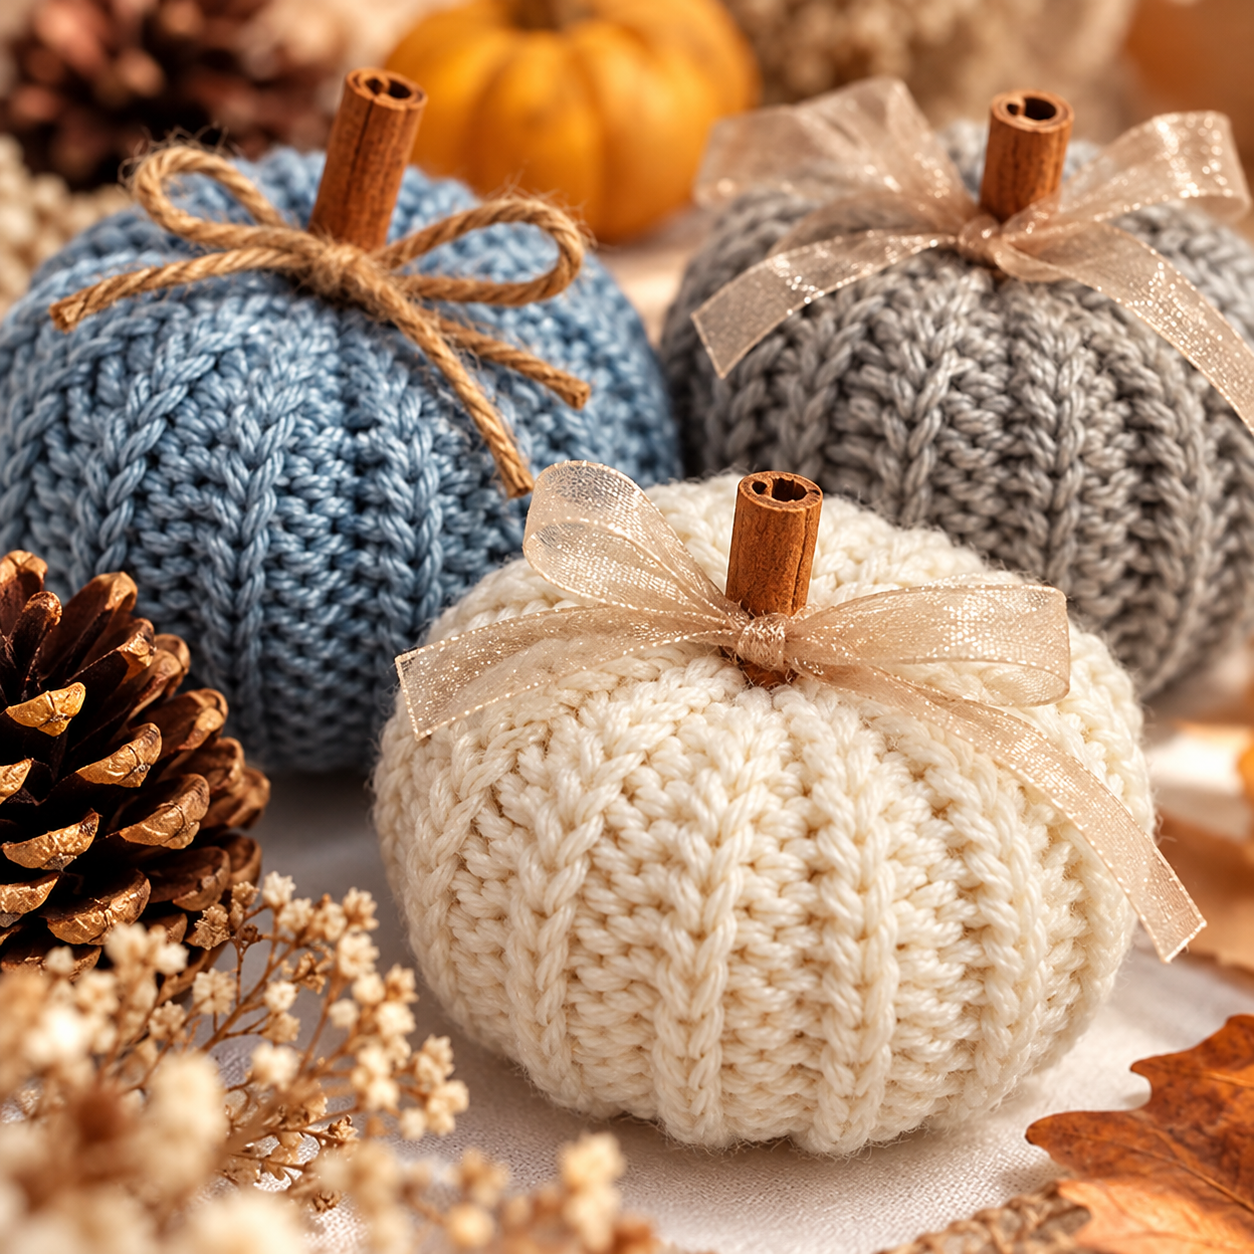
Finish your pumpkins with cinnamon-stick stems, rustic twine, or delicate ribbon for a personalized touch.
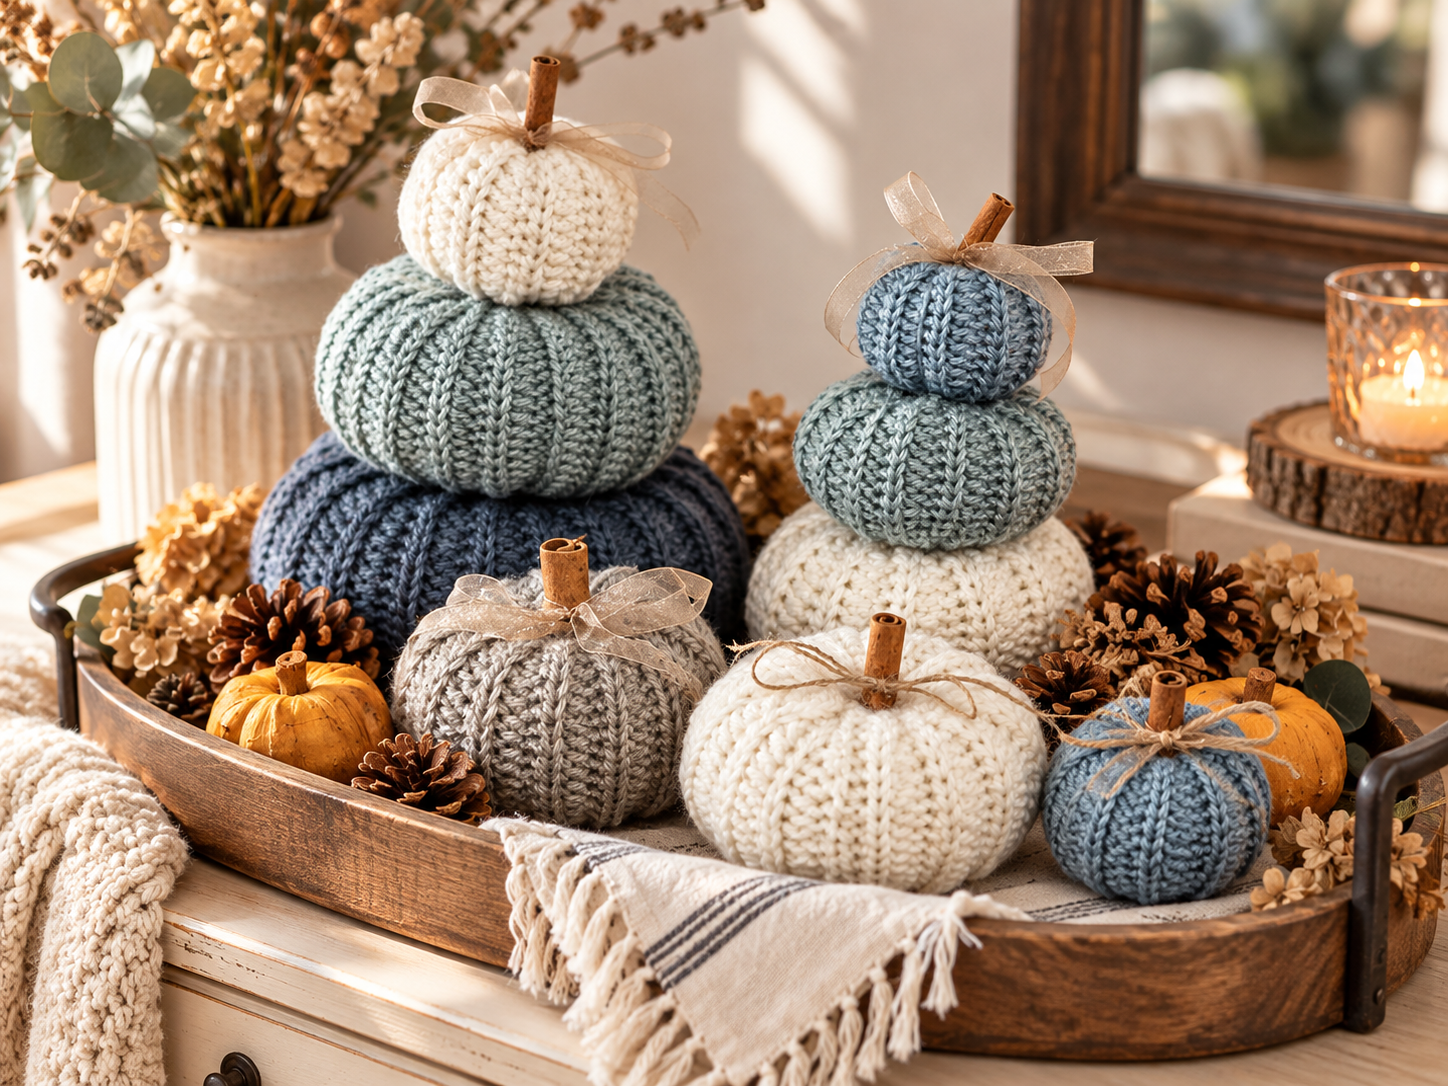
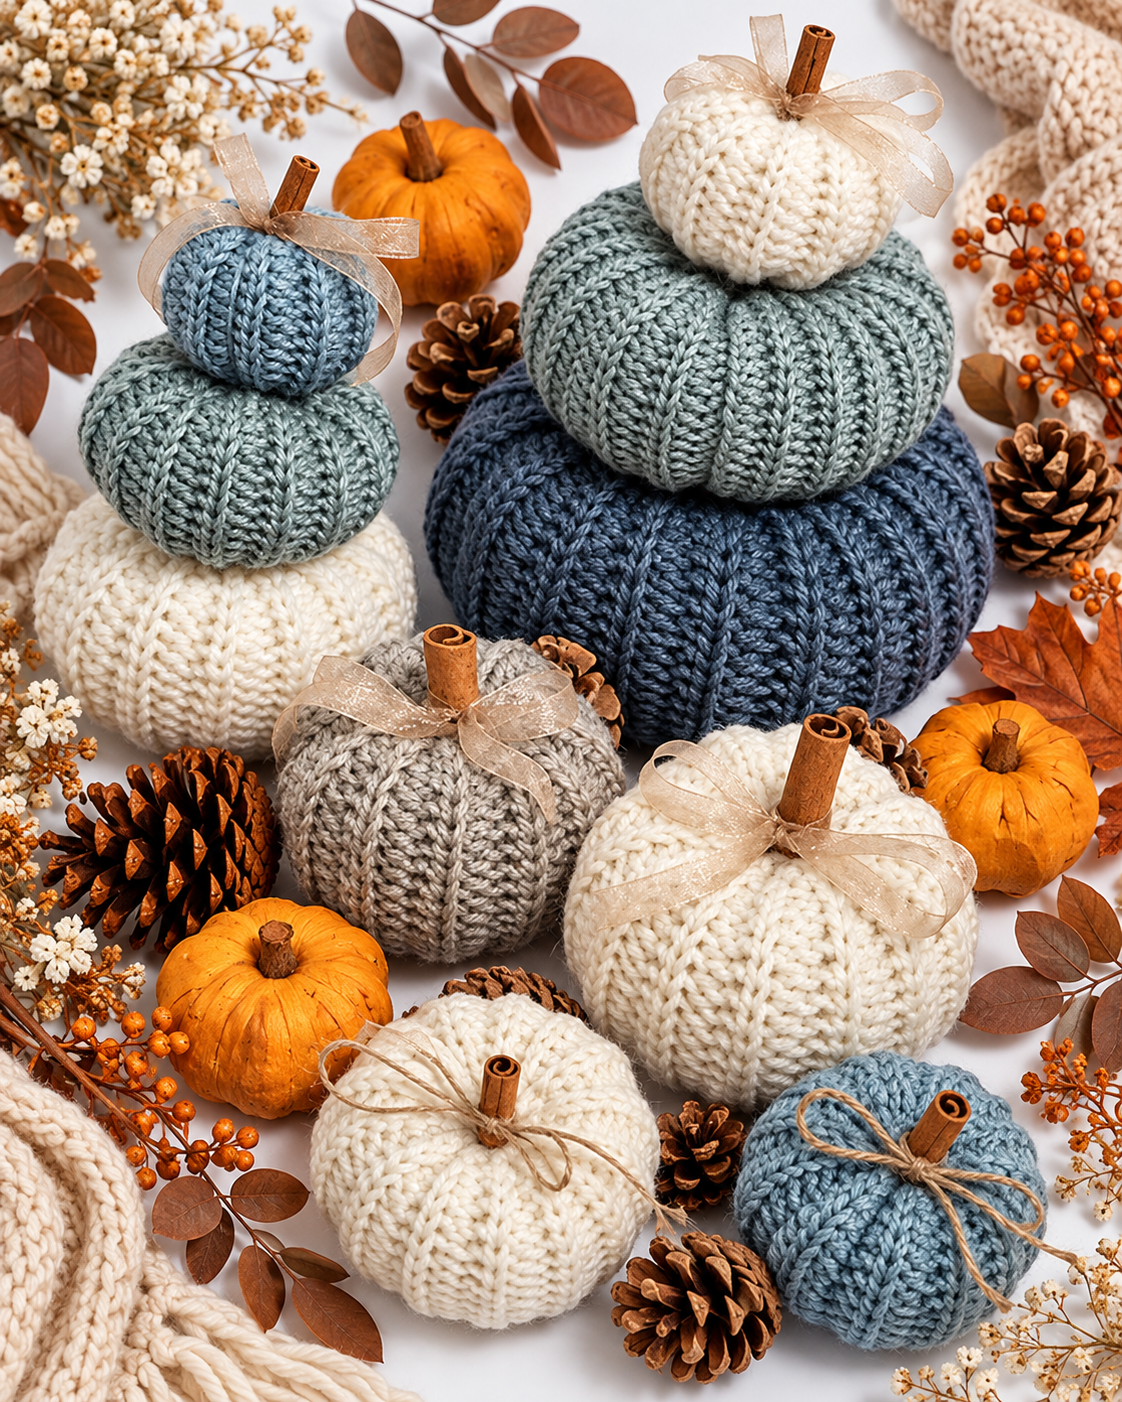
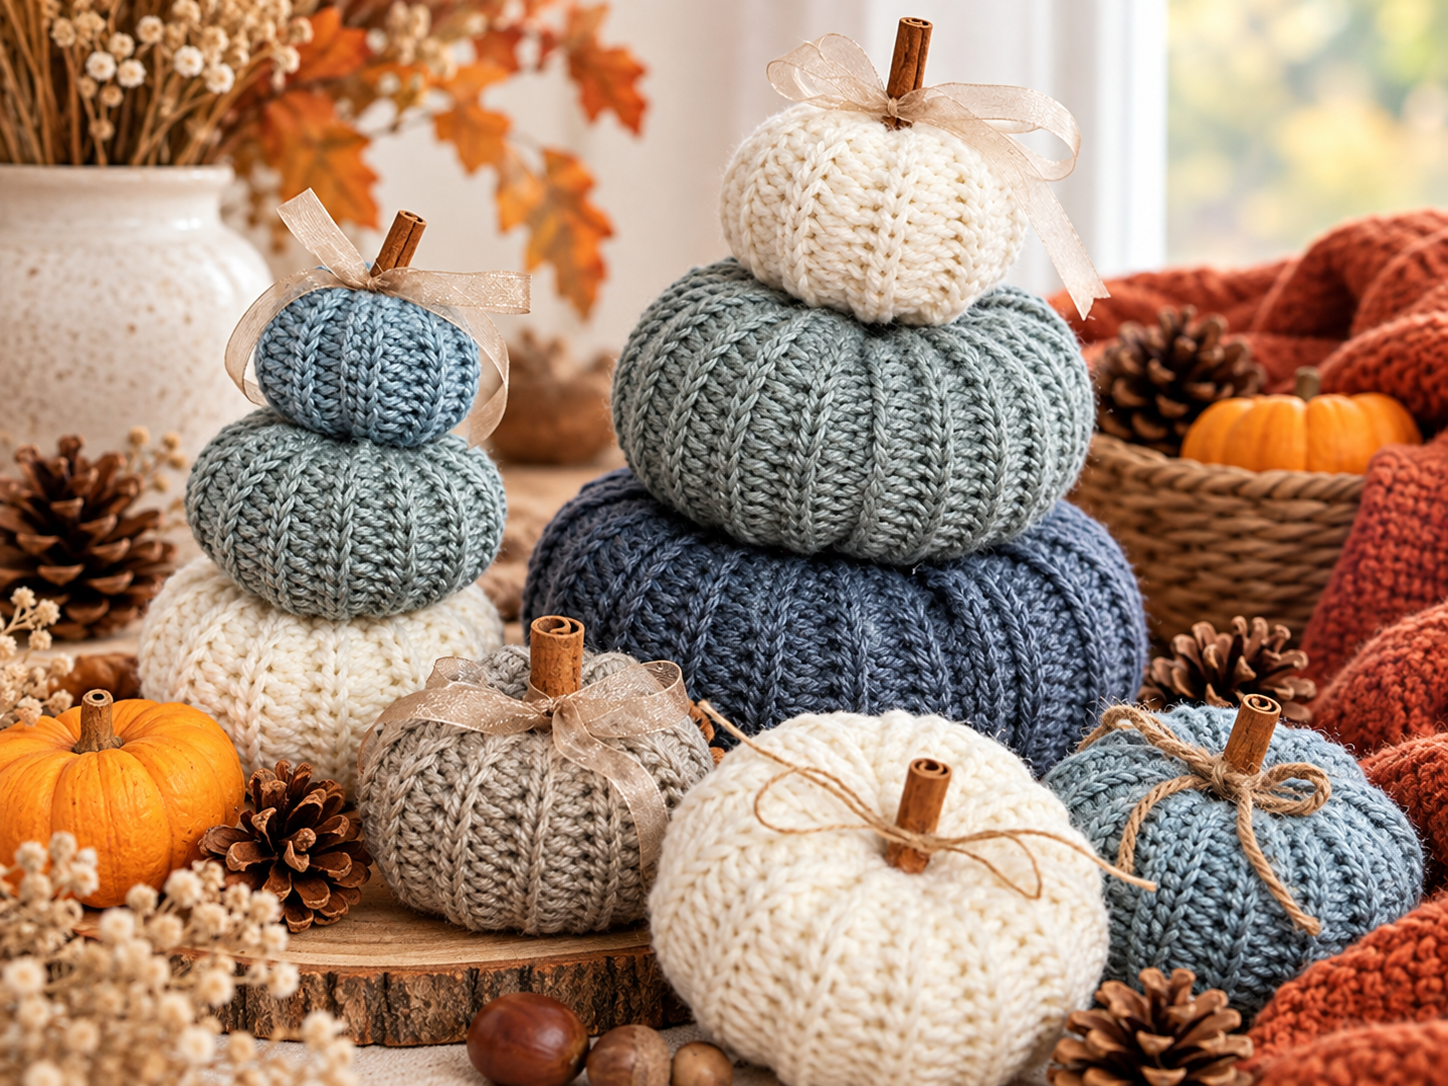
With five written sizes, you can create everything from small decorative pumpkins to larger statement pieces or arrange several together for a beautiful fall centerpiece.
Disclaimer
This pattern is for professional use only. No part of this pattern maybe copied, reproduced, translated, distributed, sold, or shared in any form without written permission from JusBeeCreations Crochet Designs. You are welcome to sell finished handmade items created from this pattern in small quantities. Please credit JusBeeCreations Crochet Designs as the pattern designer.
Affiliate Disclaimer
This post may contain affiliate links. If you make a purchase through one of my affiliate links, I may receive a small compensation at no additional cost to you. Thank you for supporting JusBeeCreations Crochet Designs and allowing me to continue sharing crochet patterns and tutorials.
Behind the Design
I wanted to create a fall decoration that felt cozy, timeless, and easy to personalize.
One of my favorite things about decorating for fall is being able to bring different textures and warm colors together. I especially love the idea of pumpkins that don’t necessarily have to be orange to feel seasonal.
The inspiration behind my Mix and Match Pumpkin Patch was to create a design that would look beautiful in different colors and sizes, allowing you to make your own unique collection.
The alternating stitches add depth and texture without requiring complicated techniques, while the cinnamon-stick stems give each pumpkin a charming rustic finish.
Whether you’re making just one or creating an entire pumpkin patch, I hope this design becomes part of your handmade fall traditions.
Pattern at a Glance
Throughout this pattern, you’ll learn how to: Create Textured Ribbing: Alternate half double crochet and half double crochet slip stitches in the back loops to create beautifully defined pumpkin ridges. Work a Simple Stitch Repeat: Follow an easy two-row repeat while maintaining consistent stitch counts. Crochet Five Different Sizes: Follow graded instructions to create pumpkins from XS to XL. Join Crochet Pieces: Seam the edges of a flat rectangle to create a three-dimensional pumpkin body. Gather and Close Openings: Use simple crochet and sewing techniques to securely close the bottom and top. Stuff and Shape Your Pumpkin: Add fiberfill and create the signature pumpkin indentations for a realistic rounded appearance. Add Decorative Finishing Touches: Complete your pumpkins with cinnamon-stick stems, twine, or decorative ribbon. By the end of this project, you’ll have a beautiful collection of textured crochet pumpkins and the confidence to create even more handmade seasonal decorations!
Why You’ll Love this Pattern
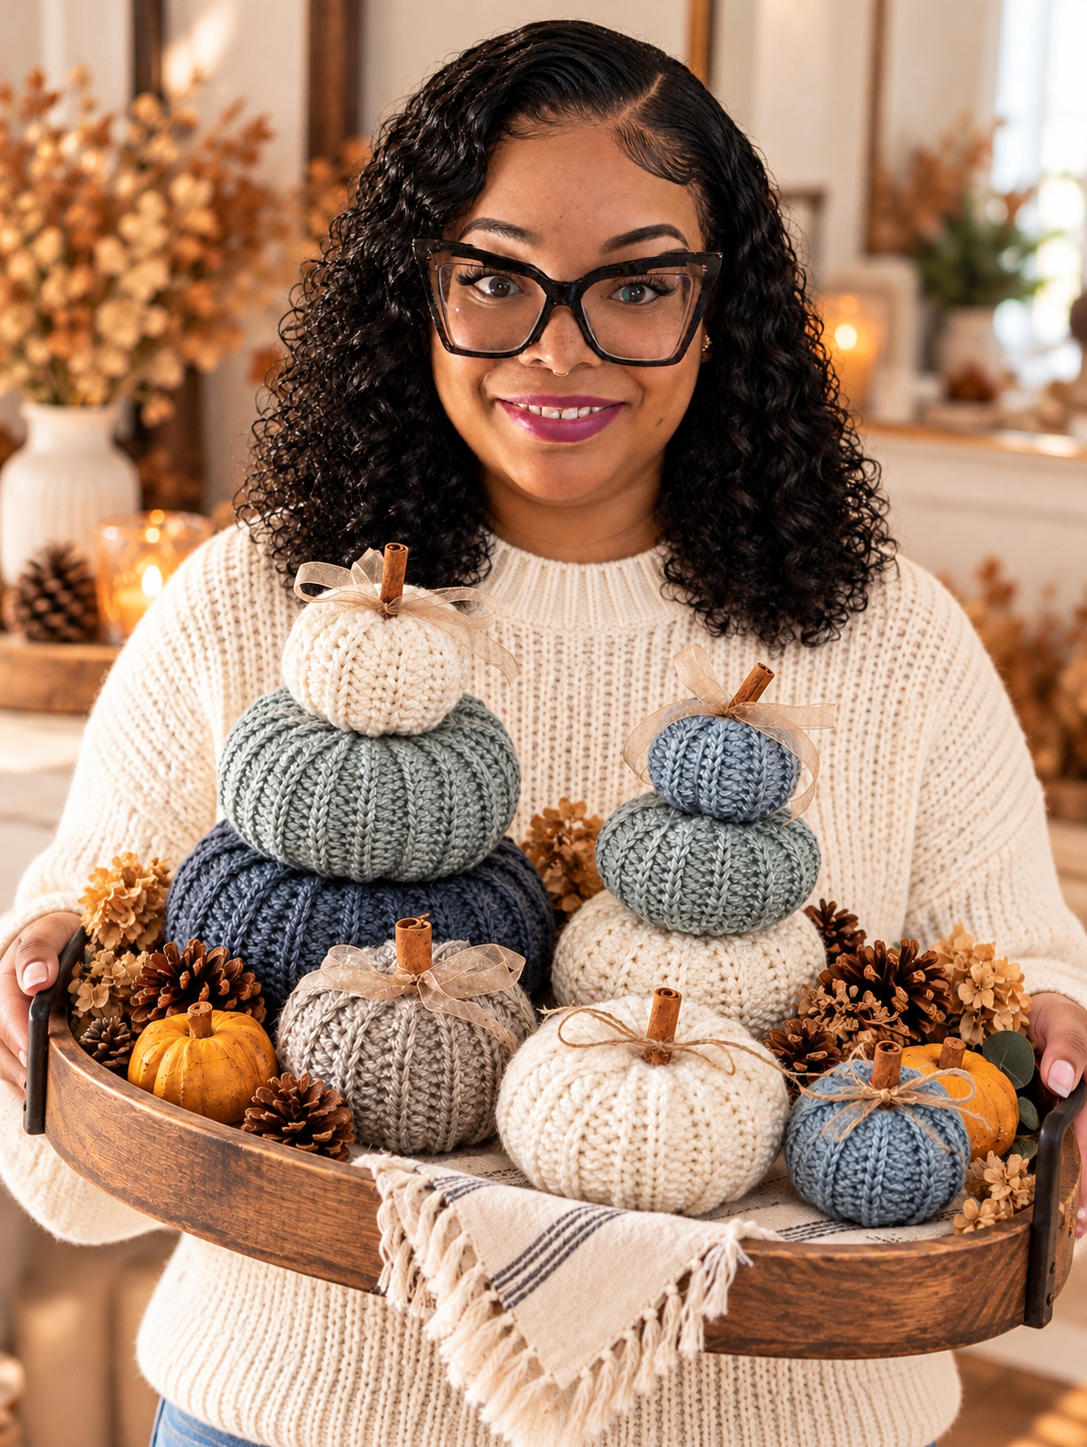
Five written sizes: Create pumpkins from extra small to extra large.
Beautiful ribbed texture: Alternating stitches create raised pumpkin ridges.
Simple construction: Make a rectangle, join the edges, stuff, and shape.
Customizable colors: Choose neutrals, blues, greens, orange, or your favorite fall palette.
Reusable seasonal decor: Enjoy your handmade pumpkins year after year.
Great gift idea: Create handmade pumpkin sets for friends and fami
About the Yarn
For this project, I used Mighty Stitch Worsted yarn from WeCrochet.
This yarn combines the softness of acrylic with the warmth of superwash wool, making it a lovely choice for textured crochet projects.
The worsted-weight construction allows the alternating stitches to stand out, giving the pumpkins a beautifully defined ribbed appearance.
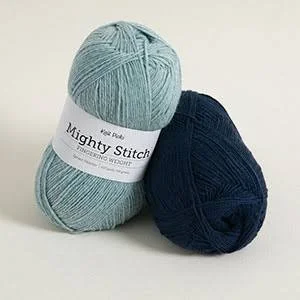
WeCrochet’s Mighty Stitch Yarn
Worsted Weight #4 Yarn
80% Acrylic, 20% Superwash Wool
208yds/ 100g ball
Colors Used:
Latte
Ivy Heather
Spruce Heather
Cream
Yarn Amounts
| Pumpkin Size | Yardage | Grams |
|---|---|---|
| XS | 30–40 yds | 15–20 g |
| S | 60–80 yds | 29–39 g |
| M | 95–125 yds | 46–60 g |
| L | 130–170 yds | 63–82 g |
| XL | 165–210 yds | 79–101 g |
| Estimated yarn amounts; not yet sample-tested. | ||

MORE CROCHET • MORE INSPIRATION
Join the JBC Crochet Circle
Become part of the JBC Crochet Circle and enjoy a cozy space created for crocheters who love patterns, helpful resources, creative inspiration, and a few special extras along the way.
Already a member? Sign in to visit your Crochet Circle member area.
JOIN THE JBC CROCHET CIRCLEHook Requirements
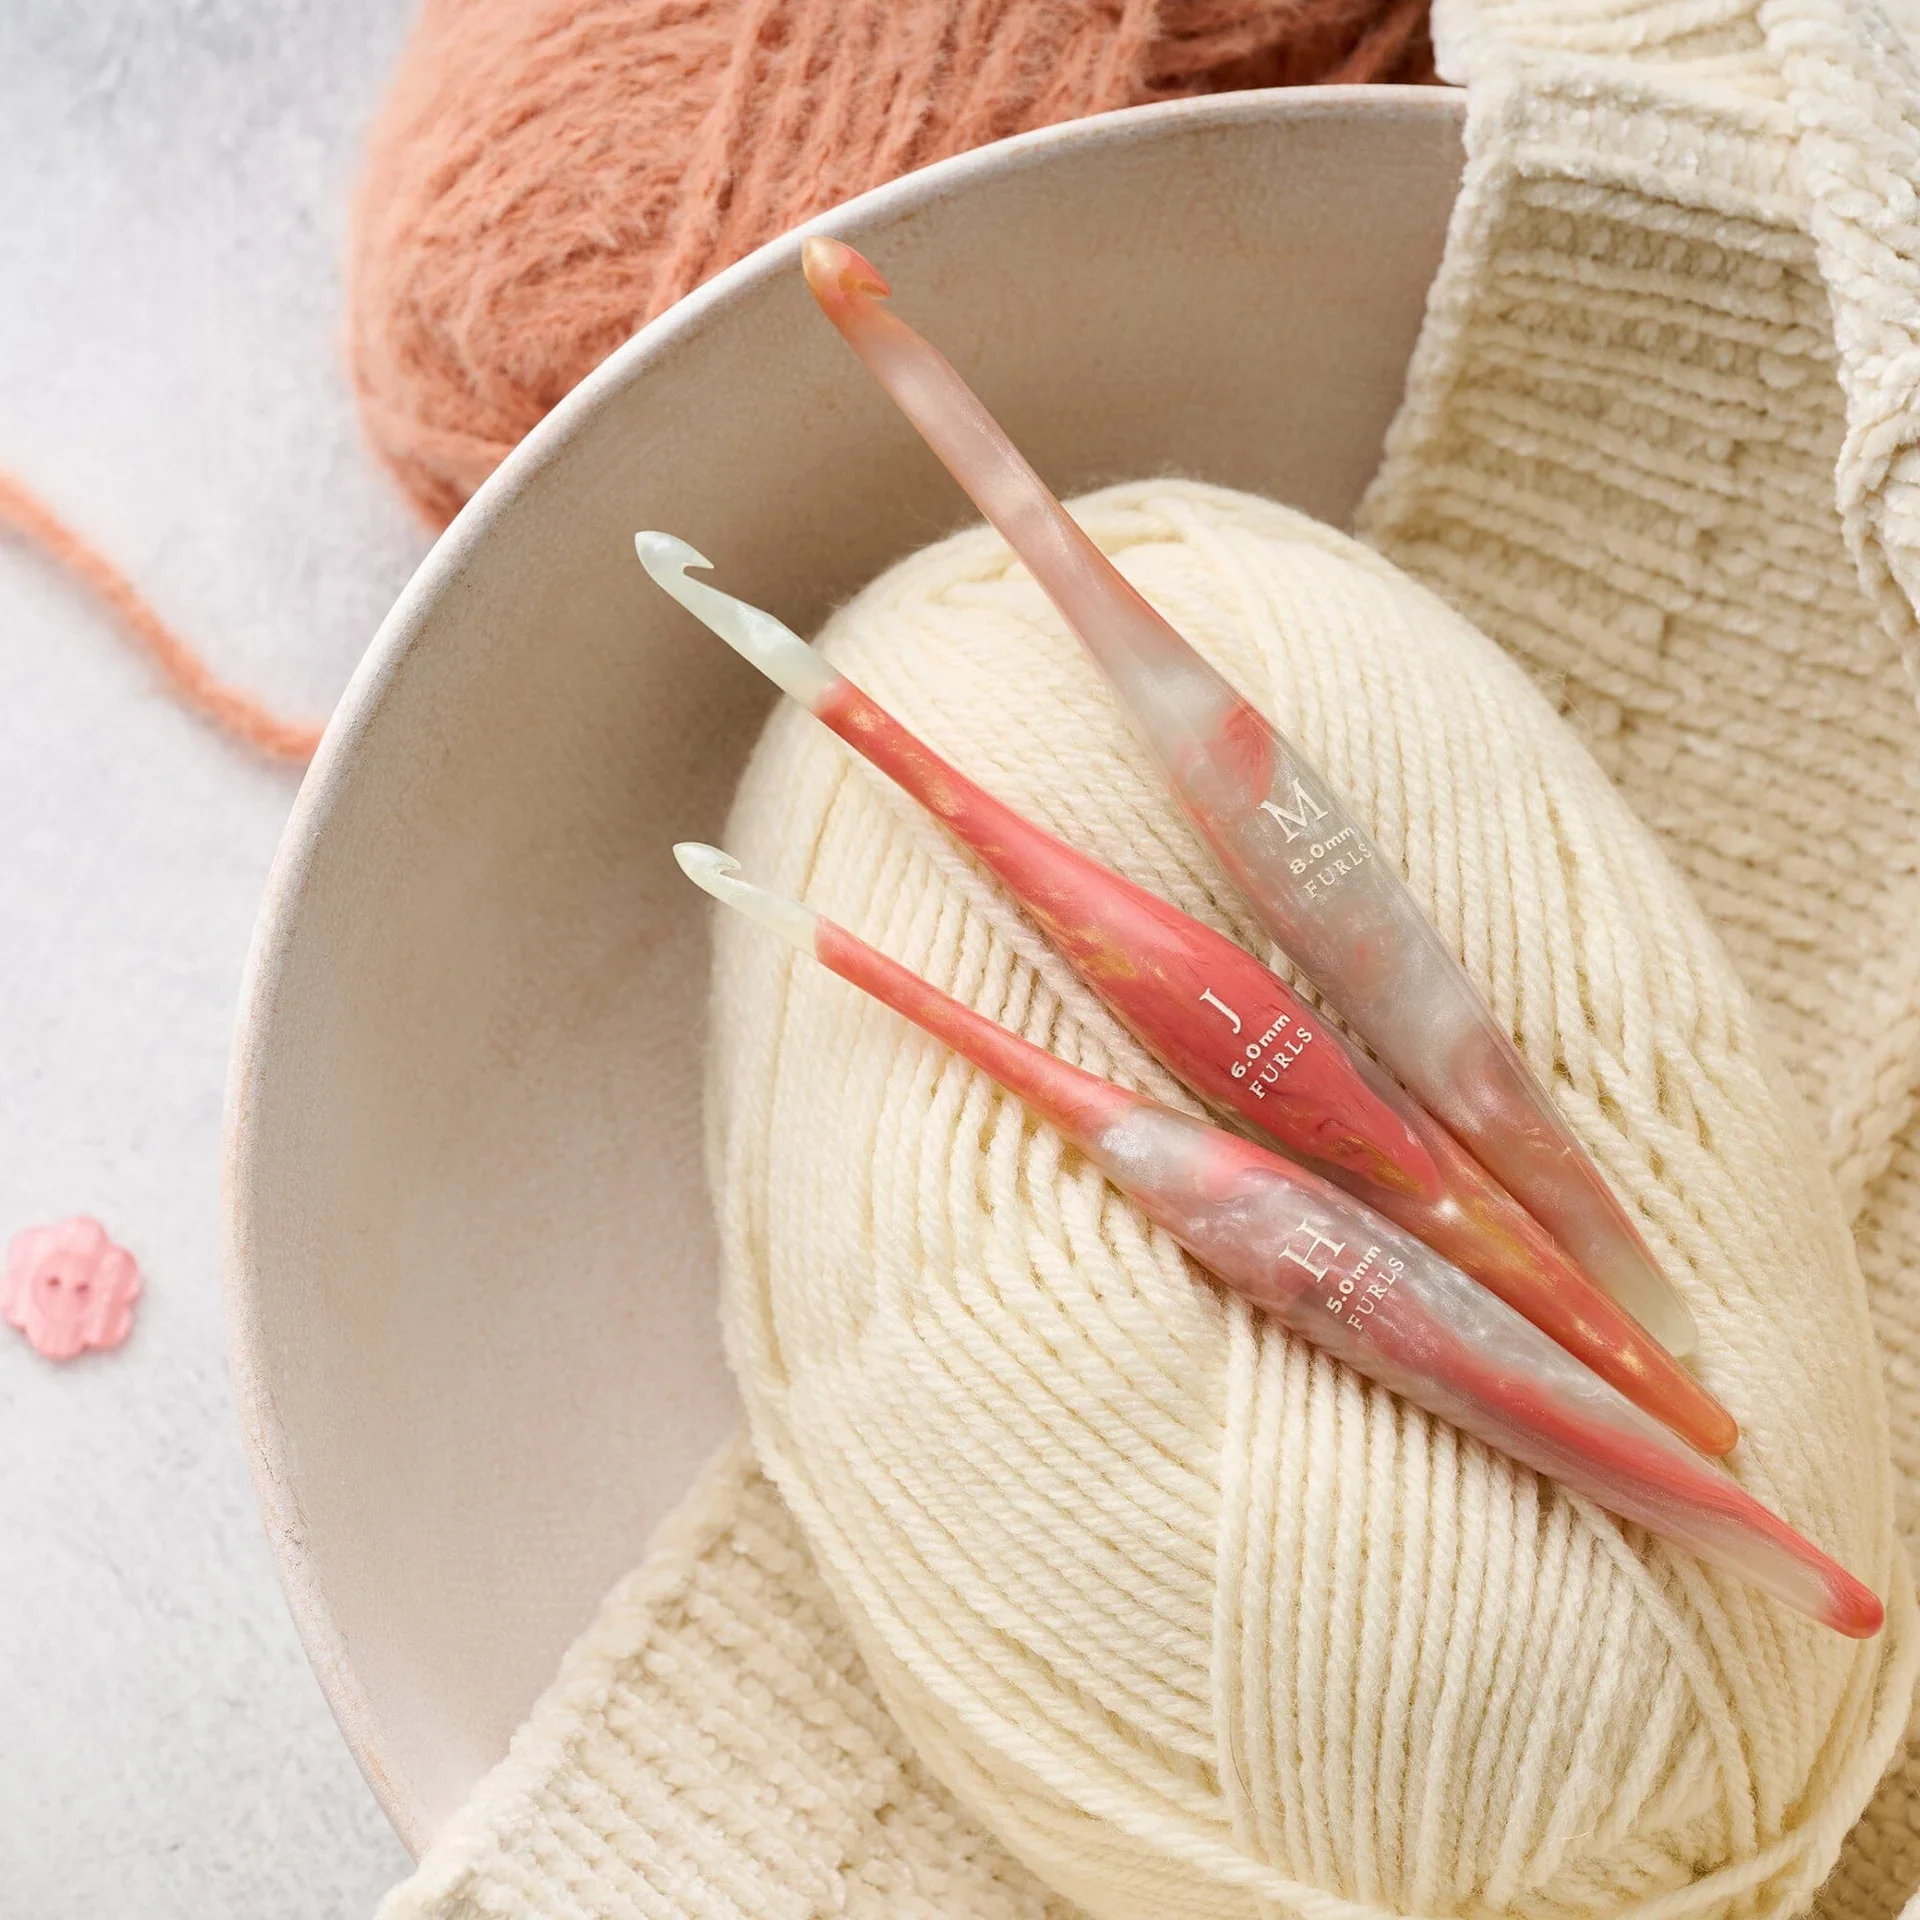
Materials
5.0 mm crochet hook
Polyester fiberfill
Yarn needle
Scissors
Stitch markers
Cinnamon sticks
Twine or decorative ribbon
Hot glue gun (optional)
Decorative garment tags (optional)
Gauge
14 stitches and 10 rows = 4 inches (10 cm), using a 5.0 mm crochet hook.
Work your swatch using the alternating stitch pattern.
Because this pattern is made into a stuffed decoration, exact gauge is less critical than for fitted garments. However, a different gauge will change the size and proportions of your pumpkins.
Schematics
Construction
Our Mix & Match Pumpkin Patch Pumpkins are worked flat in rows and then assembled to create a beautifully textured, three-dimensional pumpkin. The pattern includes five sizes: XS (S, M, L, XL)
Abbreviations
This pattern is written using standard US crochet terminology.
Note: Any special stitches used in the pattern are explained separately in the Special Stitches section.
Get the Pattern

DIGITAL DOWNLOAD • NO ADS!
Mix & Match Pumpkin PDF Pattern
The printable PDF includes the complete pattern in one beautiful, easy-to-follow download.
Special Stitches
Half Double Crochet (Hdc)
Yarn over. Insert your hook into the designated stitch. Yarn over and pull up a loop. Yarn over and pull through all three loops on your hook.
Half Double Crochet Slip Stitch (Hdc Sl St)
Yarn over. Insert your hook into the designated stitch. Yarn over and pull up a loop. Pull the newly drawn loop directly through the two remaining loops on your hook.
This stitch is also commonly known as a yarn-over slip stitch.
Alternative: If you find the half double crochet slip stitch difficult, you may substitute a regular slip stitch as mentioned in the original pattern. This will change the fabric texture and may affect the gauge.
Back Loop Only (BLO)
Instead of inserting your hook underneath both loops at the top of a stitch, insert it beneath the loop furthest away from you.
This technique creates the distinctive raised ridges throughout the pumpkin.
Pattern Begins
Using a 5.0 mm crochet hook and your chosen yarn color:
Foundation Chain
Ch 13 (17, 21, 25, 29).
Row 1 (RS):
Hdc in the second chain from your hook.
Work 1 hdc into each remaining chain across.
Ch 1, turn.
Stitch Count: 12 (16, 20, 24, 28) hdc.
Row 2 (WS):
Work 1 hdc sl st into the BLO of the first stitch.
Continue working 1 hdc sl st into the BLO of each remaining stitch across.
Ch 1, turn.
Stitch Count: 12 (16, 20, 24, 28) stitches.
Row 3 (RS):
Work 1 hdc into the BLO of the first stitch.
Continue working 1 hdc into the BLO of each remaining stitch across.
Ch 1, turn.
Stitch Count: 12 (16, 20, 24, 28) hdc.
Continue for Your Size
Extra Small (XS)
Rows 4–18: Repeat Rows 2 and 3, maintaining 12 stitches across every row.
Finish after Row 18, a wrong-side hdc sl st row.
Small (S)
Rows 4–30: Repeat Rows 2 and 3, maintaining 16 stitches across every row.
Finish after Row 30, a wrong-side hdc sl st row.
Medium (M)
Rows 4–38: Repeat Rows 2 and 3, maintaining 20 stitches across every row.
Finish after Row 38, a wrong-side hdc sl st row.
Large (L)
Rows 4–44: Repeat Rows 2 and 3, maintaining 24 stitches across every row.
Finish after Row 44, a wrong-side hdc sl st row.
Extra Large (XL)
Rows 4–48: Repeat Rows 2 and 3, maintaining 28 stitches across every row.
Finish after Row 48, a wrong-side hdc sl st row.
Joining the Pumpkin
Once you have completed the final row for your chosen size, you are ready to join your rectangle into a tube.
Joining Instructions
Ch 1 after completing your final row.
Fold your rectangle so that the right sides are facing each other.
Align the foundation edge with the final row edge.
Insert your hook through corresponding stitches along both edges.
Slip stitch the edges together, working across the entire seam.
You should complete:
XS: 12 joining slip stitches
S: 16 joining slip stitches
M: 20 joining slip stitches
L: 24 joining slip stitches
XL: 28 joining slip stitches
Do not fasten off yet.
Your crochet piece should now resemble a tube, with an opening at the top and bottom.
Turn your pumpkin right side out before gathering the ends.
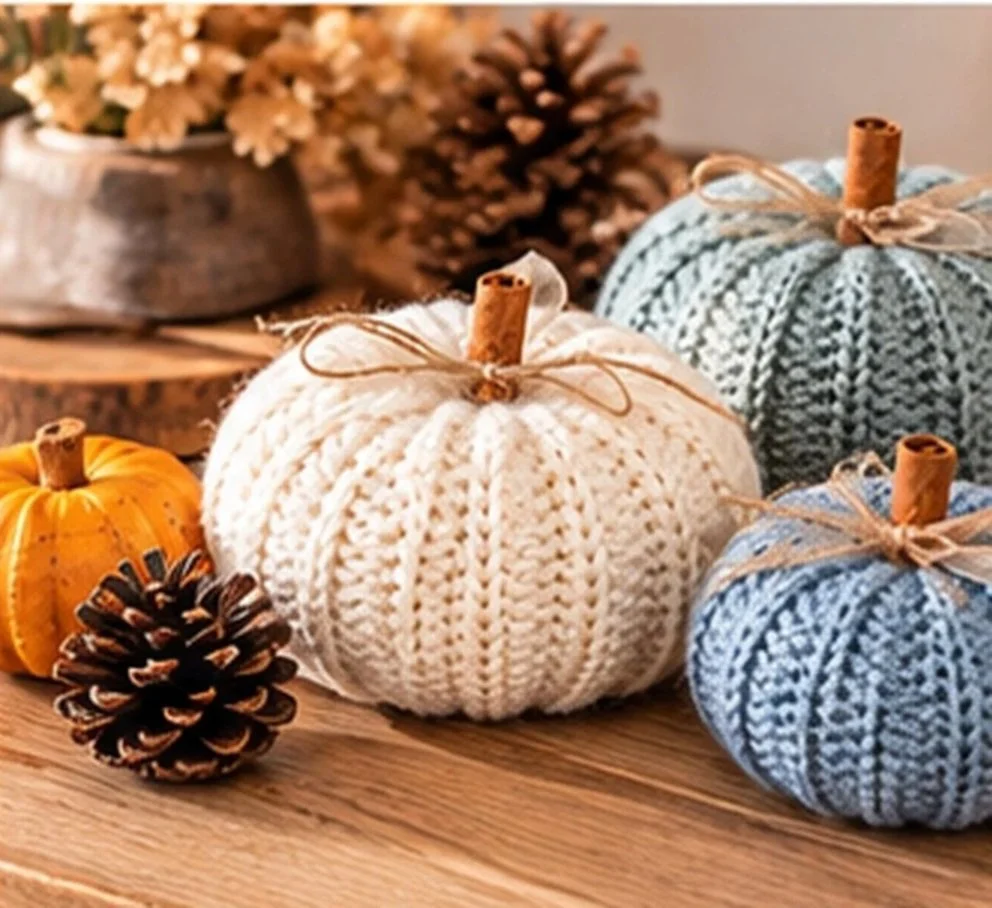
Pumpkin Closure
The next step creates the base of your pumpkin.
Bottom Closure Instructions
Ch 1.
Work 1 sc into every other row end around the bottom opening.
Sl st into the first sc to join.
These counts are calculated from the number of completed rows.
Fasten off, leaving a long yarn tail.
Thread the tail onto your yarn needle.
Weave your needle through the front loop of each single crochet stitch around the opening.
Slowly pull the yarn tail to gather the stitches together.
Continue pulling until the bottom opening closes.
To secure the closure, stitch back and forth through the gathered center several times.
Fasten securely and weave the remaining tail into the inside of the pumpkin.
Stuffing your Pumpkin
Once the bottom has been secured, your pumpkin is ready to be stuffed.
Take small amounts of polyester fiberfill and begin filling the pumpkin.
Start by adding fiberfill around the bottom and outer edges, then gradually fill the center.
Continue until your pumpkin begins to take on a rounded shape.
Helpful Tip: Avoid overstuffing. You want your pumpkin to feel full while maintaining enough flexibility to create the signature pumpkin indentations.
The stuffing should be evenly distributed throughout the body.
Leave enough room to gather the top opening comfortably.
Top Closure
Now that your pumpkin is stuffed, you can begin closing the top.
Top Closure Instructions
Join your working yarn near the seam at the top opening.
Ch 1.
Work 1 sc into every other row end around the opening.
Sl st into the first sc to join.
Use the same single crochet count as the bottom closure.
Fasten off, leaving a long yarn tail.
Thread the yarn tail onto your yarn needle.
Weave through the front loop of each single crochet stitch around the opening.
Slowly pull the yarn tail to gather the opening.
Create Your First Indentation
Take the yarn and bring it up along the outside of the pumpkin, following one of the natural grooves in the ribbed fabric.
Bring the yarn back toward the top center.
3. Pull to Shape
Gently pull the yarn until the top and bottom begin to draw inward.
This creates the first pumpkin indentation.
Be careful not to pull too tightly, as this could distort the shape.
4. Continue Around the Pumpkin
Repeat the same process around the pumpkin, working through the center and bringing the yarn up along the outside.
Space the indentations evenly for a balanced appearance.
You can follow the existing textured ridges to help guide placement.
5. Secure the Shape
Once you are satisfied with the pumpkin’s shape, secure the yarn with several stitches through the center.
Fasten off and weave in the remaining tail.
Your pumpkin should now have beautifully defined sections and a softly rounded appearance.
we’ve got a community!
friends! Join our group to post
pictures and ask all your pattern
support questions.
Final Thoughts
I hope you enjoy making your own Mix and Match Pumpkin Patch!
One of the things I love most about this design is how easily it can be personalized. No two pumpkin patches have to look the same.
Whether you choose warm autumn colors, soft neutrals, or an entirely different color palette, these textured pumpkins make such a lovely handmade addition to fall decorating.
Make a few for your home, give some as gifts, or create an entire collection of pumpkins in different sizes.
I’d love to see how your pumpkin patch turns out!
Be sure to share your finished projects and tag JusBeeCreations Crochet Designs using #mixandmatchpumpkinpatch.
Copyright & Pattern Use
This pattern and its photographs remain the property of JusBeeCreations Crochet Designs. The original PDF permits makers to sell finished items created from the pattern while requesting that JusBeeCreations be credited as the designer; the pattern text and photographs may not be copied or reproduced for resale.
Fall Y'all Table Runner .pdf
You may sell finished table runners made from this pattern. Please credit JusBeeCreations Crochet Designs as the pattern designer when possible.
Do not copy, redistribute, reproduce, translate for distribution, or sell this written pattern or its photographs.
Hello, crochet friends! ♡
Meet Brittany
Hi! I’m Brittany, the designer and maker behind JusBeeCreations Crochet Designs. I love creating crochet patterns that are beautiful, approachable, and fun to make.
Here you’ll find cozy crochet projects, seasonal designs, wearable pieces, home décor, and inspiration to help you enjoy every part of your crochet journey.
Let’s crochet together! ♡
-
Yes! This pattern is suitable for confident beginners who understand basic crochet stitches and simple joining techniques.
The half double crochet slip stitch may take a little practice, but the repeating stitch pattern becomes easy to follow.
-
Absolutely! You can use another worsted-weight yarn.
Different yarn brands and fibers may affect the final pumpkin size, so it is best to check your gauge before beginning.
-
Yes. The original design allows a regular slip stitch to replace the half double crochet slip stitch.
However, this may create a slightly different texture and change the finished dimensions.
-
Yes. You can adjust the starting chain and the number of rows to customize the pumpkin size.
Add rows in pairs so the last row remains a wrong-side row.
-
The amount depends on the size you choose and your personal tension.
The original instructions suggest one ball of yarn but do not include individual yardage measurements for each size.
-
Yes! You are welcome to sell the finished handmade pumpkins.
Please credit JusBeeCreations Crochet Designs as the original pattern designer.
The pattern instructions and original photographs should not be redistributed or used to advertise finished items without permission.
-
Spot cleaning is recommended, particularly if you use cinnamon sticks, glue, or decorative ribbon.
Always refer to the care instructions for your chosen yarn.
You may Like